Depending on the weather, most campsites require a tarp to be set up, either for protection from the rain or shelter from the sun.
However, setting up a tarp can be tricky. It can be particularly difficult to set up a tarp over a picnic table or if there are only few trees around.
In this article, you’ll find out the best way to set up a tarp. The set up method I describe is very simple and easy to do. And, it’s perfect for standard campgrounds and backcountry camping sites.
Equipment Required to Set Up a Tarp
To set up a tarp over a picnic table, a tent, or an open area for shade, you need the following items:
Tarp
A standard picnic table is approximately 8 feet long by 6 feet wide. So, you want to purchase and bring a tarp that is larger than those dimensions. I typically stick with a 12 x 16 tarp to give me lots of extra coverage around the picnic table for camp chairs or keeping coolers in the shade.
Likewise, if you’re setting up a tarp over a tent, make sure the dimensions are, at a minimum, larger than your tent footprint.
Tarps made from polyethylene fabric are lightweight, waterproof, and relatively inexpensive compared to canvas material.
Check your local hardware or outdoor store for tarps. If you need to find one online, this tarp on Amazon is a perfect size and is relatively cheap!
Rope
To properly set up a tarp, you’ll need 2 sets of rope of various lengths and types.
A single, primary rope is used to hang the tarp. This rope is tied around trees at opposite ends to keep the tarp suspended. Because trees can be far apart, I recommend getting at least 100 feet (30 meters) of 3/16-inch nylon static rope.
The secondary ropes are used to tie-down the corners of the tarp to the ground. These ropes need to be thin, yet strong. You will need 4 ropes of equal length. I recommend 65 feet (20 meters) of 1.8 mm reflective paracord rope. This rope can be cut into 4 pieces, each 16.4 feet (5 meters) in length.
Pro-tip: Looking for more information about ropes? Check out What is the Best Rope for Camping and Outdoor Use.
Ground Stakes
Grounds stakes are used to secure the secondary ropes to anchor points in the ground. To set up a tarp, 4 heavy duty stakes are needed.
Pro-tip: Tents typical come with extra stakes which, if not used for your tent, can be used to set up a tarp.
Knife
A knife is required to shape the ends of sticks so that the tip can fit into the grommet hole in the corners of the tarp.
Pro-tip: Check out my in-depth article on how to pick the best camping knife if you’re looking for one!
Wooden Sticks
To prop up the ends of the tarp to give you lots of head clearance I use sticks foraged from the woods around my campsite.
Look for sticks at least a foot longer than the height of the tallest person in your camping group. Also, make sure the sticks aren’t too thin, otherwise they’ll bend under the tension of the tie-down ropes.
In the market for a weatherproof tent? Check out my in-depth article on the Camping Tents Perfectly Engineered for Heavy Rain and High Wind!
Tarp Set Up Considerations
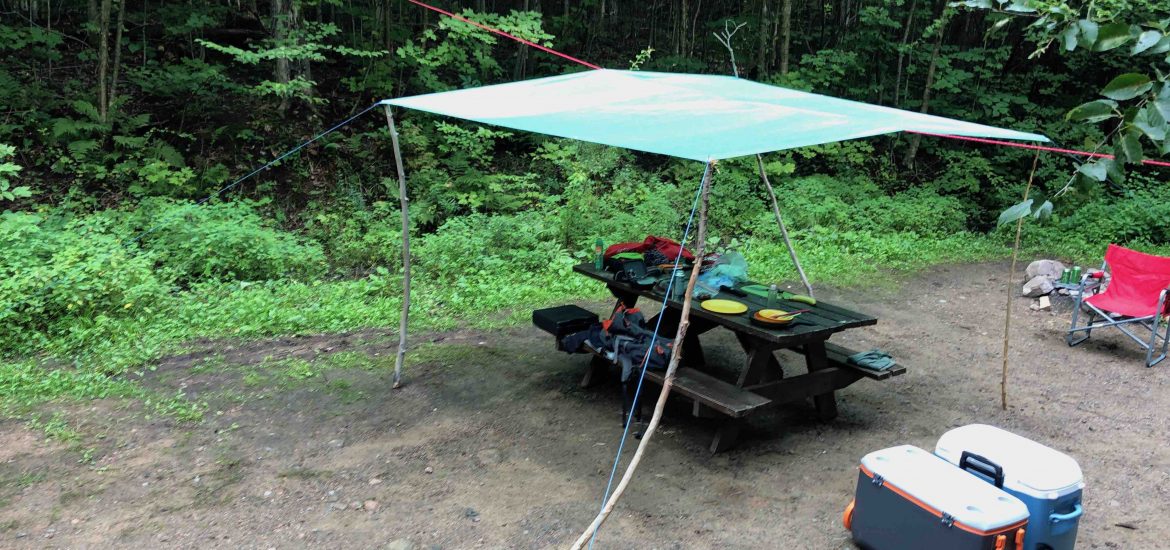
Location and Density of Trees
If your campsite is filled with trees that aren’t too far apart, or the picnic table is centrally located with trees close by, you can opt to tie the ends of the tarp directly to trees.
Make sure to tie one end of the tarp higher than the other to ensure any rain water funnels down to one side. And, always slope the tarp the same as the ground so that the funneled water doesn’t run through your dry area.
However, some campsites have trees spread far apart, but all you really need are two trees. A primary rope can be strung between two, and the tarp ends pegged to the ground.
Shaded Areas
Trees typically provide lots of shade and only when the sun is at its peak in the sky is when you need respite.
So, pick a location for your tarp that’s not already protected by the trees. A shaded area between trees can be used to set up tents or hammocks.
Proximity to Fire Pit
It is generally not recommended to set up a tarp directly over a fire (unless your survival depends on it).
This is because, although tarps are not highly flammable (including polyethylene), if exposed to a flame they will burn [Reference].
Even small embers wafting in the air can land on a tarp and melt the fabric, creating little holes that water can seep through.
The heat and embers can also damage ropes if left too close. So, make sure you position the tarp and any ropes well away from the heat of a campfire.
Tarp Set Up Instructions
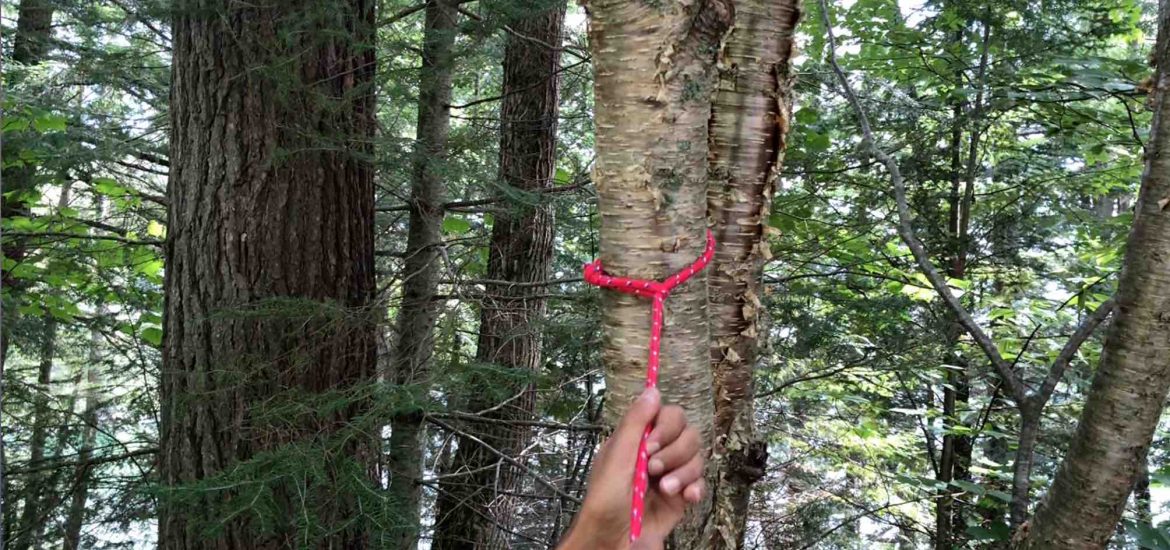
Step 1: Set Up Primary Rope
Look for a spot to set up the tarp between two trees. If you need to, reposition the picnic table so that it is positioned between two sturdy trees.
When tying the primary rope, tie it as high as you can reach to ensure lots of head room under the tarp.
Make sure the rope is tight and doesn’t sag.
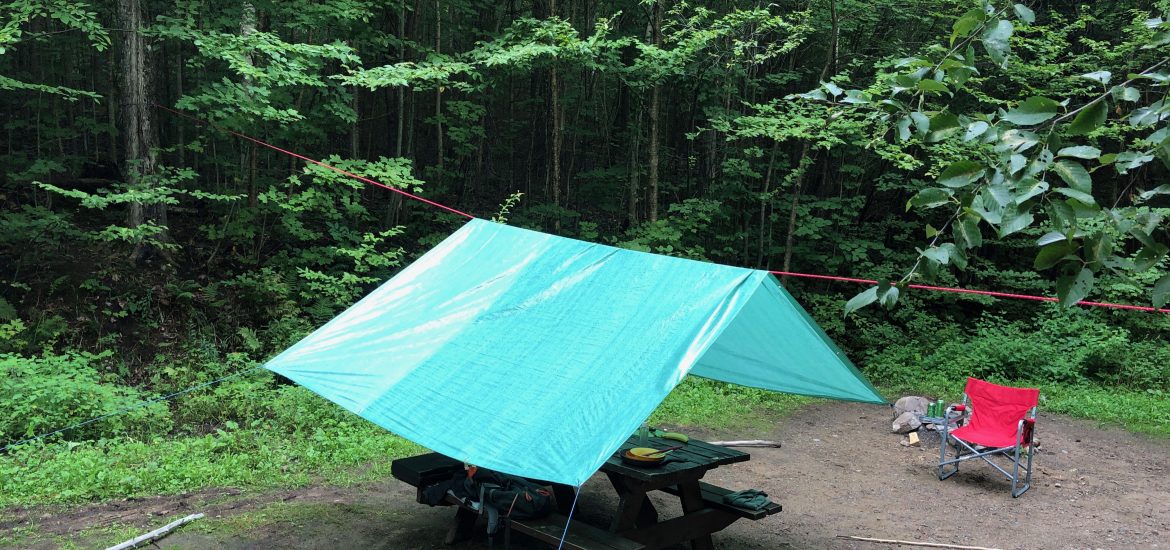
Step 2: Hang Tarp Over Primary Rope
Just like a clothes line, hang the tarp over the primary line. Position it so that it’s centered over the picnic table.
On each of the four corners, tie the secondary ropes to each of the grommets.
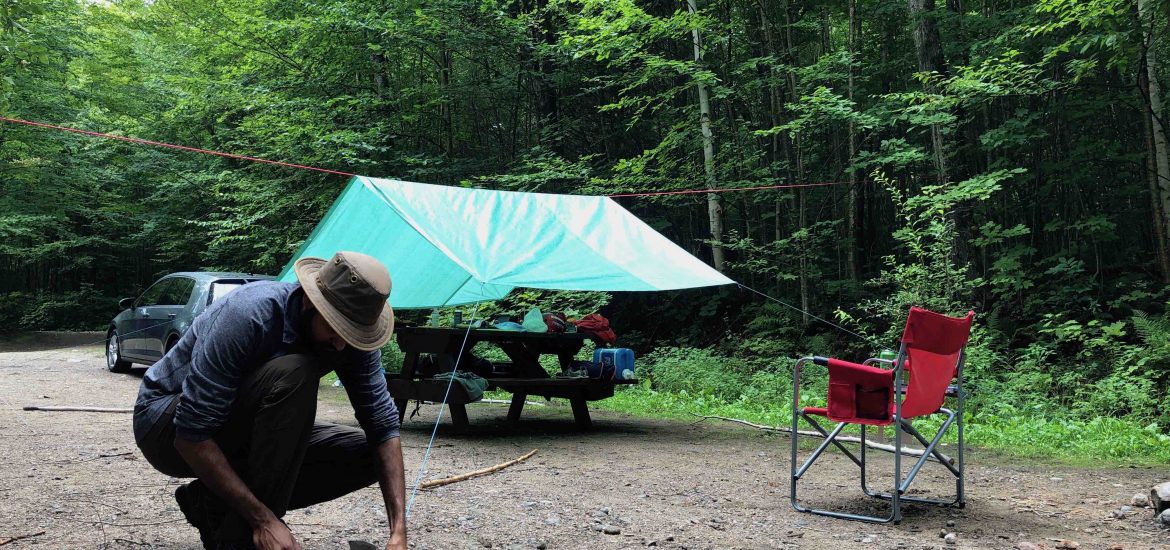
Step 3: Attach Secondary Lines to Ground Stakes
Tie the ends of each secondary line to a ground stake. Using a rock, pound each stake into the ground. Angle the stakes so that the tip is pointing back towards the center of the tarp.
When hung and staked out, the tarp should look like an “A”. The ropes don’t need to be super tight yet – they will be tightened later.
Step 4: Support Tarp Corners with Sticks
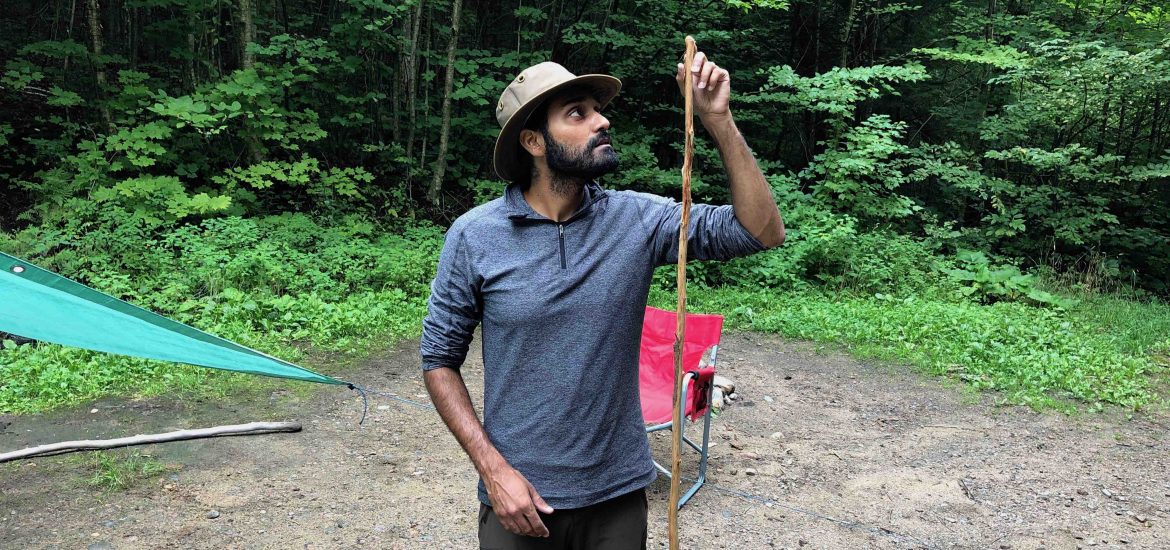
Measure and cut 4 sticks so that their lengths are at least 1 foot longer than the tallest person. Using a knife, shave the tips of each stick so that 1 inch can fit into the tarp grommets.
Place each tip inside the grommet, lift the tarp and position the sticks under each corner.
If needed, tighten each secondary line to ensure the tarp is taut on each corner.
This article contains affiliate links, which help support this blog at no cost to you!

Pingback: How Much Firewood Do You Need for Camping? Wood Types and Burn Rate Explained
Pingback: Why You Need a Tent Footprint for Camping – Benefits, Instructions & Tips
Pingback: How to Start a Camp Fire in the Rain – Pro-Tips & Instructions