
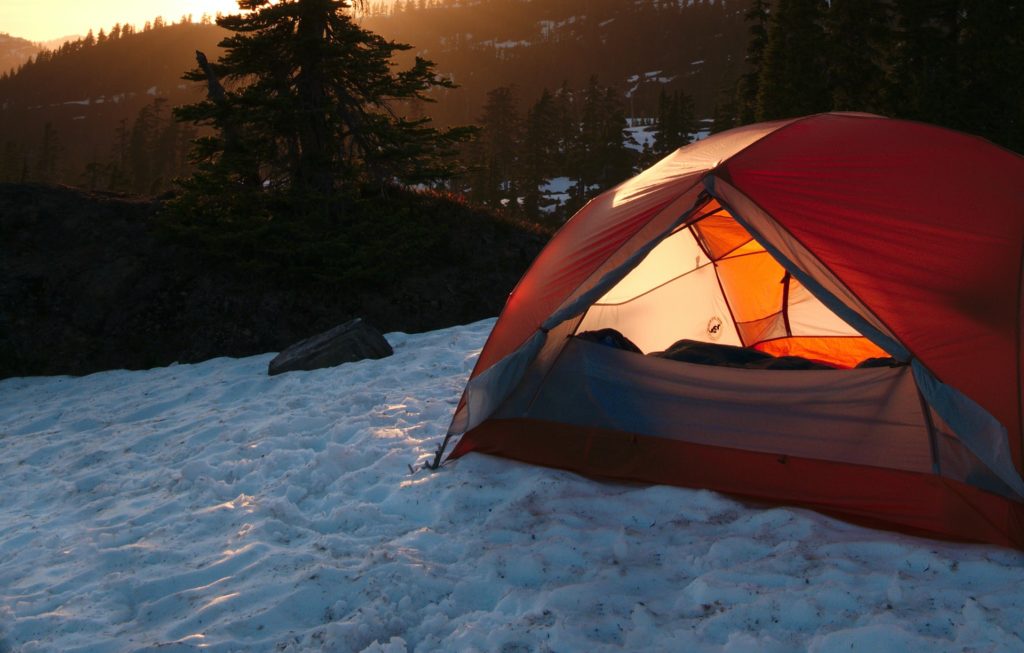
These days, tents are designed with innovative features to make your time outdoors easier and more comfortable.
From internal mesh pockets for storage, to multiple attachment points for lighting, these built-in features are what makes some tents better than others.
So, let’s take a look at 7 built-in tent features you should maximize on your next camping trip. And, what you should be looking for if you’re in the market for a new tent.
Article Contents:
- Air Flow Vents for Moisture and Temperature Control
- Tent Vestibules for Transitioning, Storage and Cooking
- Internal Storage Pockets for Quick Access
- Hanging Attachment Points for Lighting, Drying, and More
- Entrance Awning for Rain Protection
- Entrance Mat for Easier Entering and Exiting
- Tent Footprint for Added Protection
1. Air Flow Vents for Moisture and Temperature Control
Whether it’s hot and humid or cold and wet outside, the inside of your tent should be adjusted to ensure you stay comfortable.
Not surprisingly, when the weather outside isn’t great, completely sealing yourself inside of a tent isn’t the best idea.
That’s because stagnant air inside of a tent will start to rise in both temperature and humidity because of the body heat and moisture expelled from people, aka, mouth breathers. It won’t take long for the internal conditions to become very uncomfortable.
- When you wake up, the tent walls and floor will be covered in a layer of moisture in the form of condensation or even frost if it’s cold out!
The best way to combat warm and moist stagnant air is to utilize the tent’s built-in air flow vents. During both warm and cold camping conditions, it’s important to allow fresh air to constantly flow through the tent.
- Airflow reduces the amount of moisture trapped inside of a tent and prevents condensation build up.
- Airflow cools and expels any trapped heat inside of a tent to keep sleepers comfortable.
Because warm air rises, for winter camping, it’s best to utilize the air flow vents at the top of the tent versus the door vents. This helps to prevent excessive cold air flowing into the tent, but allows for the humid air to escape, preventing it from condensing on the tent walls.
2. Tent Vestibules for Transitioning, Storage and Cooking
If you’re not familiar with the term, let me first explain what exactly is a tent vestibule:
- A tent vestibule is a covered area outside of the main tent body, which acts as a foyer prior to entering into the main part of a tent.
- Tent vestibules are typically located along the sides, front, or back of the tent, and can be used to store equipment and shield yourself from the outside weather when entering or exiting the tent.
Some tents are designed to include one or more tent vestibules. So, the next important question to answer is what is a tent vestibule used for?
Well, tent vestibules have three main functions – (i) as a transition area when entering and exiting a tent, (ii) as an equipment storage space, and (iii) as a make-shift cooking area.
Let’s have a closer look at each of these.
Pro-tip: For more in-depth information, be sure to check out What is a Tent Vestibule and How to Use it Properly.
i. Transition Area
When entering and exiting a tent in wet weather, it’s important to shed any rain water from your body before entering your clean, dry tent.
A tent vestibule allows you to:
- Remove your waterproof rain jacket or shake off any water droplets from your clothes prior to entering your tent.
- Store your shoes outside without getting them wet, so you can slip your shoes on and off while keeping your feet and shoes dry.
Some vestibules are fairly large, with enough space to set up chairs. This design comes in very handy, especially for expedition or backcountry trips where you would want a sheltered space to sit and relax.
ii. Equipment Storage Space
A tent vestibule allows you to store your camping equipment in a sheltered space instead of piling your gear inside the main body of your tent.
Tents designed with vestibules allow for optimal use of space for sleeping and storage, which means less overall camping tent weight.
Some tents are designed with an alternative rain fly which has a built in vestibule. This means you can choose to modify the tent arrangement if you need or don’t need a vestibule for a specific camping trip.
iii. Cooking Area
There are many reasons you should never cook inside of a tent, but there are two key risks – damaging or setting your tent on fire, and exposure to carbon monoxide gas generated from a camp stove.
However, cooking in a tent vestibule while winter camping, during inclement weather conditions, or in an emergency situation is acceptable if you are very careful.
Cooking in a tent vestibule can be done if you:
- Maintain adequate air ventilation to prevent moisture and carbon monoxide build up inside your tent.
- Maintain an adequate distance between the stove burner and the tent fabric.
Cooking in a tent vestibule is highly discouraged while camping in bear country. The smell of food, and lingering scent left in your tent is a homing beacon to curious and hungry bears and other animals.
3. Internal Storage Pockets for Quick Access

Imagine being woken up in the middle of the night by an unfamiliar noise outside of your tent. It’s pitch black and you scramble to look for your headlamp. There’s only one problem – it’s no where to be found.
Now, there once was a time when this was a common problem for many campers at night. Leaving small items on the tent floor will eventually lead to some things getting unknowingly hidden when you need it.
That’s why most tents these days come with internal storage pockets, which provide quick and easy access to your essentials.
- Pockets are located either just above the base of the tent wall, or further up near the doors.
- Pockets are typically made from mesh material so you can easily see what’s stored inside.
Anything small and lightweight from eyeglasses, headlamps, car keys, books, electronics, bear spray, or a sheathed knife can be stored in a tent internal pocket. I’ve even rolled up a sweater and stuffed it inside of a tent pocket just incase it gets too cold at night.
So, the next time you’re startled and woken up abruptly, you know exactly where your headlamp, bear spray, or cell phone is safely stored!
Pro-tip: Make sure to check and empty all the pockets before taking down and folding your tent away. You just might have forgotten your car keys in one of them (*based on true events*).
4. Hanging Attachment Points for Lighting, Drying, and More
Another built-in feature some tents have are internal rings or loops that can be used as attachment points.
For example, a lot of newer tents have a loop or ring at the top most point for hanging a lantern. It’s super useful since it lets you hang a lantern up high which can shine light down across the entire tent.
If there are multiple attachment points on the inside wall, you can string up a clothes line to dry items if it’s raining out.
You can hang car keys, quick dry towels, articles of clothing – anything that isn’t too heavy.
Pro-tip: Just make sure to bring a few small carabineer clips to help you attach items to those points.
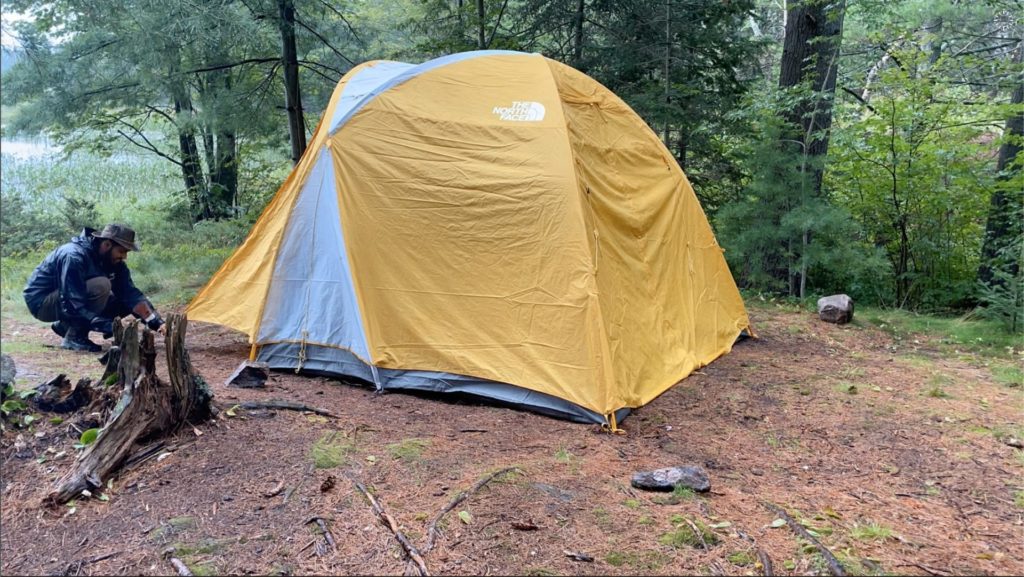
5. Entrance Awning for Rain Protection
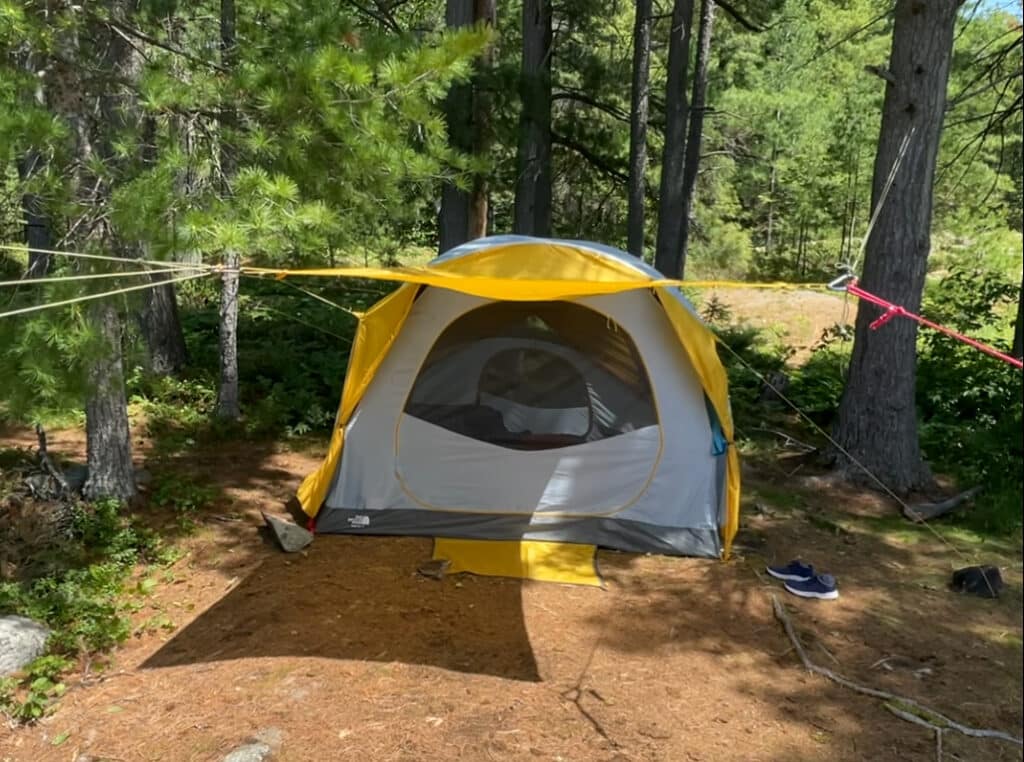
Some larger capacity tents either include a dedicated entrance awning or a vestibule that converts into an entrance awning.
Typically, a tent awning is built into the outer tent fly and can be erected and extended outward, if needed, with separate poles.
Similar to a vestibule, a tent awning can be used to shield people from rain or snow as they enter and exit a tent.
However, tent awnings won’t provide wrap-around protection, i.e., horizontal wind and rain. A good work-around is to slope the awning at a lower angle, so it acts more like a lean-to. This will also prevent water from pooling on top.
For our tent [The North Face Kaiju 4 Person], the awning is usually staked into the ground and zipped together with the flanking vestibules at night. However, during the day, we utilize paracord and suspend the rope from nearby trees to prop-up the awning [see image above].
Pro-tip: If your tent fly has the ability to convert into an awning, you could consider getting these extendable tent poles to prop-up the ends of the awning, then use guy lines or paracord to anchor the ends to ground stakes.
6. Entrance Mat for Easier Entering and Exiting
When you are about to get into your tent, what do you do?
Well, typically you would untie your shoe laces and partially remove your shoes. Then, wiggle out of one shoe, balancing on one foot and step into the tent. Then, wiggle out of the other shoe and place the other foot inside, all without trying to fall over the entire time.
Well, there’s a better way…
An entrance mat is another built-in feature some tents have, which makes getting in and out of a tent easier and less of a circus balancing act.
Most small tents won’t come with it, but some larger, family sized tents include a built-in mat at one or more entrances:
- The purpose of the mat is to allow people to remove or put on their shoes without having to step on the ground, or awkwardly shuffle their shoes off whilst stepping into the tent.
- You walk up to the tent entrance, remove your shoes and step on the mat before unzipping the tent door and entering.
- Likewise, you can unzip the tent door, step out, and grab your shoes to put them on.
Your feet won’t get dirty, you won’t track any dirt into your tent, and you won’t fall over!
The entrance mat is usually built into the main body of the tent, so it just needs to be folded out when you’re setting it up. The mat corners can be staked down so it doesn’t move around as people walk over it.
Built-in entrance mats are usually made from the same material as the tent body, so they’re made pretty tough. Also, if you don’t want to use it, you can tuck it away underneath your tent base.
7. Tent Footprint for Added Protection

Your tent is probably the most important (and expensive) piece of camping equipment you own. So, you should try your best to keep it from getting damaged.
By far, the most common place tents get damaged is the bottom of the tent, at the base. This is because setting up a tent on rough terrain can expose the base layer to abrasive rocks and sharp twigs.
Overtime, tears can develop which can cause water to seep inside during rain storms. And now your “waterproof” tent is as effective as a screen door on a submarine!
So, to help protect the base of your tent and maintain its waterproof rating, it’s a great idea to use a tent footprint.
- A tent footprint, or ground sheet, is an added layer of protection placed between the bottom of your tent and the ground.
- A footprint is typically made from an impermeable layer, which provides greater insulation and protection from water and sharp objects.
A footprint might come included with your tent, like our Marmot Twilight 2P. But, our larger 4-person tent didn’t include it, so we had to purchase it separately.
If you’re looking for an alternative method, a tarp used correctly can act as a tent footprint.
Pro-tip: For more information on the benefits, instructions, and tips for using a footprint, check out Why You Need a Tent Footprint for Camping.
This article contains affiliate links, which help support this blog at no cost to you!