Knowing how to properly set up a camping tent is critical for any outdoor adventure. But, for a first time camper it might be a bit confusing.
Thankfully, most tent designs are extremely intuitive to set up and only take a few minutes.
So, let’s explore how to properly set up a camping tent, including reviewing all the different tent components, where to set up a tent, and tent set up pro-tips.
Article Contents:

What are the Parts of a Camping Tent?
Most people are fairly familiar with a camping tent. It isn’t a complicated piece of equipment.
But, knowing all the parts and how they function together can help make setting up and using a camping tent a lot better.
So, first, let’s review what are all the parts of a camping tent.
Tent Footprint or Ground Sheet (Optional)
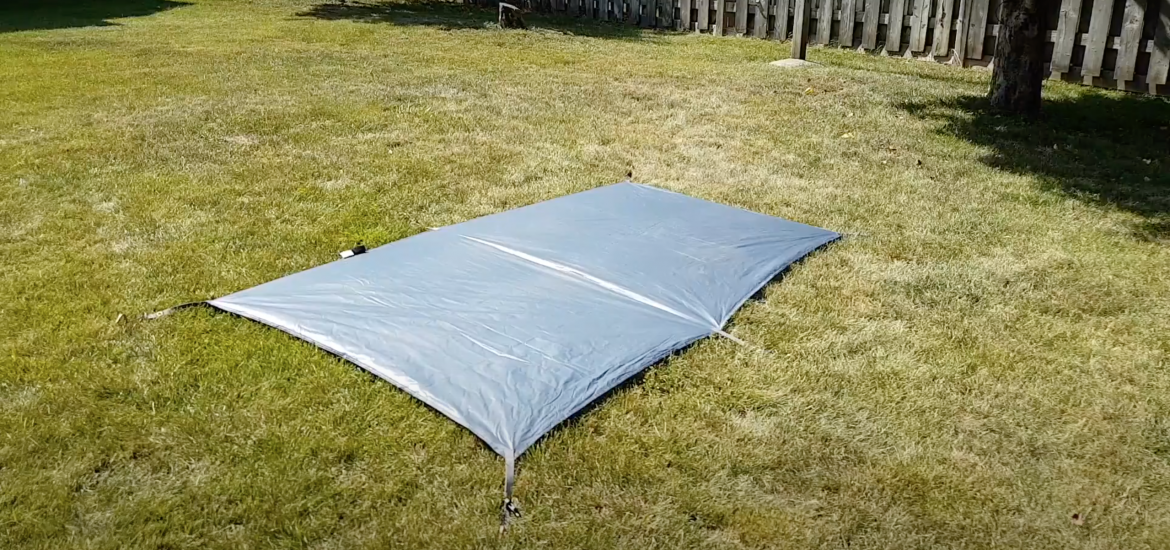
A tent footprint, also known as a ground sheet or ground cloth, provides a layer of protection between a tent body material and the ground surface. A footprint reduces the risk of punctures and tears, and acts as a sacrificial barrier.
The most common tent footprint materials are plastics such as polyethylene (Tyvek) and nylon ripstop fabric. These materials are great because they are waterproof, durable, lightweight, and low cost. Some campers also use a tarp as a tent footprint, but there’s a caveat…
It is important that a footprint is sized to either match a tent’s floor dimensions exactly or, better yet, be an inch smaller to prevent water from collecting around the exposed edges and then pooling underneath the tent.
Pro-tip: For more information on the benefits of using a tent footprint, check out my article Why You Need a Tent Footprint While Camping.
Tent Body
The tent body provides the main structure of your tent. It includes the floor, walls, and ceiling. Inside of the tent body is where you’ll be setting up your sleeping system.
Typically, the tent body is supported by the tent poles which either slide into sleeves built into the tent body fabric, or attached with clips.
The most common tent body fabrics are nylon and polyester. Nylon and its variants are typically high strength and lightweight. However, polyester and its variants are generally more durable.
Tent Poles
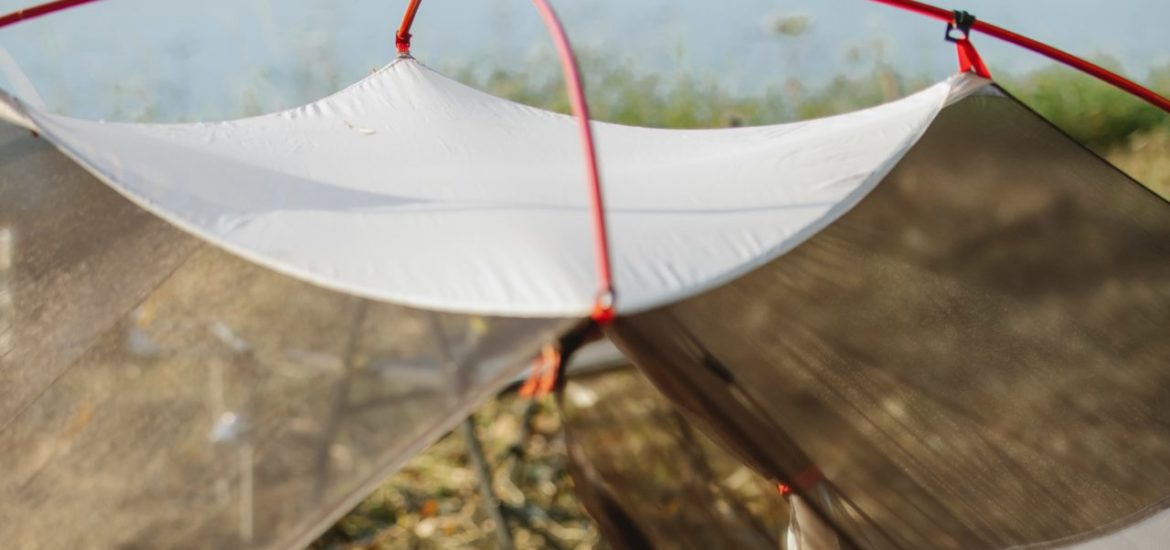
Tent poles provide the support for the entire tent system. They are designed to maximize the shape and volume of a tent, keeping the structure erect during rain, snow, and wind.
Tent poles are designed to be collapsible, which means they fold down to a smaller form factor for packing and transportation. They are also designed to be somewhat flexible, bending to fit the shape of the tent.
Fiberglass, aluminium, and carbon fiber are the most common tent pole materials, each being lighter, stronger, but costlier than the last.
Rain Fly
To boost the waterproof rating, some tents include a separate rain fly. A rain fly is a waterproof cover that is draped over the tent body to enhance the weatherproof rating of the tent overall.
In some tents, a rain fly can cover only the top portion of a tent body. For other tents, a “full coverage rain fly” extends all the way down to the base of the tent.
Rain fly materials are similar to tent body materials, however they usually include a waterproof coating made from silicone, or urethane to better protect against water penetration.
Ground Stakes
Ground stakes help anchor the footprint, tent body, and rain fly to the earth. They are essential in windy conditions to prevent your tent from flying away.
- Ground stakes typically made from light-weight aluminum, steel or high-strength plastic.
They are attached to the anchoring loops in the tent base and hammered into the ground.
Guy lines
Most tents are manufactured with guy-out or tie-off points built into the tent frame or tent rain fly. These guy-out points are typically located mid-way up the side of a tent or near the top.
Guy lines are important to set up correctly and use because they:
- Secure a tent to the ground better
- Help shed rain and snow loads from the tent body and rain fly
- Maximize the tent volume
Pro-tip: For more information on the benefits of using tent guy lines, check out my article How to Properly Set Up and Use Guy Lines.
Where is the Best Location to Set Up a Tent?
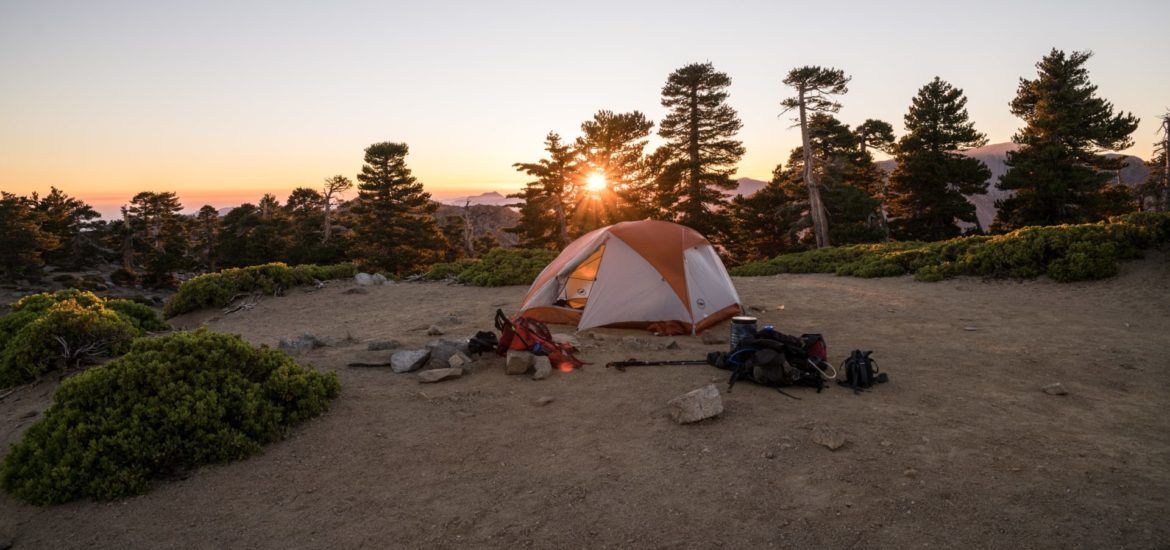
When first arriving at your campsite, one of the first decisions you have to make is where to set up your tent.
Some campground campsites have designated spots for tents whereas when backcountry camping, a tent location can be a bit more variable.
Finding the best spot to pitch a tent depends on a few important factors:
Distance From Vehicles
The noise and exhaust generated from a vehicle can be disruptive and dangerous to anyone sleeping in a tent too close.
- Starting up an engine, or just opening and closing doors to access things inside can be quite loud.
- Engine exhaust is very hot which can damage a tent fabric, as well as contains noxious fumes that can be deadly.
So, how far from a vehicle should a tent be set up? It’s recommended that a tent is set up at least 15 feet away from a vehicle’s exhaust. Similarly, a perimeter of at least 10 feet should be maintained around a vehicle to allow for easy access.
Distance From Fire Pit
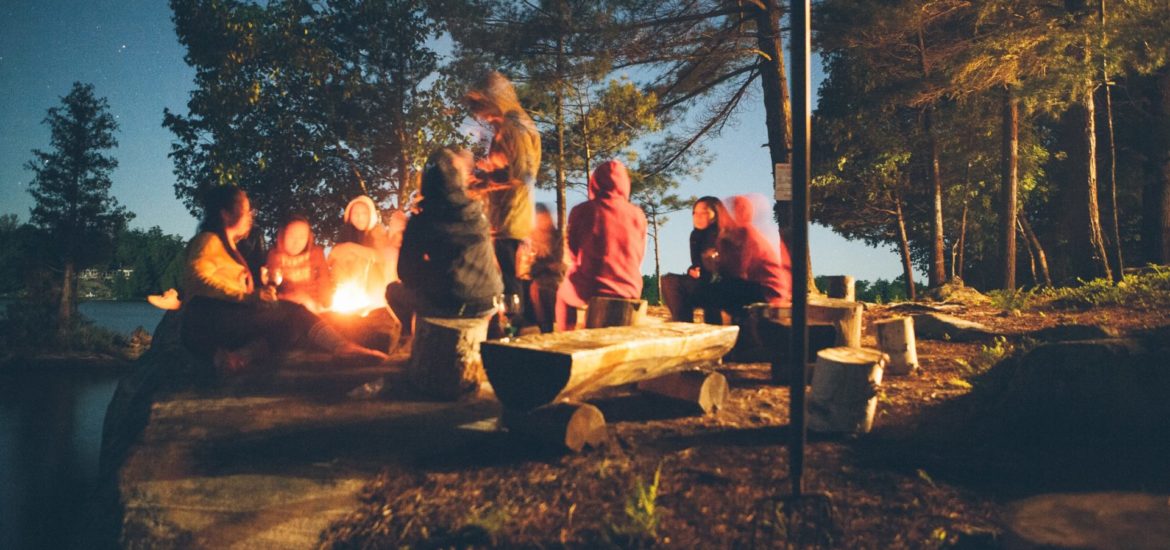
The heat and fly-away embers from a campfire pose a significant risk to damaging your tent. Additionally, the smoke from a smouldering fire can also get trapped inside of a tent if it’s too close.
A tent should be set up at least 15 feet away from a small to medium sized campfire. For large and intense campfires, a tent should be set up at least 25 feet.
Distance From Cooking and Eating Area
Food scraps and the lingering scent of food can and will attract wild animals to your camp cooking and eating area. Rodents such as mice and chipmunks, as well as larger animals such as racoons and even bears can sniff out the smallest of scents.
In established campgrounds, it’s best practice to leave at least 15 feet between your tent and eating area. When wilderness camping, or camping in the bear country, you need to cook, eat and store food a minimum of 100 yards away from your tent.
Ground Conditions
The ground conditions at your campsite can quickly indicate where your tent will be set up.
Excessive roots, rocky ground, a surplus of insects, or an obvious low-point are all ground conditions you want to avoid while setting up your tent.
Strategic Exposure to Direct Sun Light
The sun can be your friend or foe while camping, depending on the season. You need to be strategic when setting up your tent to be primarily in or out of direct sun light. This can help better regulate the temperature inside of your tent.
In the extreme heat, positioning your tent in the shade will help keep it cool. Whereas in the fall or winter, fully exposing your tent to the sun will help increase the internal temperature.

Proximity to the Tallest Trees
If severe thunderstorms are in the forecast, it’s recommended that you steer clear of the tallest trees when setting up a tent.
That’s because the tallest trees are usually prime candidates for lightning strikes. So, it’s best to not place yourself anywhere near places of higher lightning probability.
Proximity to Cliffs
Ridgeline or mountainous camping can often mean setting up your tent right next to a cliff’s edge. In those circumstances, you’re somewhat forced to camp in a precarious position.
But, if you can avoid setting up a tent next to a steep slope or cliff’s edge you should. There’s an increased chance of injury from falling.
How to Set Up a Camping Tent [Step-by-Step Instructions]
If you’re worried about setting up a tent for the first time, don’t be. Most tents are designed to be easy to set up. It’s just a matter of doing it once to figure out the mechanics of how it all works.
Typically, setting up a camping tent involves the following 8 sequential steps.
1. Prepare the Ground
Before you erect a tent, the ground below your tent must be adequately prepared. Rocks and twigs should be cleared to prevent them from puncturing your tent base.
If the dirt is loose, use your boots to level the ground and smooth out any uneven bumps the best you can.
Pro-tip: Look for signs of insects or rodents. If there is an obvious ant colony or a mouse hole, it’s best to find a new spot!
2. Lay Ground Sheet or Tent Footprint (Optional)

After the ground is prepared, unfold the tent footprint or lay a ground sheet down where the tent will be set up.
Ensure that the orientation of the ground sheet matches the desired orientation of the tent.
3. Unfold the Tent Body
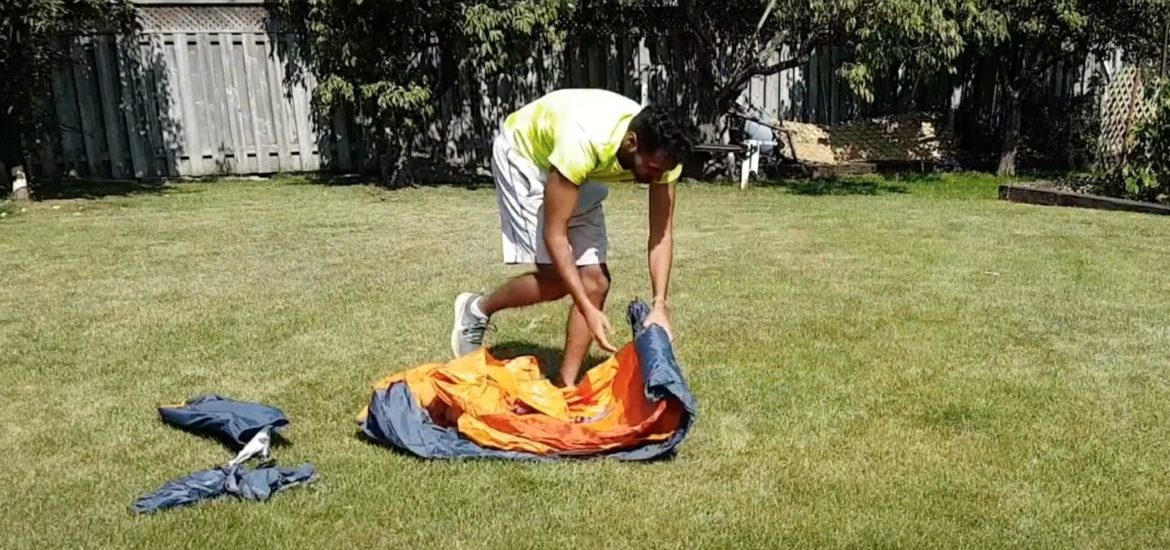
The main tent body can then be unfolded over the area you’ve prepared. Spread out all the corners of the tent.
Locate the doors of the tent and position them correctly.
4. Unfold the Tent Poles
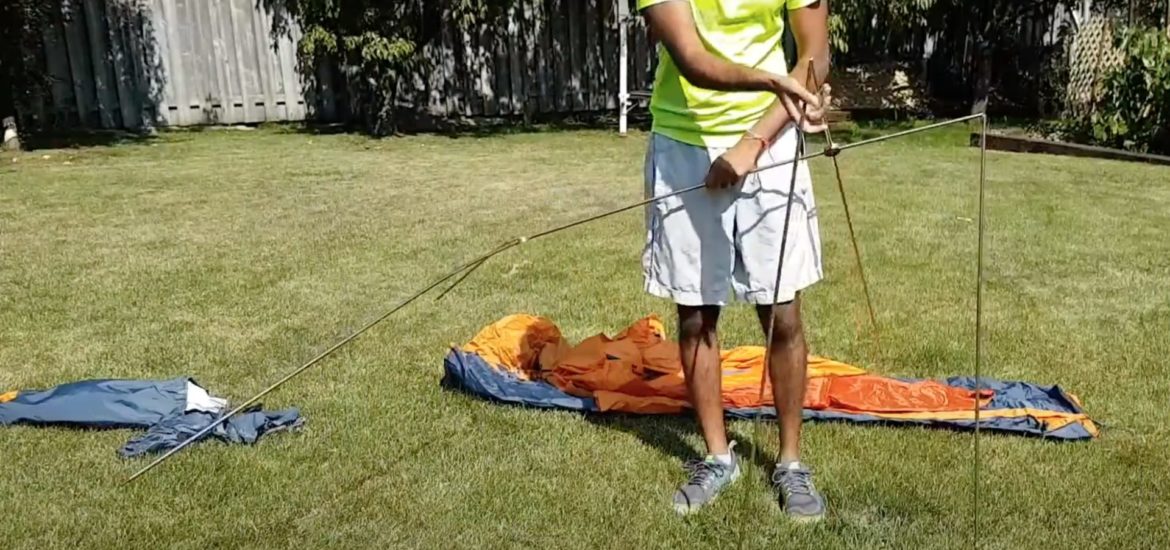
Unpack the tent poles and start unfolding them. Most tent poles pop together fairly easily.
If the tent poles are colour coded or of different lengths, keep them together and place them next to the tent.
5. Attach Tent Poles to Tent Body
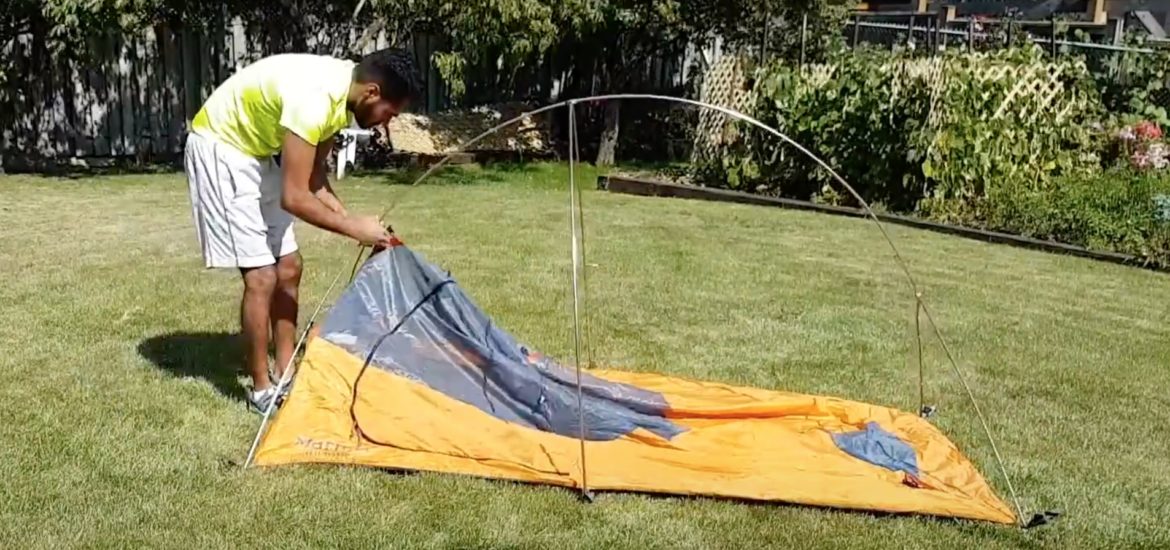
Slide the tent poles into the correct tent body sleeves. Make sure the pole ends do not get snagged in the process.
Once all the poles are attached to the sleeves, take the ends of each tent pole and lock it into the tent base.
- The tent base should have a clip or grommet for the tent pole ends to fit into.
For some tents, the tent body attaches to the tent poles with “snap clips”. Make sure all the clips are connected and that the tent is properly erected.
6. Hammer in Ground Stakes
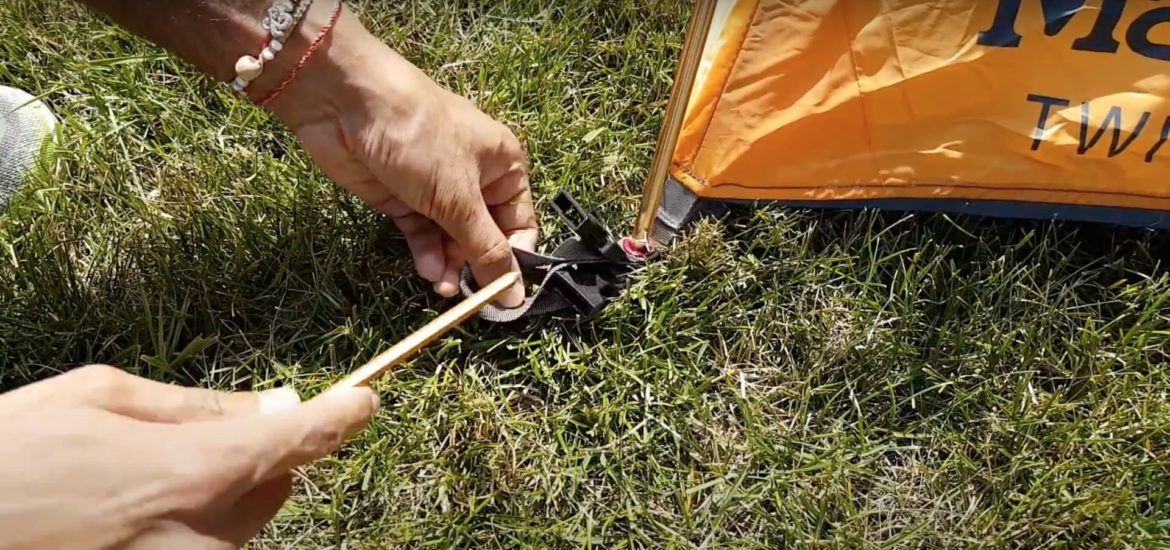
Using a hammer, the blunt end of a hatchet, or a large stone, hammer in ground stakes at each point of the tent base.
- Make sure there is a bit of tension between the tent base loop and stake as it gets driven into the ground.
- The pointed end should be angled inward towards the tent to help ensure it doesn’t get pulled out in strong winds.
Pro-tip: If your tent doesn’t come with enough ground stakes, or they’ve broken over time, consider getting a set of heavy duty ground stakes.
7. Attach Waterproof Tent Fly
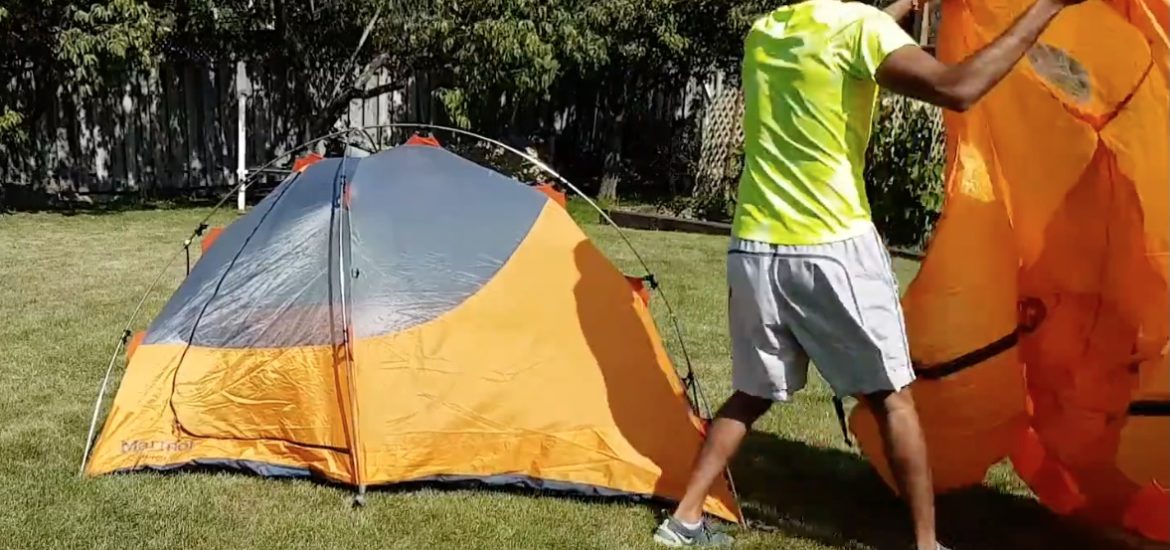
Drape the waterproof rain fly over the tent body. Make sure the entrance flaps, windows, and vestibules are in the correct position.
Most rain fly’s have Velcro straps built into the underside which get strapped around the tent poles.
Clip the ends of the rainfly into the tent base, or stake them out into the ground.
8. Tension Guy Lines
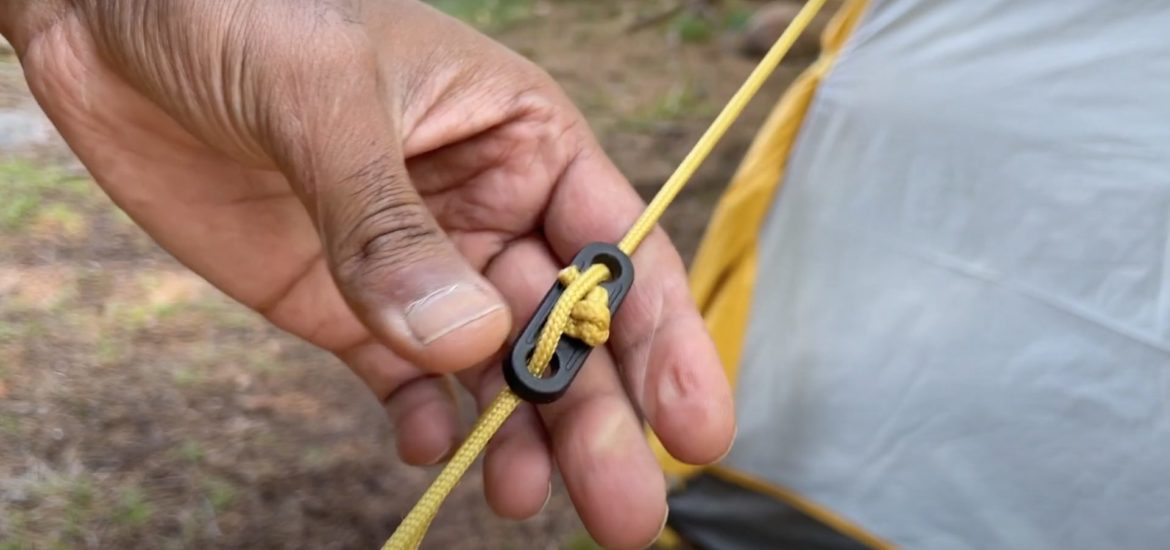
Loop the free end of each guy line around a ground stake. Place the stake away from the connection point, perpendicular to the tent, then hammer in the ground stake.
Repeat the same process for all guy lines. Using the built-in tensioning clip, pull each guy line taut.
Pro-tip: If you’re looking for a solid 3-season tent recommendation, check out my article [Top 3] Camping Tents Perfectly Engineered for Heavy Rain and High Winds.
Camping Tent Set Up Tips
Personally, I’ve set up and taken down tents countless times. But, there are certain things that have helped me along the way.
Below are several tips and tricks you can use the next time you set up a camping tent.
Practice Setting Up a Tent at Home Before Leaving
If I’ve purchased a new tent, or borrowed one from a friend, one of the first things I do before heading out on a camping trip is to set it up at home.
This way I can become familiar with all the components and the correct set up technique. I can see if anything is missing, or if the tent is damaged and requires repair [How to Repair a Damaged Tent].
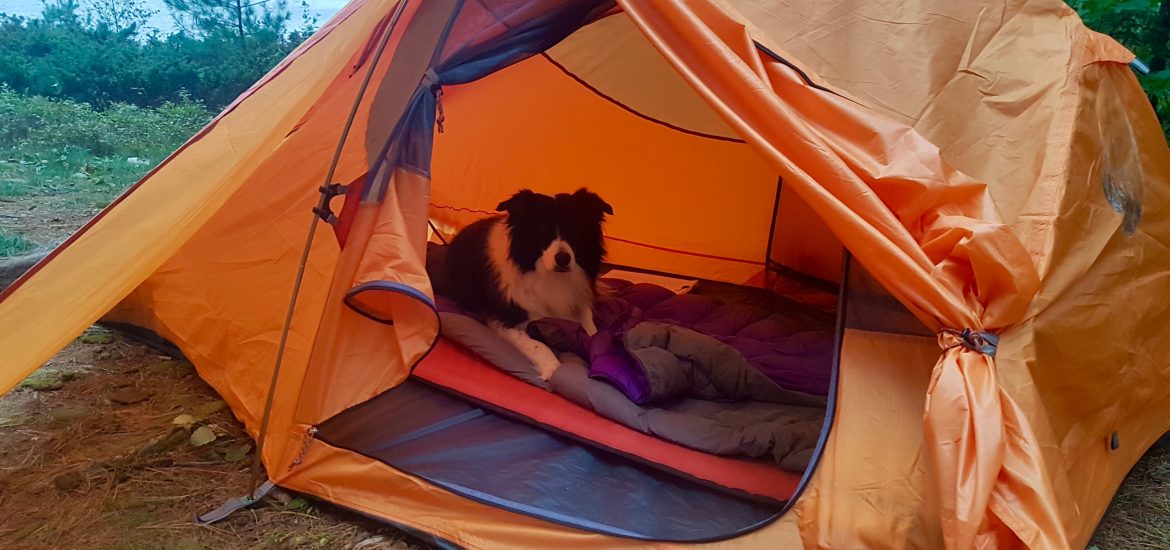
Pro-tip: If you’re camping with a dog, setting up a tent and letting them get familiar with it at home is a great idea!
Set Up a Tarp Above Your Tent
If it’s raining and you need to set up a tent, it’s recommended that you first set up a tarp to create a dry area to erect your tent. This will keep the inside of your tent dry when you set up your sleeping system.
Additionally, if your tent isn’t entirely waterproof, setting up a tarp above your tent will ensure that it stays dry throughout a wet camping trip.
Pro-tip: Check out my fool-proof tarp set up tutorial article here.
Divert Rain Water Away
In wet weather, channeling water around or away from your tent can prevent water collecting under your tent.
If you notice your tent is in the path of a small stream of rain water, you can simply move some dirt to help divert it around your tent.
Likewise, if rain water from a tarp is dripping onto your tent, reposition the tarp ends so that it flows away.
Maximize Airflow Vents
The inside of a tent can quickly become stuffy and uncomfortable in certain weather conditions. In those situations, it’s a good idea to maximize the airflow inside the tent to flush the stagnant air.
Partially opening rain fly flaps, opening vents, and unzipping door screens can keep the flow of air moving.
Keep Tent Doors Closed at All Times
Insects can be a serious problem especially in the spring and summer months. Your tent, for the most part, should be a safe haven and area for respite if they get too intense.
However, if you or your fellow campers are prone to keeping the tent doors open, you’ll be in for a nasty surprise. Just a single mosquito allowed inside can wreck havoc.
So, it’s good practice to always keep tent doors closed. And, when entering and exiting a tent, to do it as quickly as possible to prevent insects from sneaking in!
This article contains affiliate links, which help support this blog at no cost to you!
