An often under-utilized aspect of pitching a tent is the use of guy lines. Many campers don’t seem to set up guy lines properly, and others do not use them all-together.
But, why are tent guy lines important, and how do you properly set up tent guy lines?
Article Contents:
Why Are Tent Guy Lines Important?
Most tents are manufactured with guy-out or tie-off points built into the tent frame or tent fly. These guy-out points are typically located mid-way up the side of a tent or near the top.
They are strategically located around a tent and are important for 3 key reasons.

1. Secure Tent to the Ground Better
Typically, a tent base includes grommets or loops to stake into the ground. This keeps the tent firmly anchored down and prevents it from shifting while people are inside or during windy conditions.
In some instances, these tent base anchor points aren’t good enough at keeping your tent secure, especially in extremely windy conditions.
Using tent guy lines and staking them into the ground increases a tent’s stability and better anchors it to the ground in harsh conditions.
Each additional anchor point helps to secure the tent so that it can weather wind gusts without getting blown away.
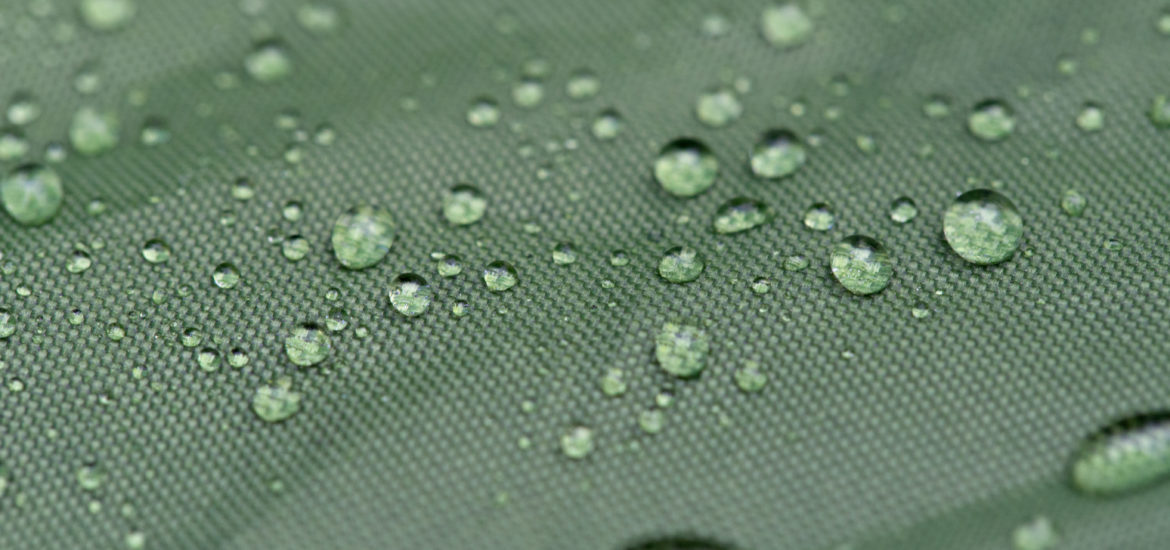
2. Sheds Rain & Snow Loads
Tents are usually designed and shaped to prevent rain water and snow from accumulating on the fabric. However, during intense storms, a tent can easily become overwhelmed with the amount of rainfall, snow or ice loads.
A tent rainfly can start to sag, which reduces its ability to channel and deflect precipitation away from the tent body. And overtime, water may start to penetrate into these areas, or the snow load might become too high and collapse into the tent.
- Guy lines are meant to add tension and rigidity to a tent and tent fly
- Guy lines pull the tent fabric taught so that a tent can more easily shed water or snow from the fabric
Personally, I’ve found using tent guy lines eliminates any pooling of water on my tent, especially during heavy rain periods. I can see a stark difference between how dry my tent is with and without guy lines being used.
So, if I know precipitation is in the forecast, I make sure to utilize all my tent guy lines to keep my tent shaped perfectly to shed water.

3. Maximize Tent Volume
Usually, when you set up a tent, the fabric isn’t super taut. There can be areas where the tent body sags inward which can reduce the overall interior space.
Well, tent guy lines are designed to “pull the tent open” and helps to maximize the tent interior volume.
Even if it’s a couple of inches larger, the added interior volume can make a huge difference. It can mean campers won’t have the tent walls directly in their face when they sleep. It can also give you a little more room to maneuver, especially with loads of gear and other people inside.
Pro-tip: For tents where the fabric is loose or the frame is weak, using guy lines drastically improves the shape and can restore an “old” tent back to its former glory!
Step-by-Step Tent Guy Line Set Up
Step 1: Attach Guy Lines to Tent Body
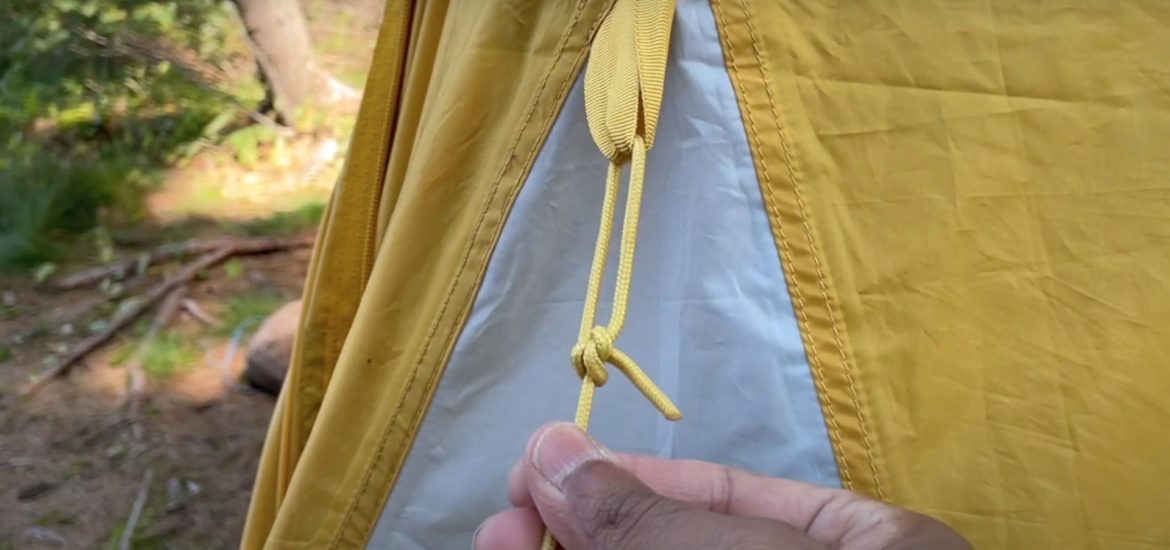
Most of the time, a tent comes with guy lines installed, but if your tent doesn’t come with guy lines pre-installed, you’ll have to attach them yourself first.
If it doesn’t come with guy lines, you can easily order reflective guy line and line tensioners online. Then, cut and attach them to each guy out point.
Make sure there is enough length to reach the ground from the tent guy out point, plus 50% extra. This is to ensure you have enough back-length to tighten the line.
Step 2: Stake Out Each Guy Line
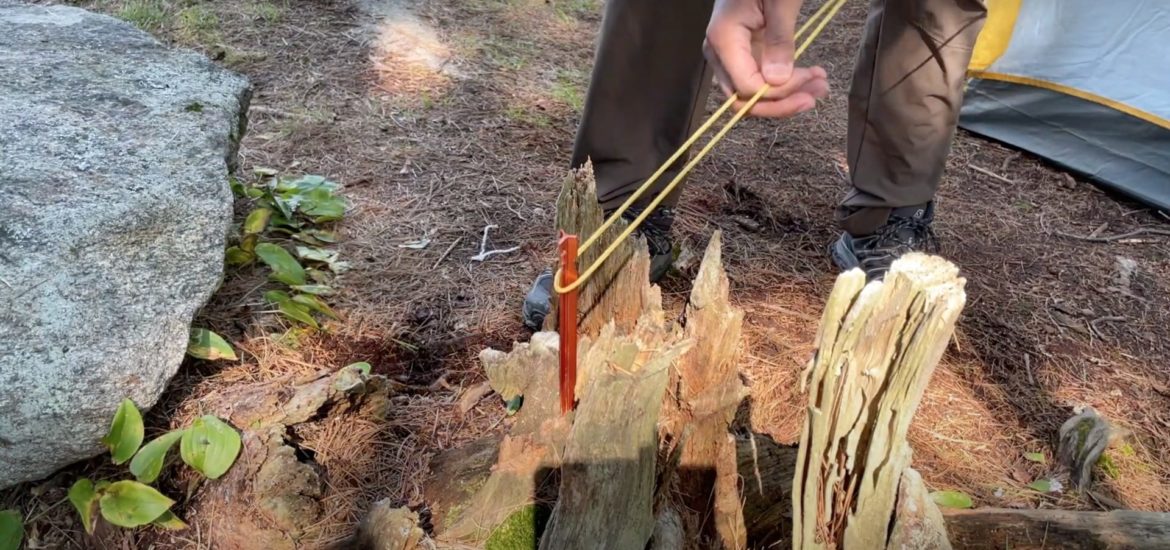
Attach the loop end of the guy line to a ground stake. Hammer the ground stake into the ground while ensuring the following:
- The stake should be angled slightly away from the tent to ensure it doesn’t get pulled out in windy conditions
- The stake should be positioned away from your tent base to create a 45-degree angle between the guy line and the ground
Repeat this process for all guy lines around your tent.
Pro-tip: Feel free to utilize the natural environment to anchor guy lines. Exposed roots and large rocks make great anchor points, especially when the ground is too hard for stakes.
Step 3: Tighten Each Guy Line
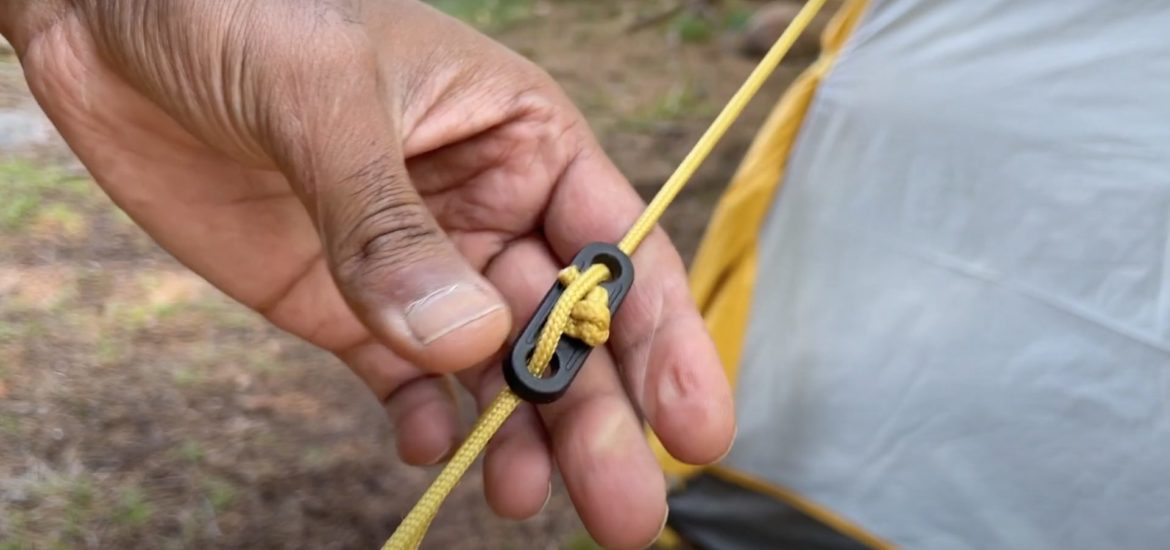
Using the line tensioner, systematically tighten each guy line around your tent. You want each line to be firm but not overly tightened.
An overly tightened guy line can impart too much stress onto your tent, which might cause damage.
- Taut guy lines help a tent to shed rain and snow so you won’t have to constantly shake your tent to remove built up water, snow or ice.
Pro-tip: Guy lines tend to loosen over time. So, throughout the duration of your camping trip, remember to check the tension on each guy line and tighten as required.
Replacement Guy Lines, Tensioners & Ground Stakes

As mentioned, most tents come with guy lines and tensioners included in the box or attached to the tent body, as well as ground stakes.
However, if they do not, or if you need to replace your tent guy lines, I’d recommend purchasing guy lines with built-in reflective strips.
That’s because tripping over guy lines at night is a huge problem, and can be a serious safety concern especially in precarious camping spots such as alpine, ridge, or cliff-edge locations.
Guy Line
I recommend 65 feet (20 meters) of 1.8 mm reflective parachord rope. This rope can be cut into smaller lengths for each guy out point.
Rope Tensioners
Depending on the number of guy lines, you’ll also need to get rope tensioners. I recommend aluminum rope tensioners because they are small, light-weight, and will last a lifetime.
Ground Stakes
Finally, if you don’t have any extra stakes, I recommend purchasing heavy duty stakes to ensure the guy lines are securely anchored to the ground.
This article contains affiliate links, which help support this blog at no cost to you!

As a new camper, I stumbled upon your blog while trying to figure out how much wood to bring. And know I know what to do with the guy lines on my tent! I really appreciate the educational and conversational tone of your writing — it makes it enjoyable and gets to the point! Thanks so much and I will continue to come back for more info! Best Wishes!
Hi Rebecca! I’m so happy you found my articles and videos helpful. My goal is to make camping more accessible and enjoyable for all levels of campers. Please reach out if you have any specific camping related questions. Until then, happy camping!