
Taking down, folding and packing a tent isn’t always the easiest. And no matter what, it’s always hard to replicate the same factory folding and compactness of a tent once it’s been erected.
Well, you’re not alone. A lot of people struggle with folding a tent. But, the good news is that most tents are designed in a similar enough way that once you know how to fold and pack one tent you can pretty much do them all.
So, let’s review a tent’s anatomy, review how to properly and efficiently dismantle all the component, and then fold and pack a tent it so that it’s ready to use for your next outdoor adventure!
Article Contents:
All the Parts of a Tent Explained
Tents come in a variety of shapes, sizes, and ratings. However, they all share common design and material components.
Together, these components come together to create a space that shelters and helps keep you warm, dry, and protected.
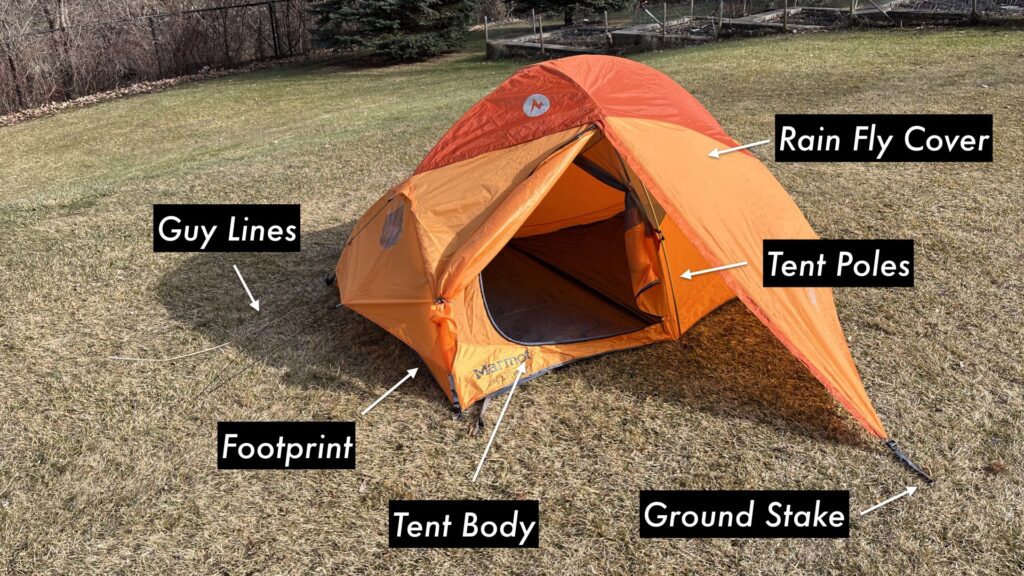
The primary tent components include the tent body, poles, ground stakes, rain fly cover, footprint, and guy lines.
Knowing exactly what each component is and how it works can help you understand how to pack and store it effectively.
Tent Body
The tent body serves as the main structure of tent and acts to provide a physical barrier between you and the elements. The structure includes the floor, walls, and ceiling.
Typically, the tent body is supported by the tent poles which either slide into sleeves built into the tent body fabric, or attached with clips.
The most common tent body materials are nylon and polyester as well as mesh.
- Nylon and its variants are typically high strength and lightweight.
- Polyester and its variants are generally more durable.
Mesh is included to decrease the overall weight, and provide areas with increased airflow without compromising insect defenses.
Tent Poles
Tent poles are designed to be collapsible, which means they fold down to a smaller form factor for packing and transportation.
They are also designed to be somewhat flexible, bending to fit the shape of the tent.
- Tent poles provide the support for the entire tent system.
- They are designed to maximize the shape and volume of a tent, keeping the structure erect during rain, snow, and wind.
Fiberglass, aluminium, and carbon fiber are the most common tent pole materials, each being lighter, stronger, but costlier than the last.
Ground Stakes
Ground stakes help anchor the footprint, tent body, and rain fly to the earth. They are essential in windy conditions to prevent your tent from flying away.
- Ground stakes typically made from light-weight aluminum, steel or high-strength plastic.
They are attached to the anchoring loops in the tent base and hammered into the ground.
Rain Fly Cover
To boost the waterproof rating, some tents include a separate rain fly.
- A rain fly is a waterproof cover that is draped over the tent body to enhance the weatherproof rating of the tent overall.
In some tents, a rain fly can cover only the top portion of a tent body. For other tents, a “full coverage rain fly” extends all the way down to the base of the tent.
Rain fly materials are similar to tent body materials, however they usually include a waterproof coating made from silicone, or urethane to better protect against water penetration.
Footprint / Ground Sheet
A tent footprint, also known as a ground sheet or ground cloth, provides a layer of protection between a tent body material and the ground surface.
A footprint reduces the risk of punctures and tears, and acts as a sacrificial barrier.
- The most common tent footprint materials are plastics such as polyethylene (Tyvek) and nylon ripstop fabric.
- These materials are great because they are waterproof, durable, lightweight, and low cost.
Some campers also use a tarp as a tent footprint, but there’s a caveat…
It is important that a footprint is sized to either match a tent’s floor dimensions exactly or, better yet, be an inch smaller to prevent water from collecting around the exposed edges and then pooling underneath the tent.
Pro-tip: For more information on the benefits of using a tent footprint, check out my article Why You Need a Tent Footprint While Camping.
Guy Lines
Most tents are manufactured with guy-out or tie-off points built into the tent frame or tent rain fly. These guy-out points are typically located mid-way up the side of a tent or near the top.
Guy lines are important because they:
- Secure a tent to the ground better
- Help shed rain and snow loads from the tent body and rain fly
- Maximize the tent volume
Pro-tip: For more information on the benefits of using tent guy lines, check out my article How to Properly Set Up and Use Guy Lines.
Why Proper Tent Folding and Packing is Important

Years of camping has taught me that properly dismantling and folding a tent adds years to its life. Properly packing a tent also ensures that dirt, debris, and moisture don’t damage a tent’s components.
The three biggest issues proper tent folding can address include reducing the risk of tearing fabric, dirty pole connections, and mold from moisture.
Pro-tip: If your tent is damaged in anyway, check my guide for How to Fix a Damaged Tent.
Prevent Fabric Tearing
Improperly folding and stuffing a tent into it’s storage sack can lead to tearing and puncturing of the tent fabric.
The most susceptible fabric of a tent is the mesh. It’s less durable than the nylon or polyester portions.
Repairing the tent mesh or main fabric isn’t impossible, however if the tent is folded correctly, the “weaker” fabric is protected by the “tougher” fabric.
Keep Pole Connections Dirt-Free
Dirt and debris is a key reason why tent poles degrade over time. Grit can get into the pole connection sections.
This can cause the poles to “stick” to one another since the grit creates friction between the pole connections.
Properly wiping down and clearing dirt from the tent poles and fabric helps to ensure debris doesn’t make its way into the pole connection sections.
Moisture Induced Mold / Mildew
Rushing to packing away a damp or wet tent can inevitably lead to the growth of mold and mildew. That means when you set up your tent the next time, the inside will have a very strong and unpleasant scent.
Imagine the smell of a wet umbrella. Now, imagine sleeping in a tent that smells like that, but worse… Not the most pleasant, eh.
So, what’s the solution?
Well, the best way to prevent mold, mildew and a smelly tent is to let it fully dry out. Opening all the vents or hanging the tent in the sun before packing it is a great way to let all the moisture evaporate.
If the sun isn’t out, grab a towel and soak up any moisture especially any water droplets and dew that collects at the bottom of a tent.
Tent Dismantling, Folding & Storage Instructions

The following dismantling, folding, and storage instructions are suitable for most tents.
Pro-tip: Set up a dry line to hang different parts of the tent. This lets the sun and breeze remove any moisture before folding a packing.
Step 1: Empty Internal Compartments
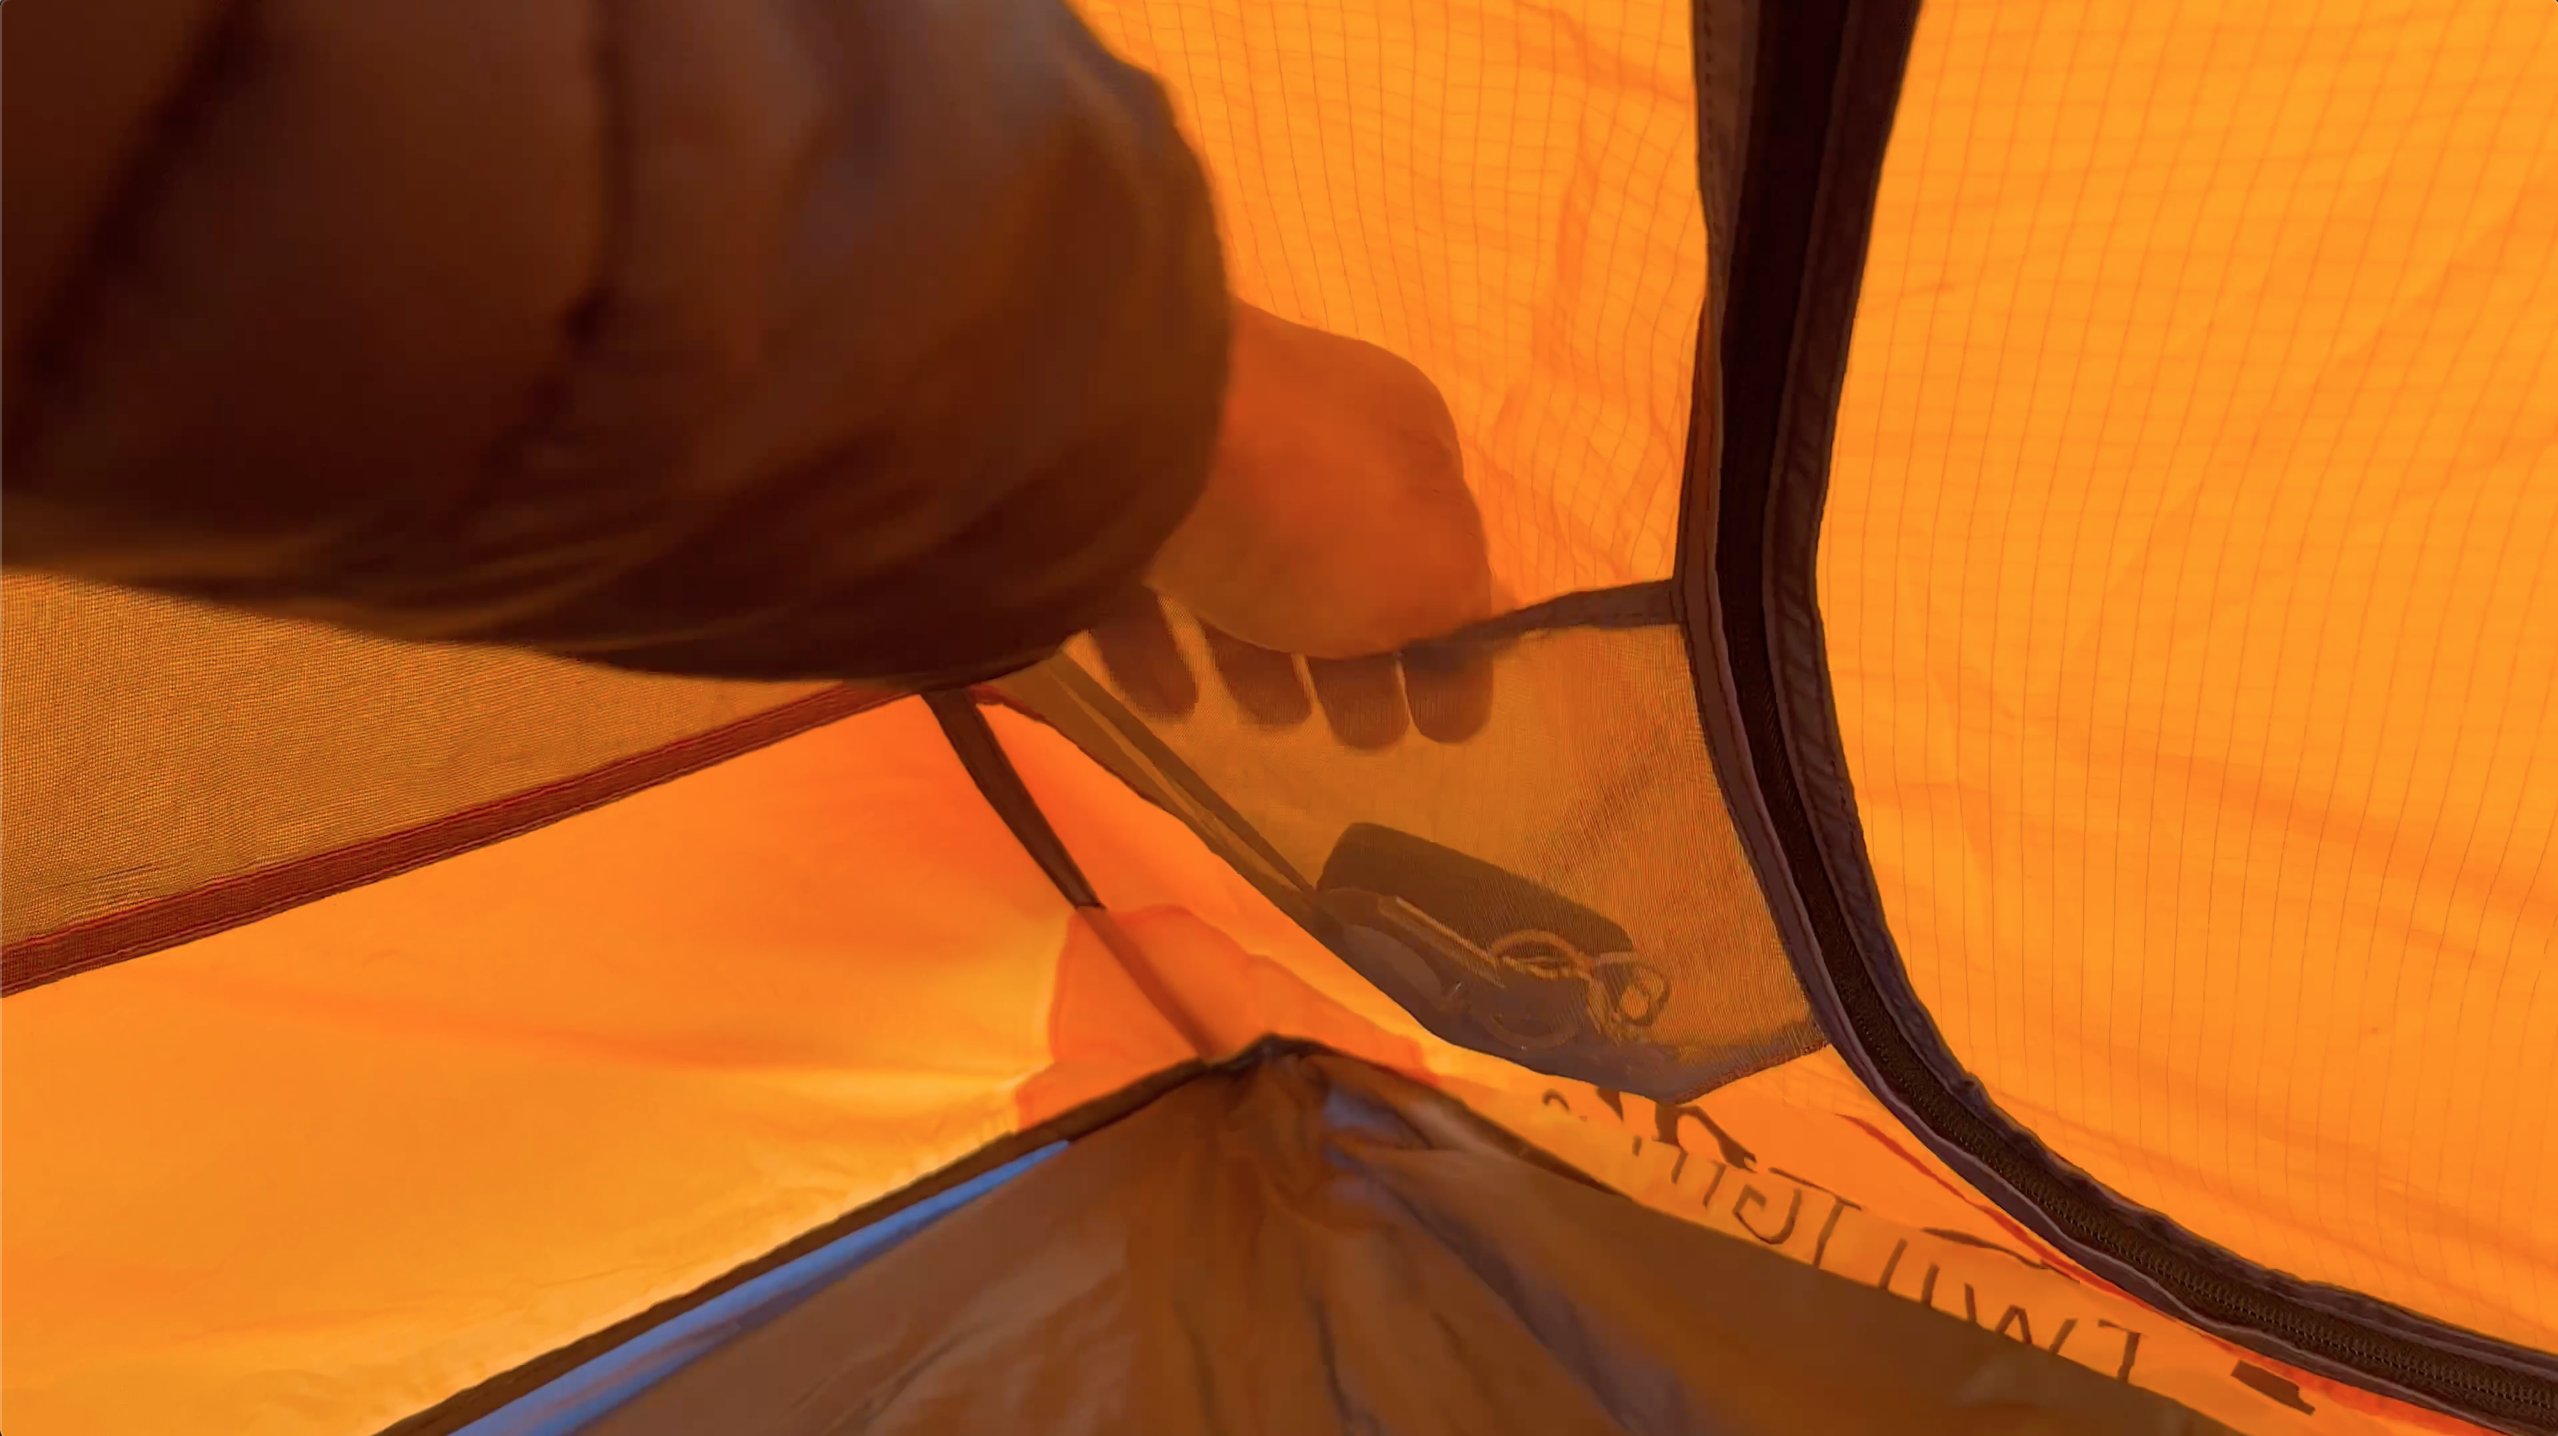
Before collapsing the tent, take a look inside and make sure all internal mesh pockets have been emptied. You don’t want to pack away a headlamp or your car keys inadvertently.
Step 2: Shake Off Moisture / Debris
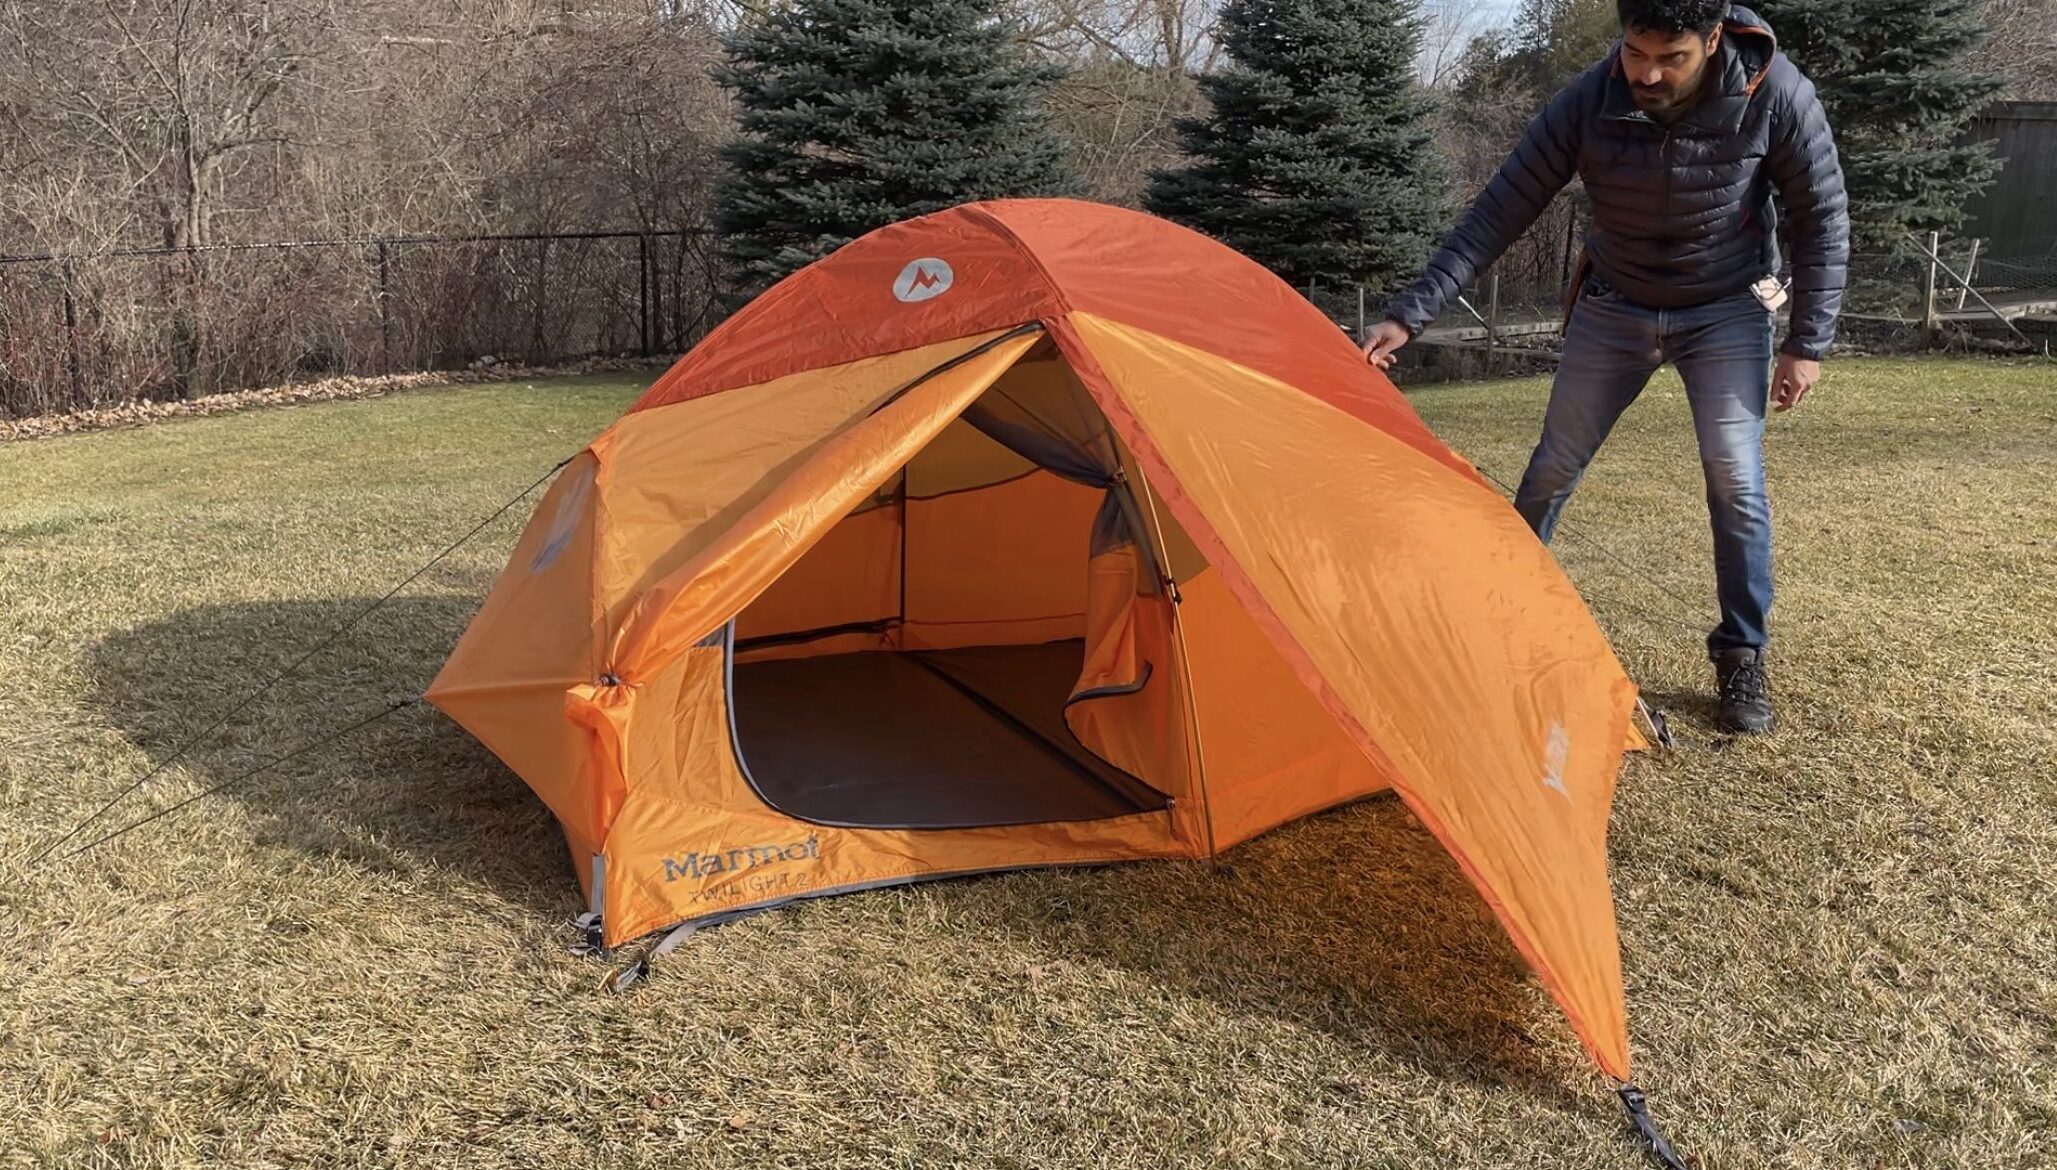
Again, before collapsing the tent, shake the tent from a few locations. This should shed large water droplets and dislodge debris and bugs from the rain fly.
Step 3: Remove Ground Stakes & Guy Lines
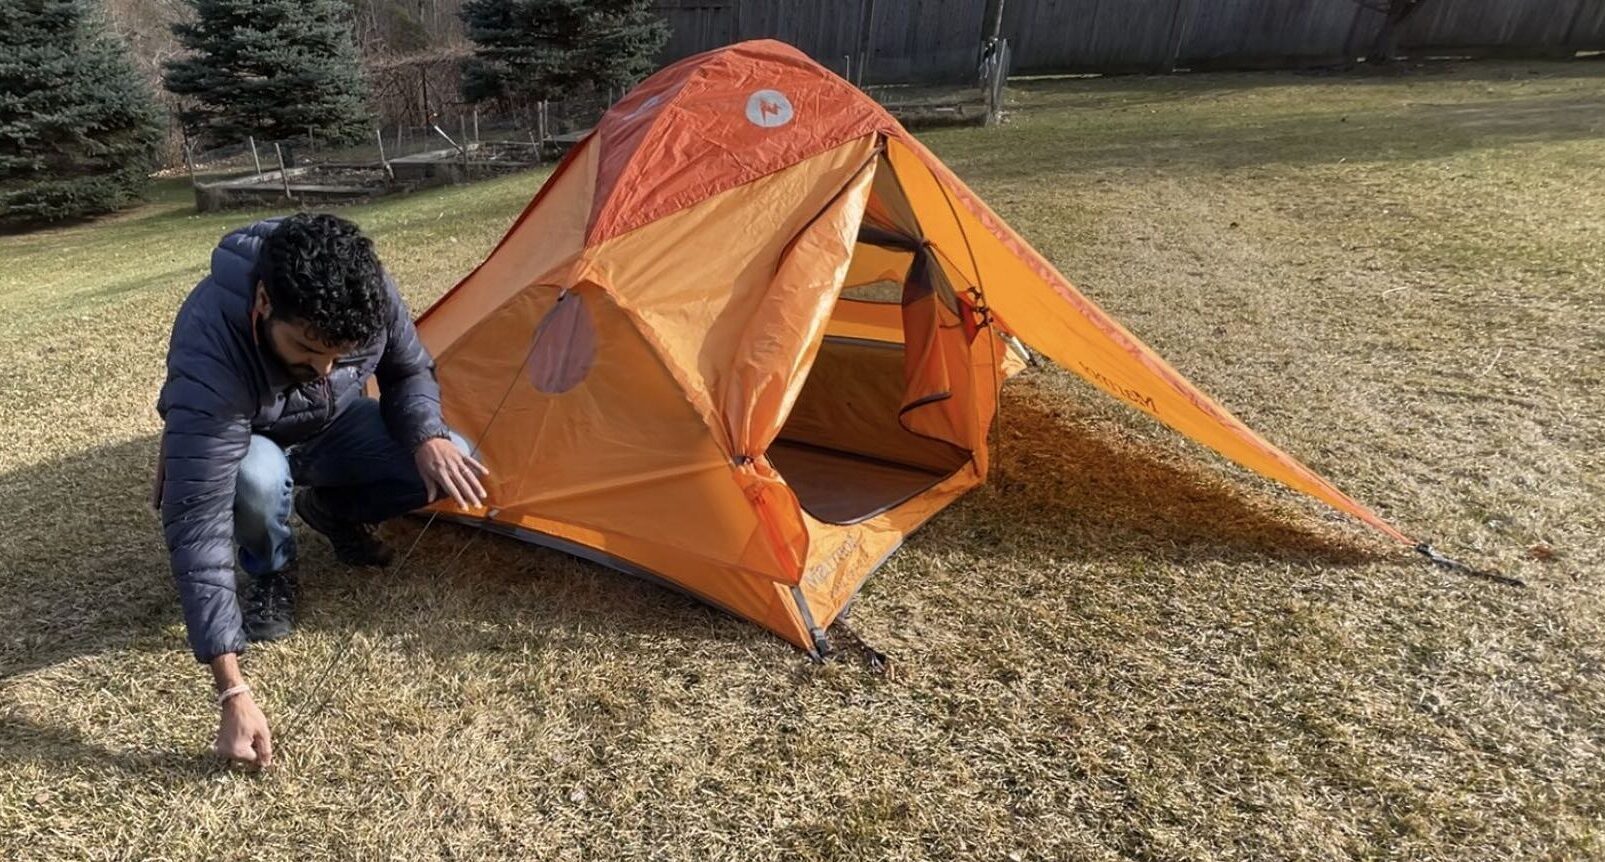
Pull all ground stakes out, and using a towel or your hands, wipe off any dirt. Place all ground stakes in appropriate bag.
Likewise, remove all guy lines. Bundle the rope and tie it together.
Step 4: Remove Rain Fly (If Applicable)
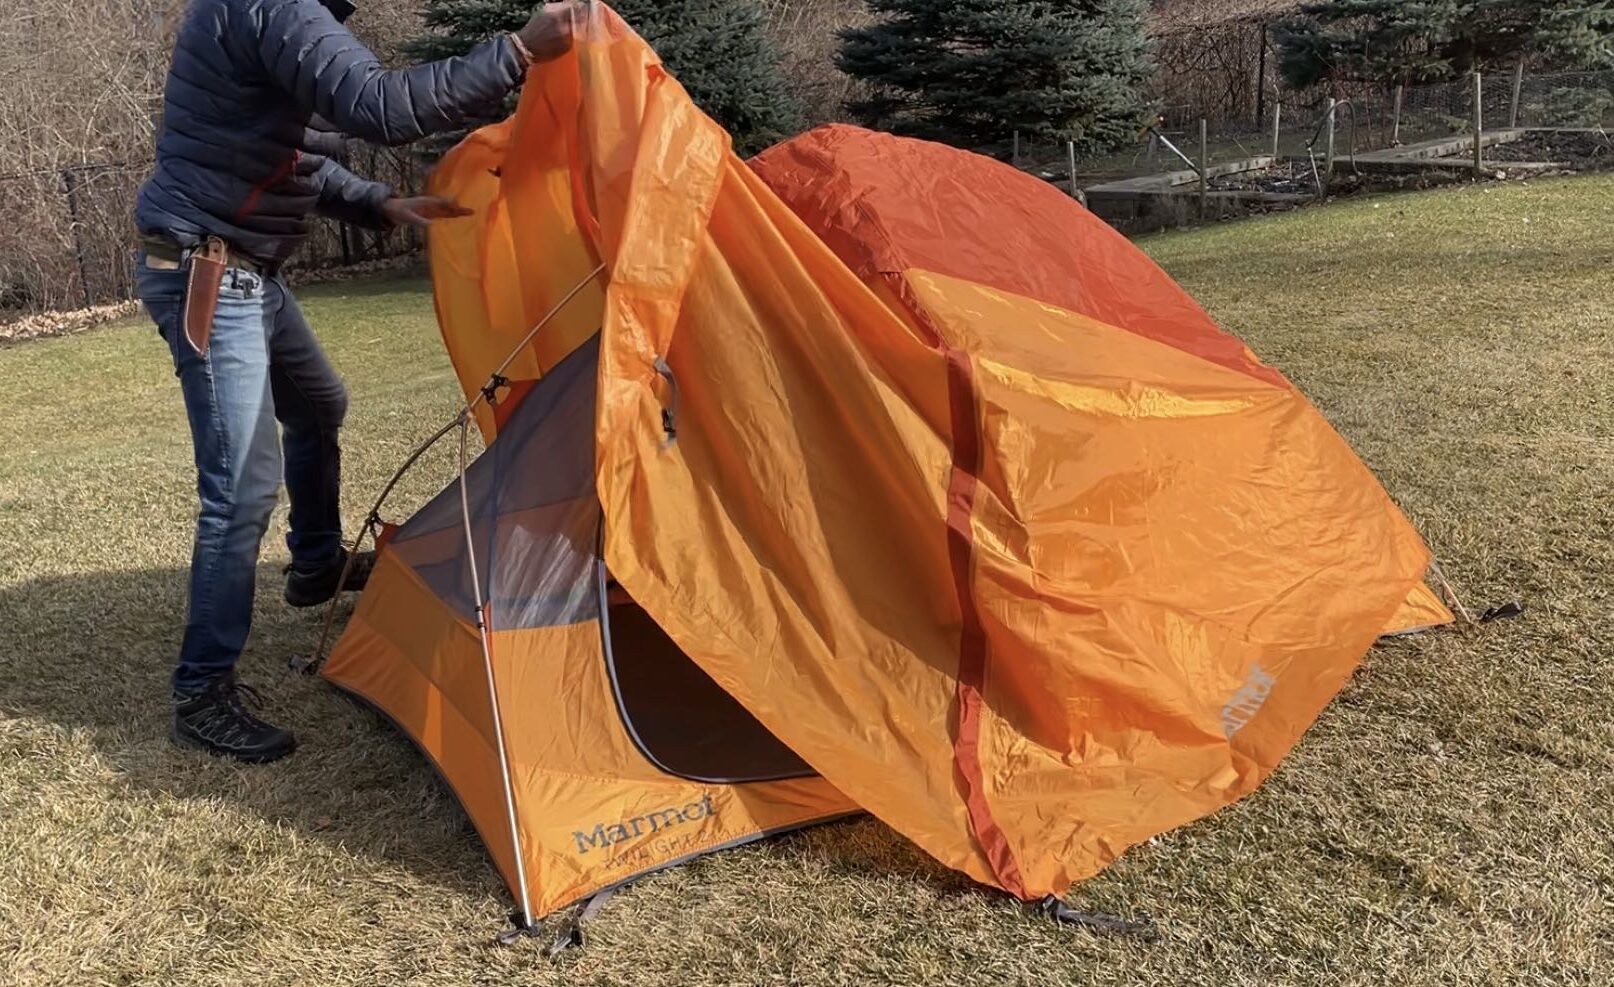
Some tents are built with a separate rain fly. Disconnect the rain fly from the tent body and place to the side to air out and dry.
Step 5: Clean Inside

Using a towel, brush away any dirt that has tracked its way inside of the tent.
For light weight dome tents, place the tent on its side with the door open. While standing in the doorway, shake the tent and funnel all of the dirt out of the open doorway.
If the outside floor of the tent is wet, leave it on its side in the sun or in a windy area so that it can dry off.
Step 6: Remove Poles
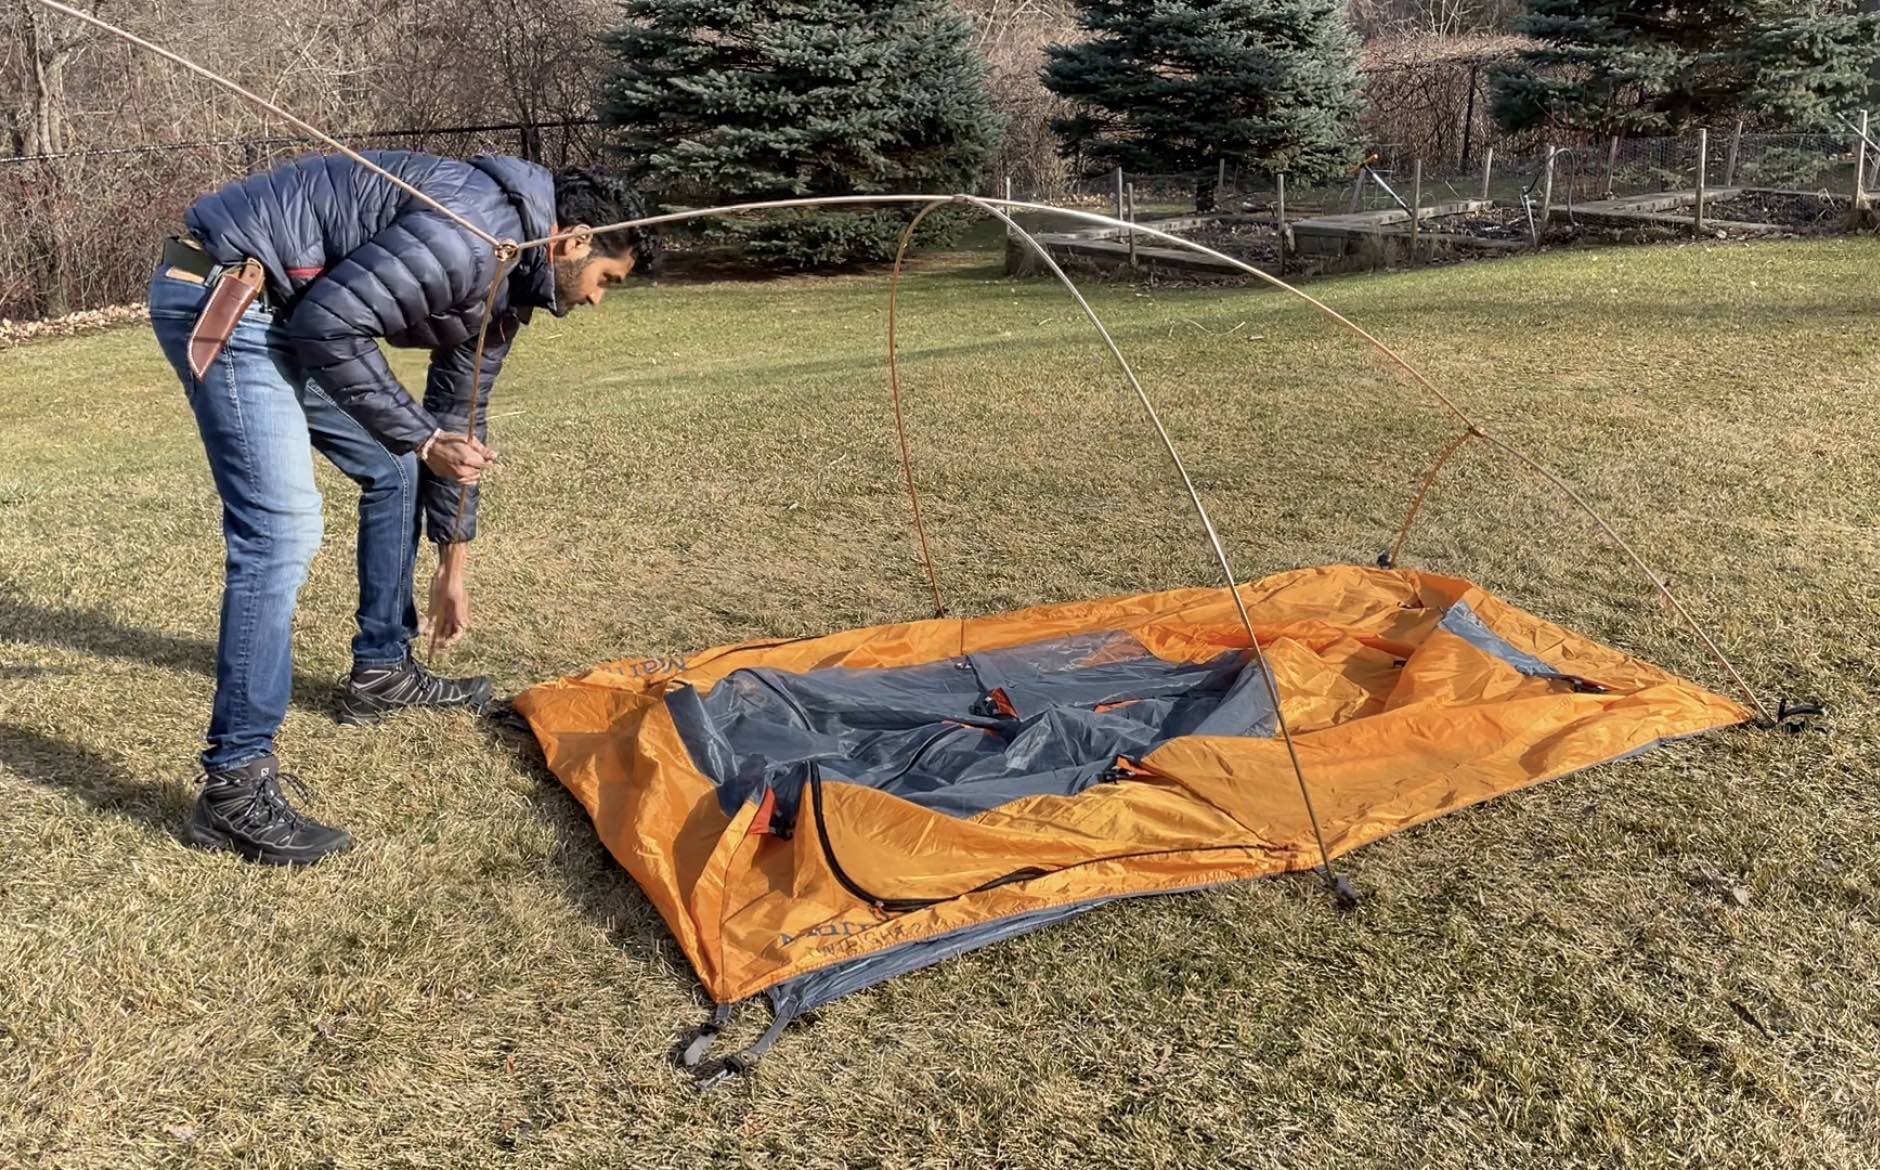
Place tent in upright position. Unclip the tent body from the poles and slide poles out. Use a towel to wipe down the poles if there is dirt accumulation.
Collapse poles and place into appropriate bag. The pole bag will act as a guide for the folding width of the tent, rain fly and footprint.
Step 7: Fold Tent Body
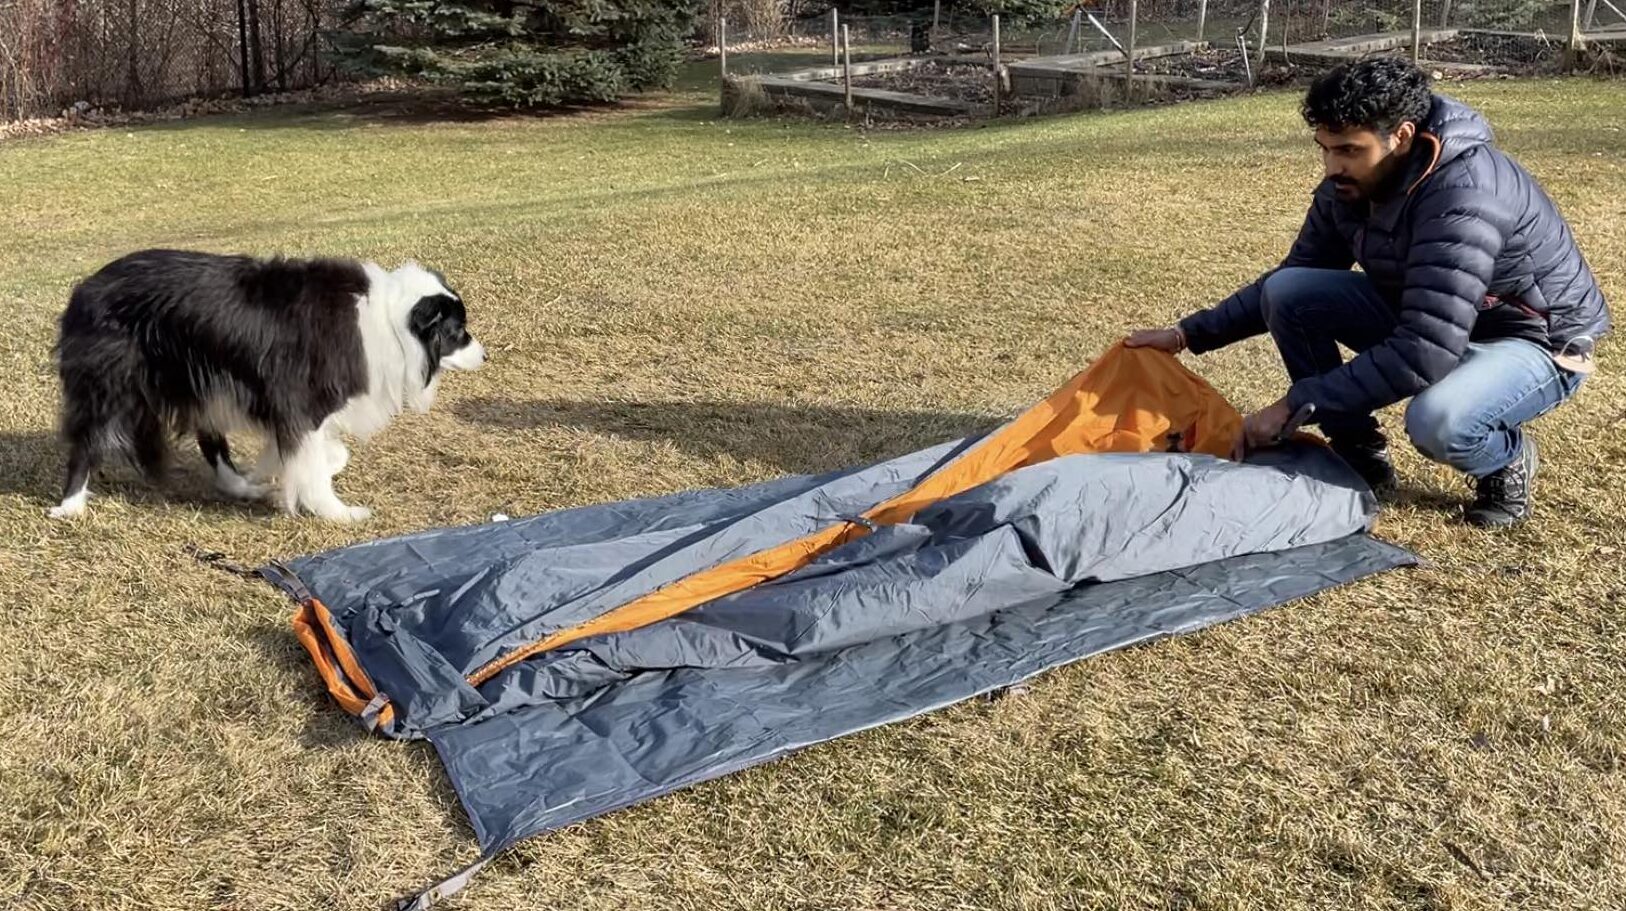
Lay the tent body flat. Reposition fabric and mesh portions to be in the center. This helps keep things even when folding and rolling.
The key to folding the tent body is to fold the outer edges inwards and to create a long rectangle as wide as the folded poles.
Depending on the size of your tent, this means folding the tent inwards into thirds or quarters.
Step 8: Fold Rain Fly (If Applicable)

Using the same strategy as the tent body, fold the dry rain fly into a long rectangle as wide as the folded poles.
Place the folded rain fly on top of the folded tent body.
Step 9: Fold Foot Print (If Applicable)

Using the same strategy as the tent body and rain fly, fold the foot print into a rectangle as wide as the folded poles.
Step 10: Roll Tent Components

Stack the folded tent fabric components on top of each other ensuring the foot print is on the bottom, then the rain fly cover, then the tent body on top.
Place the pole bag at the end of the folded tent components. Start rolling the fabric onto itself around the pole bag.
Ensure you roll everything tightly and compact as possible. As you roll, use your towel or hands to brush off any dirt.
Step 11: Place Tent Roll into Bag

Place the ground stakes bag into the tent bag first followed by the rolled tent. Synch the end shut and store in a dry place for safe keeping until your next adventure!
This article contains affiliate links, which help support this blog at no cost to you!