
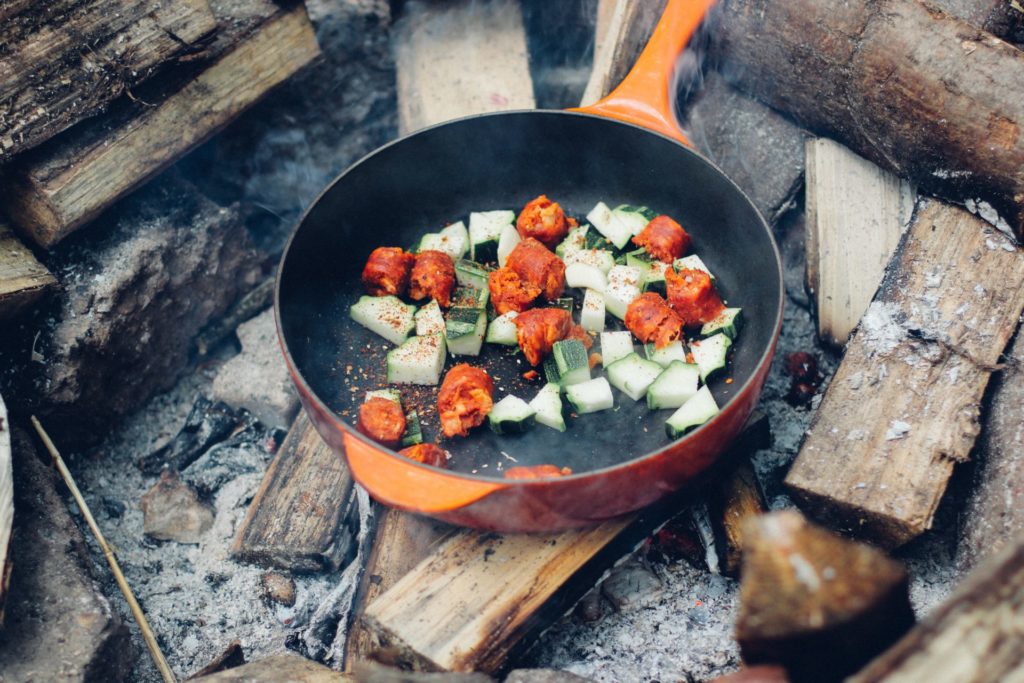
Cooking while backcountry camping can seem like a daunting task for a lot of new campers.
Without your home kitchen at your disposal, how do you prepare and cook nutritious and delicious camping meals in the woods?
Well, with the right cooking setup, equipment, and know-how, you too can enjoy great meals while camping anywhere!
So, whether it’s a quick weekend getaway or an extended backcountry adventure, check out these 8 practical tips for cooking while backcountry camping.
1. Find and Utilize a Flat, Elevated Surface for Cooking
The key to a solid camp kitchen setup is to find a flat, level and elevated cooking surface.
After arriving at your campsite, scope out a good place to setup your cooking area – whether it’s the end of a picnic table, on top of a large boulder, or on a tree stump.
You can also create a make-shift cooking surface by gathering and piling up flat rocks or split logs.
Doing this has a few benefits:
- An elevated surface keeps you from bending over and straining your back while cooking.
- Pots and utensils are less likely to slide off or tip over on a flat surface, saving them from spilling their contents or getting dirty.
- In windy conditions, dirt and debris is less likely to get blown into your food if it’s elevated.
- Insects and bugs have a harder time reaching your food if it’s not on the ground.
2. Utilize a Tarp to Create a Sheltered Cooking Area
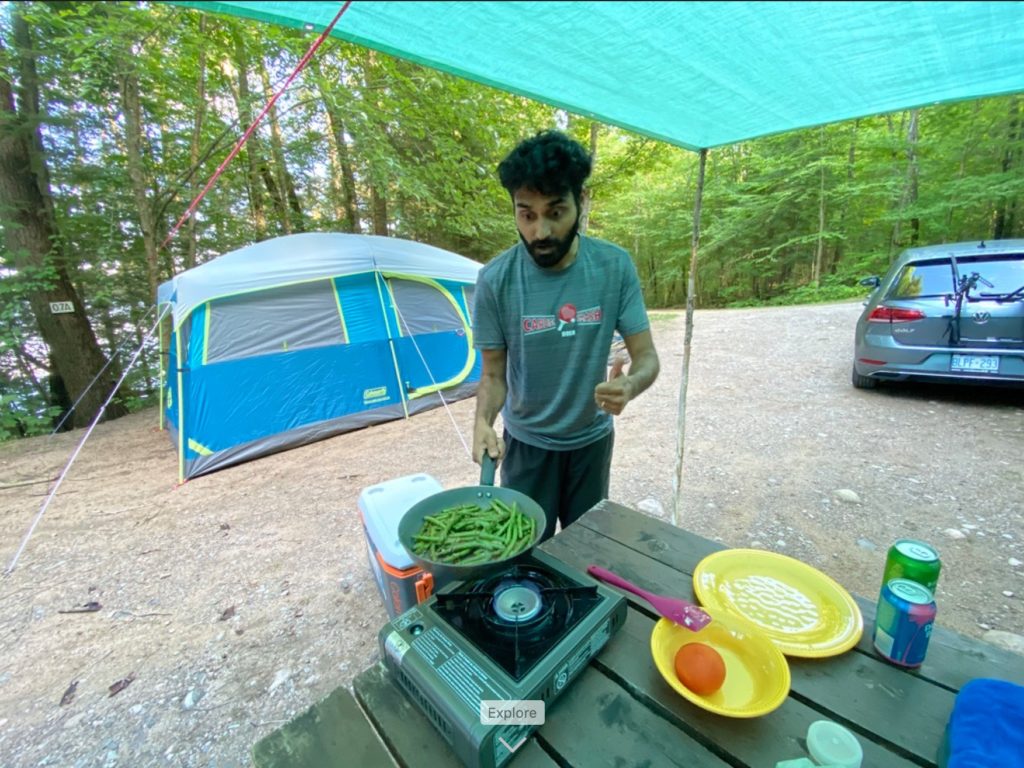
Cooking in the wilderness come with a few natural challenges including heat from the sun and the potential for wet weather.
Extended exposure to the hot sun while cooking can lead to sunburns and heat exhaustion. Likewise, cooking in an open space in inclement weather leaves you helpless if it suddenly starts to pour.
Both can seriously negatively impact your camping experience and make it a lot harder to cook meals.
So, when setting up your cooking area, it’s a good idea to consider setting up a tarp overhead. A tarp covered cooking area provides:
- Protection from sun, especially during peak times around noon
- Protection from rain, or other forms of precipitation including snow and hail
- Protection from falling debris such as leaves and twigs
- Protection from wind (if positioned as a wind-breaker)
Setting up a tarp can seem challenging, especially in the backcountry, but it’s actually quite simple if you know what you’re doing.
Pro-tip: For a step-by-step guide, check out How to Set Up a Tarp and practice at home before heading out!
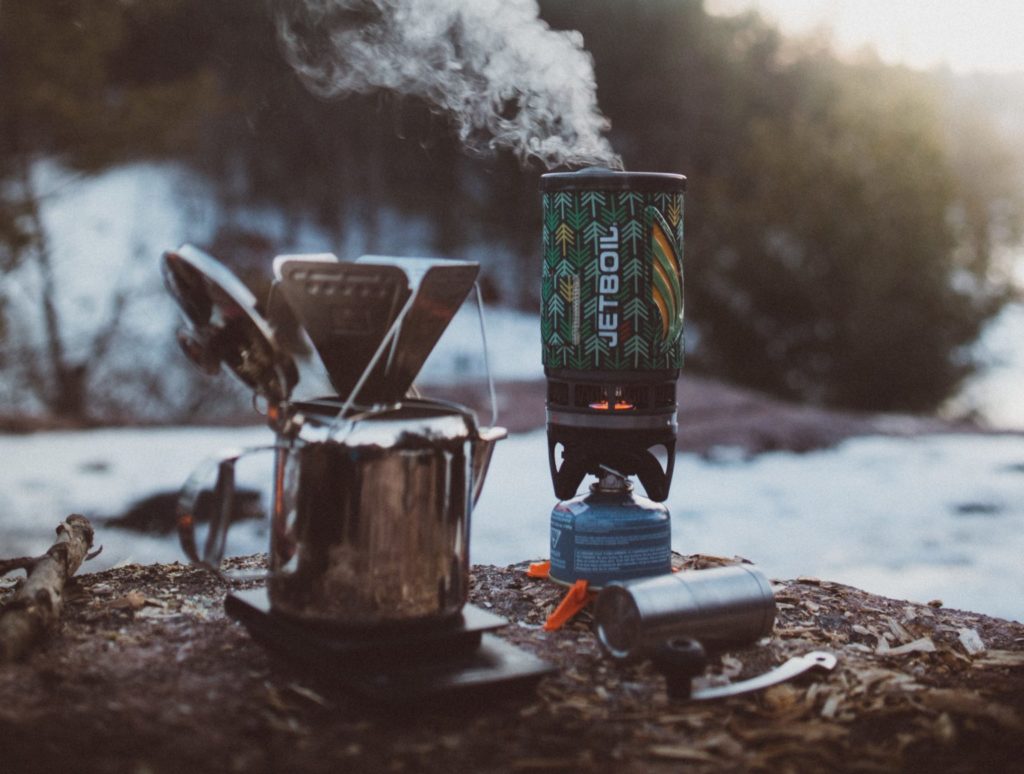
3. Shield Camp Stove from Wind
By far the biggest way to waste fuel is by using your camp stove in windy conditions. The heat from the flames is constantly being blown away from the pot or pan, and the contents are being cooled by the wind.
Realistically, you can easily burn through canisters of fuel just because of a little wind. And, it’ll take longer for your food to cook, which needs to be factored into your overall timeline.
So, to cut down on fuel consumption and cook time, it’s best to set up some sort of windscreen around your camp stove. Some stoves have a built-in windscreen, but others do not.
A make-shift windscreen can be as simple as taking logs and piling them around your stove. I typically create a wall by placing firewood logs between the stove and major wind direction.
For really windy conditions, a tarp can be positioned as a wall to protect your cooking area from excessive winds.
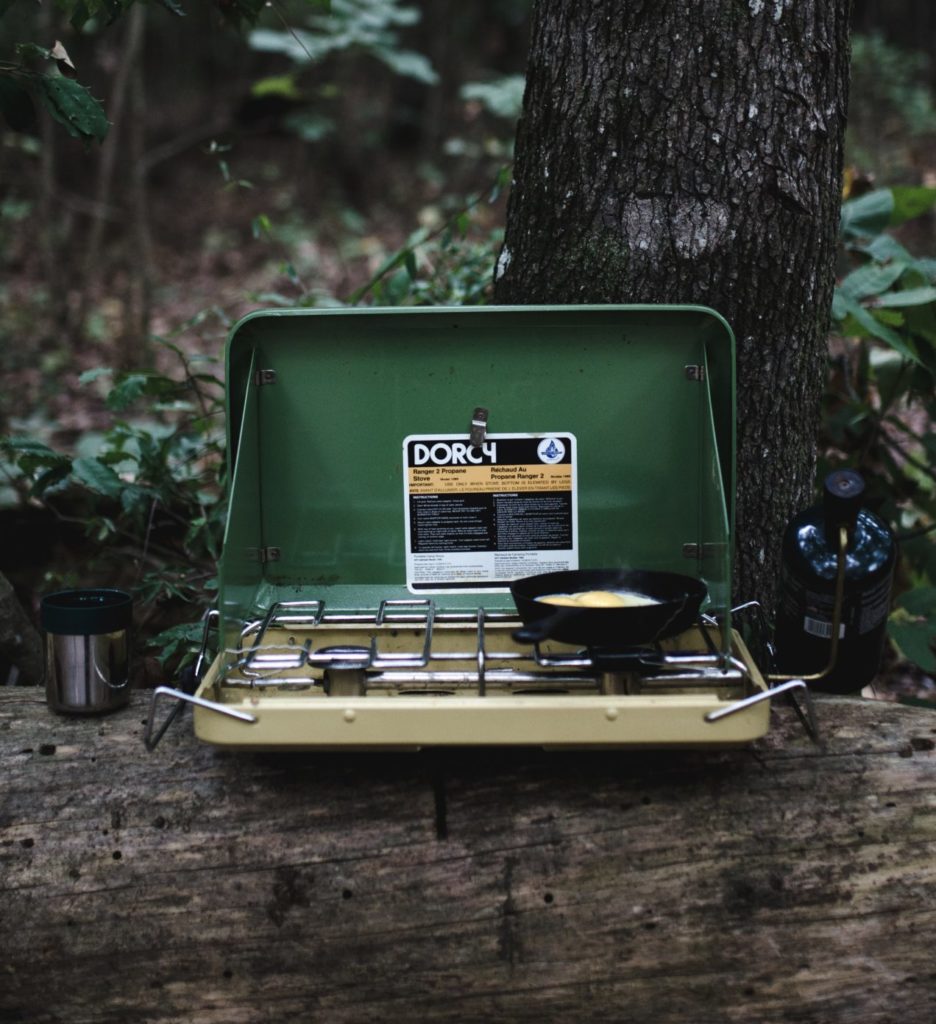
One of the best approaches is to use a foldable windscreen. Typically, camp stove windscreens are made from metal, so they can be positioned very close to a stove. This provides the maximum amount of wind protection.
4. Keep a Clean Water Container Close By
Water is used ubiquitously in camp cooking. Whether it’s boiling a pot of water to make coffee, or rehydrating freeze-dried packaged food, water is essential.
When establishing your camp kitchen, I find it super beneficial to position a clean water container close by. This makes accessing clean water a lot faster and easier, especially if you’ve got multiple burners going and don’t want to waste time getting more water.
Personally, I keep a clean water jug next to my camp stove. The easy to use spout makes pouring out water simple. It just makes sense to have it close by if I need it while cooking.
5. Cover Pots and Pans While Cooking
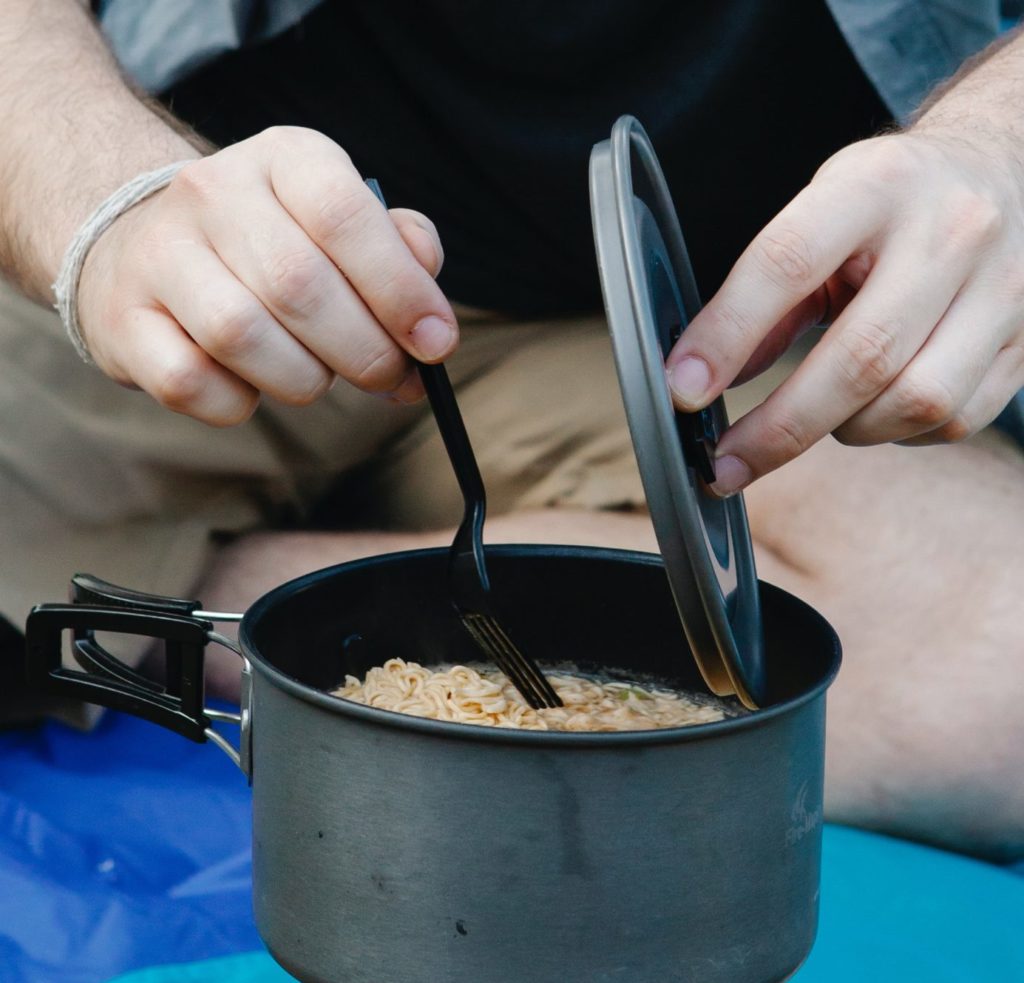
To further reduce fuel consumption and cook time, it’s best practice to cover pots when boiling water or cooking.
Using a lid traps in the heat and prevents temperature loss through evaporation and convective heat transfer (air cooling).
In fact, using a lid when boiling water significantly reduces the time and energy required to heat it up. The lid creates a slight pressure barrier which aids in the rapid temperature increase of fluids.
So, don’t forget to pack lids when gathering your camping supplies!
6. Use Non-Stick Cookware
Cleaning dishes while at home is a chore. So, imagine cleaning sticky and greasy pots and pans while camping. It can be time consuming and energy intensive.
So, to help alleviate your cleaning duties, a good hack is to use non-stick pots, pans and utensils.
A non-stick coating means food residue slides off much more easily with only a little soap and water. Less scrubbing is required so clean up happens much faster.
But, non-stick isn’t just beneficial when it comes to cleaning. Non-stick coated cookware requires less oil for cooking too.
So, when looking for camping cookware, make sure you strongly consider non-stick coated options. For my cookware recommendations, check out How to Pick the Best Camping Equipment.
7. Use Biodegradable Soap
I’ve see this way too often – novice campers using regular dish soap when cleaning dishes.
What thy don’t realize is that regular dish soap, if untreated, can be harmful to natural waterways and ecological systems.
The chemicals in most supermarket dish soaps include detergents, surfactants, degreasers, foaming agents, perfumes, and phosphates.
Elevated levels of phosphate in natural water bodies can lead to harmful algal bloom, depriving the water of oxygen and releasing toxins.
So, to keep the backcountry free and clear of harmful chemicals, campers should use a biodegradable soap like Campsuds.
As the name implies, biodegradable soap contains eco-friendly ingredients. But, biodegradable soap is only useful if it is absorbed through the ground.
Never rinse biodegradable soap directly into bodies of water. Instead, rinse dishes over the ground and let the soap water seep into the dirt where microorganisms can breakdown the food and soap.
Here are a few tips when using biodegradable soap:
- Use sparingly – a few drops in water goes a long way
- Clean dishes at least 60 meters (200 feet) from rivers, lakes and streams
- Dig a hole a few inches deep to dispose of the soapy water to ensure microorganisms can breakdown the soap, and prevent soapy water runoff during rain
8. Cook, Eat and Clean in Daylight
In some instances, proper time management while backcountry camping is absolutely essential.
Depending on the time of year, or location of your campsite, daylight hours can be short-lived. And, the onset of darkness increases the level of difficulty of certain tasks including cooking, eating and cleaning.
So, it’s a good idea to track the sun in the sky and keep an eye on the time, and start cooking before the sun sets.
If fact, before heading out into the backcountry, check the sunrise and sunset times. This will help you plan your days accordingly, and dictate when you should start thinking about meal timing.
Packing away coolers and stoves, hanging food barrels, and washing dishes by headlamp is awkward and cumbersome.
You really don’t want to be left scrambling around in the dark if you don’t have to – I can attest to that!
This article contains affiliate links, which help support this blog at no cost to you!