One of the most common problems people face while camping is a tent leak.
But, why does a tent leak in the first place? How can a tent leak be fixed? And, how can you proactively prevent tent leaks from occurring?
Well, I’ll try to answer these questions so you can enjoy camping without a leaking tent!
Article Contents:
What Causes a Tent to Leak
A good tent is meant to provide protection from the elements, which includes rain. However, over-time, with repeated use, tents wear-down.
And, just like any other piece of equipment, their performance slowly degrades. This includes their ability to prevent water penetration.
By far, the two most common sources for a tent leak is either at the seam or directly through the fabric.
In both cases, the waterproofing barrier would have to have been degraded to the point at which it no longer stops water molecules from passing through.
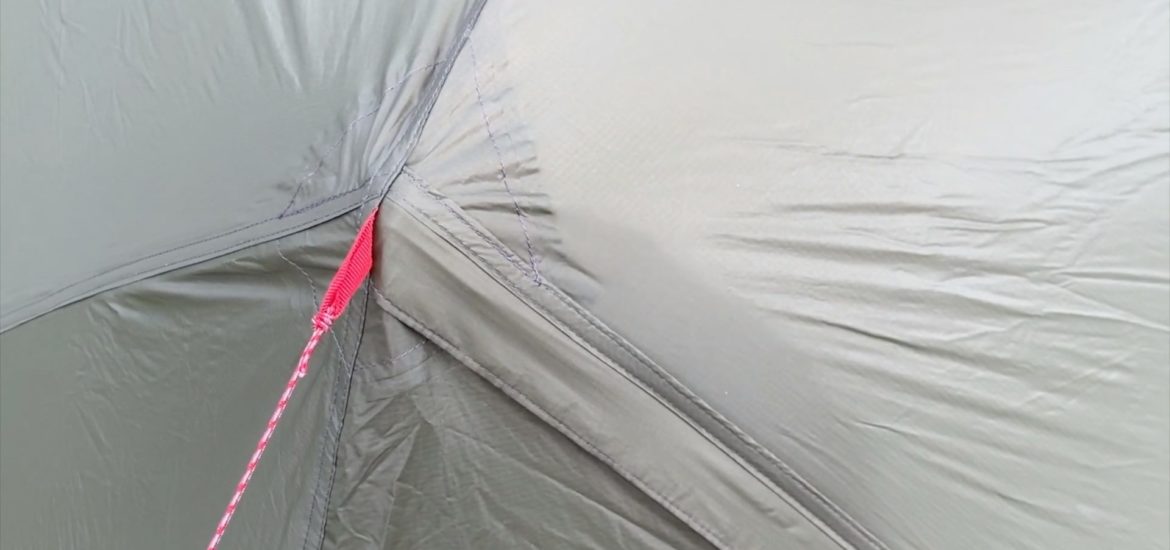
Tent Seam Leak
A tent is typically constructed out of a variety of fabric components stitched together in a particular pattern. The individual fabric pieces are physically connected to one another with high-strength thread.
However, this joining processing leaves a gap for water droplets to penetrate into the tent.
So, to prevent seam leaks, manufacturers employ two specific techniques to increase the water resistance at the seam:
- Double-fold joining and stitching
- Seam sealant or waterproof taping
But, because seams are usually locations of high stress concentrations, the overall seam performance can start to degrade.
And after repeated use, or poor storage, seams can loosen or the sealant can start to peal off. Once that happens, a seam can loose of its water repelling capability and your tent is prone to leaks.
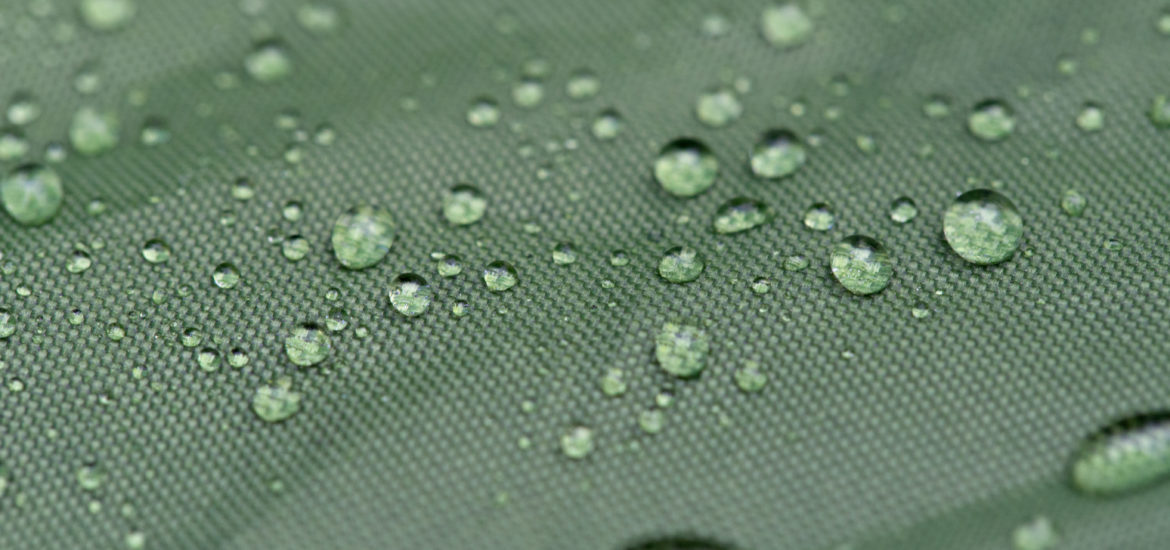
Tent Fabric Leak (DWR Failure)
The most common tent fabrics are nylon and polyester. Nylon and its variants are typically high strength and lightweight. However, polyester and its variants are generally more durable.
However, by themselves, these fabrics are not intrinsically “waterproof”.
The “waterproof-ness” of a tent fabric is a combination of the base fabric material and the coating applied.
Usually, the outer layer of a tent fabric coated with a durable water repellent (DWR) coating. DWR coatings can be made from polyester urethane, polyether urethane, silicone, or a combination [Reference].
It’s primarily the coating that keeps the fabric from becoming wet and reducing the overall breathability. But, overtime, the coating can wear away and degrade which dramatically reduces the waterproof capacity of the fabric.
Waterproof Rating
Different combinations of tent fabric and coatings yield vastly different waterproof ratings.
The waterproof rating for tent fabrics are measured in hydrostatic head (HH) or water column height, measured in millimeters (mm).
To test and rate each fabric, manufacturers fill a column of water above a flat piece of tent fabric. Water is continually added to the column until moisture is detected on the other side. The level of water is then measured and the height (mm) is the waterproof rating.
The higher the rating, the better the material is at preventing water from seeping through! Generally, a tent rated for 1,000 mm HH is considered waterproof.
How to Stop a Tent from Leaking
As described above, the two primary sources of tent leaks are through failed seams or fabrics that have degraded DWR coatings.
So, before you throw out a leaky tent and purchase a brand new one, realize that fixing leaks is actually relatively simple and pretty inexpensive!
Step-By-Step Instructions
Tent Seam Sealer
To restore the waterproof properties of a seam there are two options:
- Using seam tape, or
- Using seam sealant
This article by MSR clearly explains the difference between the two options and when seam tape or sealant should be used.
However, by far, the easiest and least complicated method is to use seam sealant. And, once applied, it provides a permanent waterproof and flexible seal that dries clear for nylon, canvas and other outdoor fabrics!
Tools and supplies required:
- Scissors
- Rubbing alcohol
- Clean cloth or rag
- Rubber gloves
- Seam Grip Sealant (comes with applicator brush)
- Respirator (optional, if applying indoors)
Follow these 4 steps to fix a tent seam leak:
Step 1 - Trim peeling seam tape (if required)
If your tent has seam tape peeling off, use scissors to trim off any loose tape or peeled edges.
Step 2 - Clean the area thoroughly
Dab rubbing alcohol onto a clean cloth and clean the length of the seam and surrounding area that needs to be sealed.
Only the inside portion of the seam needs to be treated.
Step 3 - Apply seam sealant
Caution: If you are going to apply sealant indoors, please use a respirator or do it in a very well ventilated room. An ideal environment would be in an open garage or outside on a warm, dry and slightly windy day.
Using the application brush, apply an even layer of Grip Seal sealant along the length of the inside seam. The sealant will penetrate into the seam and dry to create a waterproof barrier.
A one-ounce tube of sealant is meant to seal about 12 feet of seam so apply accordingly.
Step 4 - Allow seams to dry
Allow the sealant to dry for 24 hours in a cool, dry place with plenty of ventilation.
Say goodbye to forehead drips and wet tent walls! Re-sealing your tent seam is easier than ever, and your tent is as good as new!
Waterproofing Tent Spray
To restore the waterproof properties of your tent, you can reapply a waterproof coating to the outside surface of the fabric.
The waterproof coating would only need to be applied to the rain-fly portion of your tent.
Tools and supplies required:
- DWR spray
- Water spray bottle or garden hose
- Clean damp cloth
Follow these 5 steps to apply a waterproofing coating to a tent:
Step 1 - Set up tent
Completely set up your tent, including the fly and ensure it’s staked to the ground. It’s best to set up your tent outdoors on a clear day.
Step 2 - Clean the outer surface
Using a water spray bottle or a garden hose, rinse off and clean the rain-fly of any dirt and debris.
Step 3 - Spray DWR coating
Spray the DWR coating on the tent rain-fly and ensure all parts of the fabric are coated. If required, make a second pass at problematic areas prone to leaks.
Step 4 - Wipe off excess
Using a clean damp cloth, wipe off any excess spray solution.
Step 5 - Allow tent to dry
Let your tent fully dry outside before packing it away. Drying allows the DWR spray solution to fully cure resulting in a better waterproof coating.
3 Ways to Protect a Tent from Leaking
There are 3 ways to proactively protect your tent from leaks, especially in heavy rain and windy conditions.
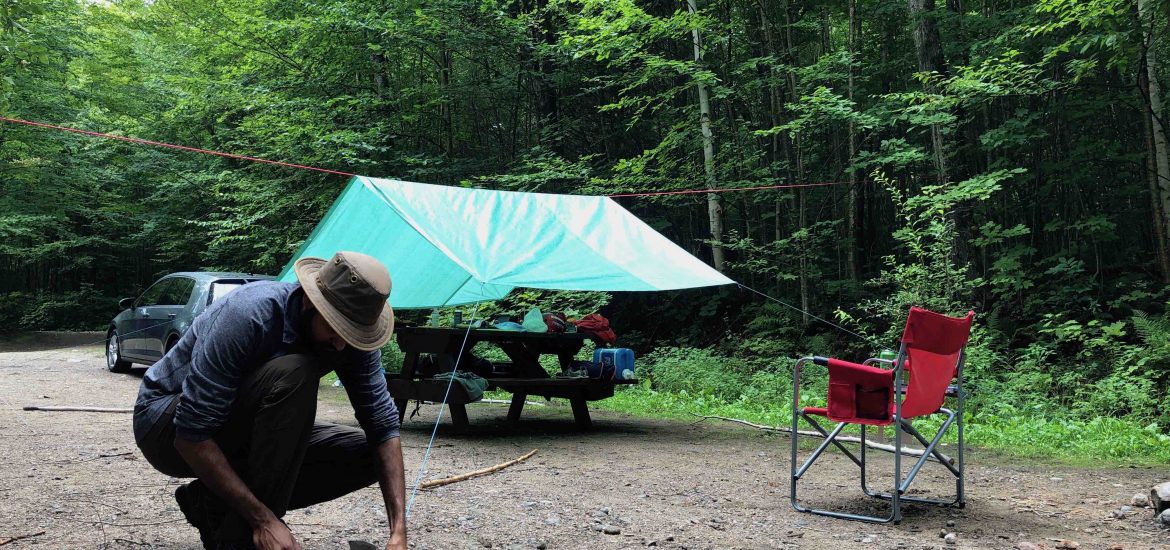
1. Set up a Tarp
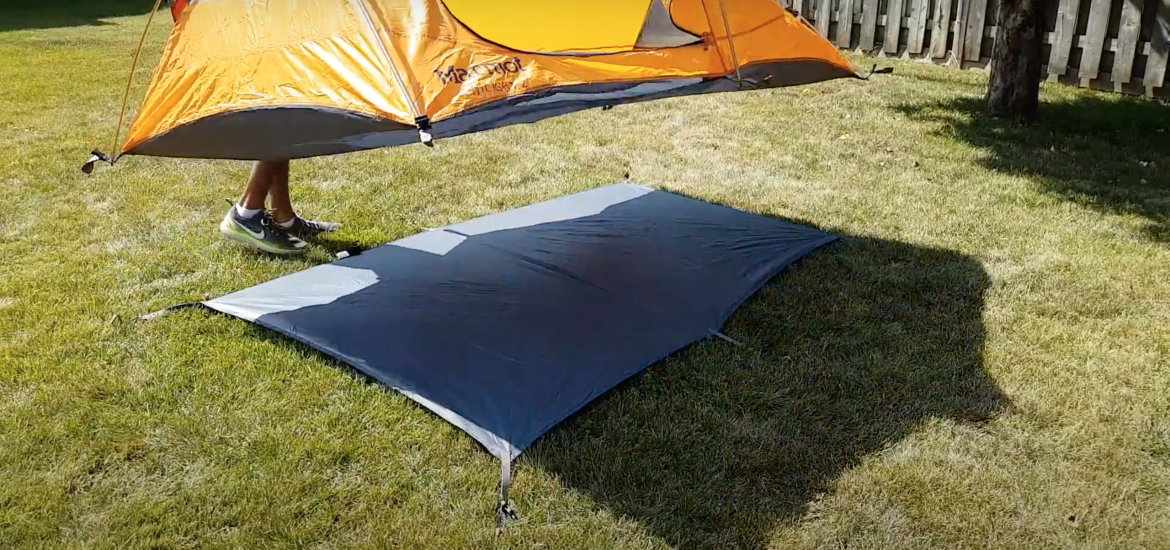
2. Use a Footprint
A footprint is a fantastic way to prevent water ingress into the bottom of your tent. Most campers do not considering using a footprint and end up damaging the bottom of their tents.
Overtime, water can infiltrate into the tent base through wore fabric and micro tears. So, a footprint adds an extra layer of protection between your tent, the ground, and water.
For more in-depth information, check out my article Why You Need a Tent Footprint for Camping.
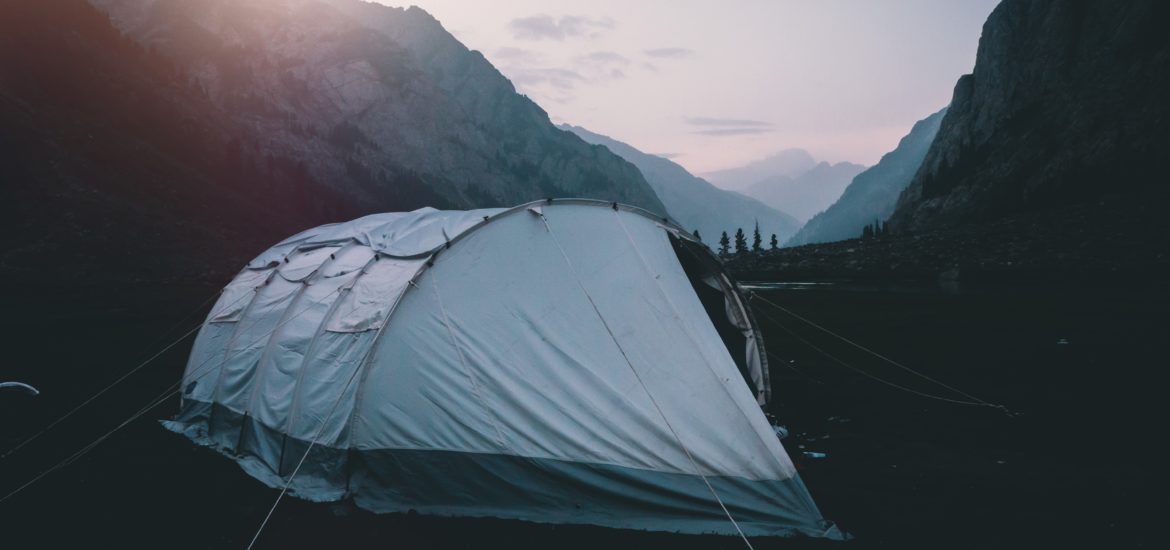
3. Utilize Taut Guy-Lines
Most tents are design with small connection points for guy-lines. These guy-lines both anchor the tent to the ground as well as provide extra rigidity and shape to a tent.
A tent rain-fly can really benefit from guy-lines:
- The added tension to the fabric helps to ensure rain water does not pool and collect in low spots.
- A taut rainfly promotes beading off of rain, keeping you and your tent drier.
So, make sure you guy-out your tent effectively, especially during inclement weather camping trips!
Check out my article How to Properly Set Up and Use Tent Guy Lines for a step-by-step instructions!
Best Tents for Rain
If you’re looking for a tent that’s tailor-made for heavy rain, that’s engineering to prevent leaks even in the harshest conditions, check out my article Camping Tents Perfectly Engineering for Heavy Rain and High Wind.
I outline what makes certain tents better than others, and recommend my top 3 camping tents that can survive a multiple rain and wind storms.
This article contains affiliate links, which help support this blog at no cost to you!

