Knowing how to size and use trekking / hiking poles correctly is fundamental if you plan on using them on your next adventure.
So, if you’re thinking “are hiking poles are worth it?”, let’s first review how to size hiking poles correctly, and when you should be using them.
Article Contents:
How to Size Hiking Poles Correctly

Most outdoor equipment is specifically sized to suit a particular range of user measurements, whether it be standing height, waist circumference, weight, etc.
Trekking poles fall into the same category since they are primarily sized based on your pole grip height.
And, after a few minor adjustments, hiking poles can be fine-tuned to match your unique requirements perfectly!
Measure Your Arm Height
The key to selecting the correct hiking pole length is to find one that adjusts and allows your arms to be at 90 degrees when you’re standing upright.
So, here are two ways you can measure this length:
If you are with someone:
- Stand upright with your arms at your sides on flat ground.
- Make your hands into a fist, and, while bending at the elbow, raise your fist until your arms makes a 90-degree angle.
- Using a tape measurer, have your partner measure the vertical length from the ground to the middle of your fist.
If you are by yourself:
- Tie a weight to the end of a string.
- Hold the weight in your hand, with the string portion extending out through the top of your fist.
- Stand upright with your arms at your sides on flat ground.
- While bending at the elbow, raise your fist until your arms makes a 90-degree angle.
- Let the weight slowly fall to the ground as your grip the string, stopping it as soon at it makes contact
- Mark the length of string at the mid point of your fist with a marker.
- Using a tape measurer, measure the total length of the string.
Personally, I am 5’10” (180 cm) and my measured arm height at 90-degrees is 41 inches (104 cm). I can use this number to cross-check what poles fit in my range using the universal hiking pole sizing chart below.
Universal Hiking Pole Sizing Chart
Generally, each manufacturer has their own sizing charts, which specify the working length of each type of hiking pole.
- Non-folding hiking poles are generally designed to be “one size fits all”, and have a larger range of length adjustability
- Folding hiking poles usually come in two or three sizes since a majority of the pole is fixed length (the portion below the locking pin)
The chart below summaries the working length for popular hiking pole models from Black Diamond, Montem, Gossamer, Leki, and MSR.
How to Set Up Hiking Poles Correctly

Setting up hiking poles is relatively quick and easy. These days, most hiking poles come with quick-locking clamps that can be flicked open and closed for fast deployment and adjustment while on the trail.
Other designs rely on screwing one pole end into another. It’s slower, but cuts down on weight and bulkiness.
Set up for telescoping poles and folding poles differs slightly. Below are the steps to set up each type of hiking pole.
How to Set Up Telescoping Hiking Poles
- Unlock all clamps
- Extend pole to your designated pole length, or
- Extend pole while gripping the pole handle in your neutral walking position with arm at 90-degrees
- Lock all clamps
How to Set Up Folding Hiking Poles
- Remove strap holding poles together
- Unclip pole shaft from mud basket
- Unravel poles and let them hang vertically
- Pull on top portion to tension the pole segments until the licking pin is activated
- Unclip top clamp
- Extend pole to your designated pole length, or
- Extend pole while gripping the pole handle in your neutral walking position with arm at 90-degrees
- Lock clamp
Installing Alternate Pole Tips and Baskets
Depending on the terrain and weather conditions, some hiking poles allow you to interchange the pole tips and baskets to better suit the surface.
Alternate hiking pole tips grip the ground differently, and pole baskets prevent the tips from sinking too far into the surface.
Most pole tips can be easily swapped out by using a pair of pliers and unscrewing them. Similarly, baskets can be unscrewed by hand, counter-clockwise, and then replaced.
Options for Pole Tips
- Rubber tips – smooth terrain and wet conditions
- Carbide tips – rugged terrain such as rock, dirt, and ice
- Nordic tips – paved terrain and forward propulsion
Options for Pole Baskets
- Mud baskets – sand, dirt, loose gravel, and muddy terrain
- Snow baskets – snow or sleet terrain
How to Use Hiking Poles Correctly
Using hiking poles correctly can make a massive difference on how they function.
Proper arm position, hand and wrist-strap position, and pole length for ascents and descents can help to ensure you’re hiking optimally.
Arm Position
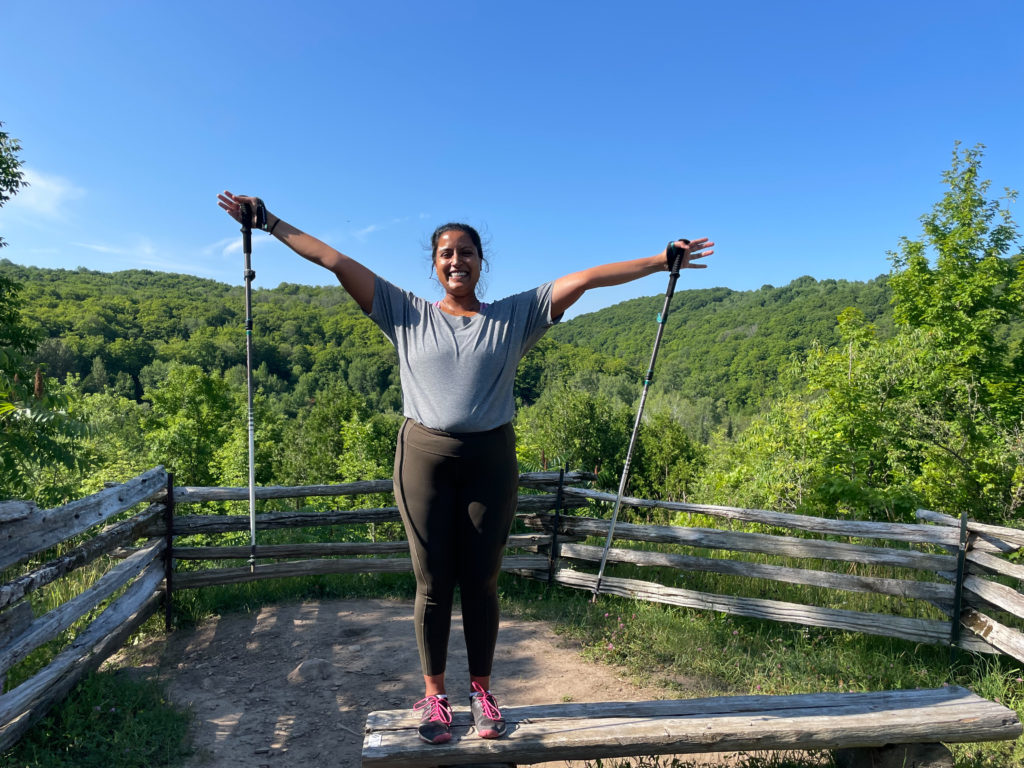
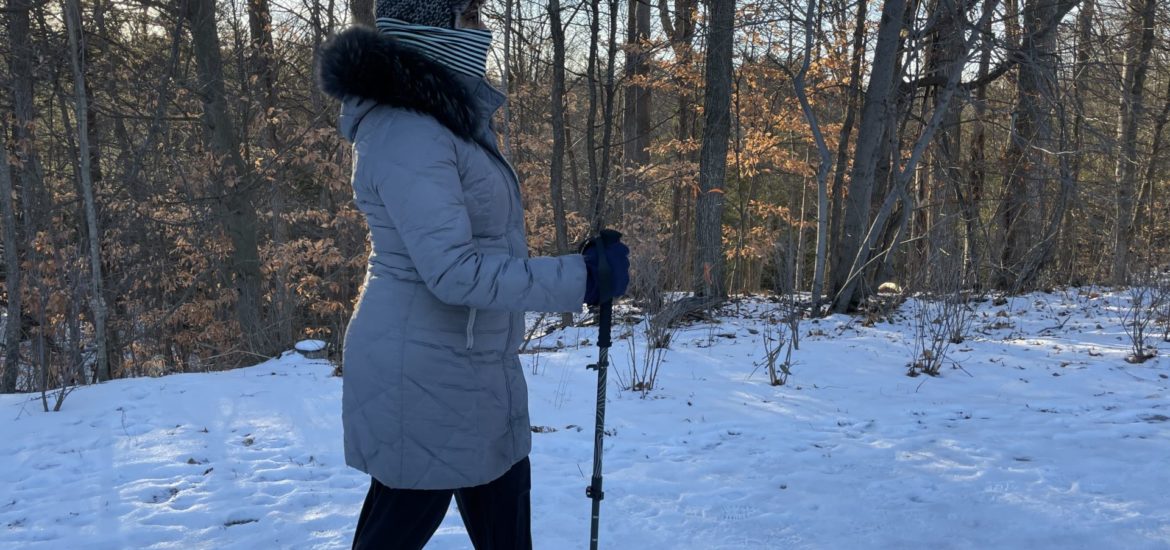
Just like walking normally, your arms swings in-sync with the opposite leg. Hiking with poles is no different. To use hiking poles correctly, the rhythm of picking and placing the hiking pole tips should be synchronized with each step of the opposite foot.
Your arms should be in a 90-degree position. This helps to ensure your forearm, triceps, biceps, and shoulder muscles attain maximum leverage while pushing down and lifting the hiking poles with every step.
There are essentially three segments to using a hiking pole:
- Place and pick
- Push and follow-through
- Lift and reset
Overtime, and with practice, this becomes automatic and second nature. Your hiking poles will just be an extension of your body.
Hand and Wrist-Strap Position
Hand grip is very important, since it can help prevent fatigue and lessen the strain on your wrist, joints, and muscles.
The trick is to utilize the built-in wrist strap. The wrist strap helps to transfer the load from your arms into the poles via downward tension on the strap itself instead of your fingers and palms doing all the work.
Basically, this allows you to have a “looser” grip while still having full control of the poles.
To use hiking pole wrist straps properly:
- Place your hand through the wrist strap so that the poles are hanging from your wrist
- Drop the pole down to the ground and grip the handle so that the strap wraps around the top of your wrist but come together through your thumb and index finger.
- There should be slight tension on your hand from the strap while you’re gripping the pole.
- If the strap is too loose and there is no tension at all, tighten the strap until it does
Pole Length for Ascents vs. Descents
If you’re mostly hiking along a flat or moderately sloped trail, your hiking pole length should stay relatively constant to work optimally.
However, if you find yourself mostly climbing or descending steep terrain, it might make sense to adjust the pole length slightly to give yourself more leverage.
- Ascending – reducing the pole length slightly allows you to more easily anchor the pole into the ground and lift your body up with each step.
- Descending – slightly increasing the pole length gives you more stability since you are reaching further down and away from your body.
When Should You Use Hiking Poles?
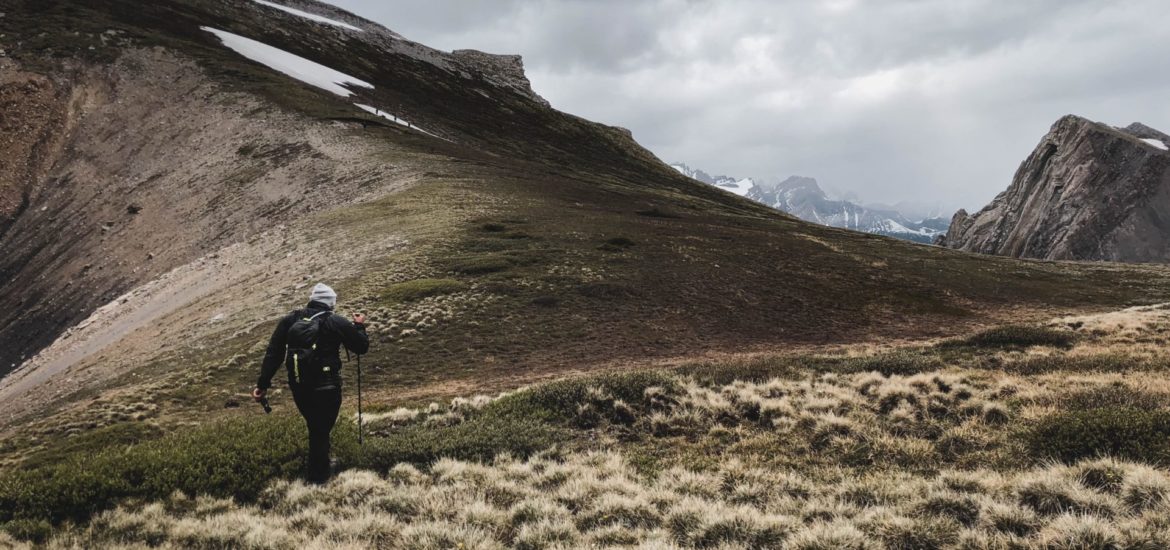
Hiking poles provide additional balance, support, and propulsion which assist your body while on the trail.
But, when exactly should you be using hiking poles? Well, here’s a list of recommended situations where hiking poles should be utilized.
Steep Inclines or Declines
Steep inclines and declines place a lot more strain on your knees. Hiking poles reduce the impact and pressure on your knees with every step. It’s like using a handrail while going up and down stairs.
Carrying Heavy Packs
Carrying a fully loaded backpack for hours will eventual lead to lower back pain. Hiking poles can help keep your posture correct and alleviate strain on your lower back.
Long Distance Hikes
Hiking poles activate your arms and allows your upper body to assist your lower body with forward movement, which is extra useful for long distance hikes.
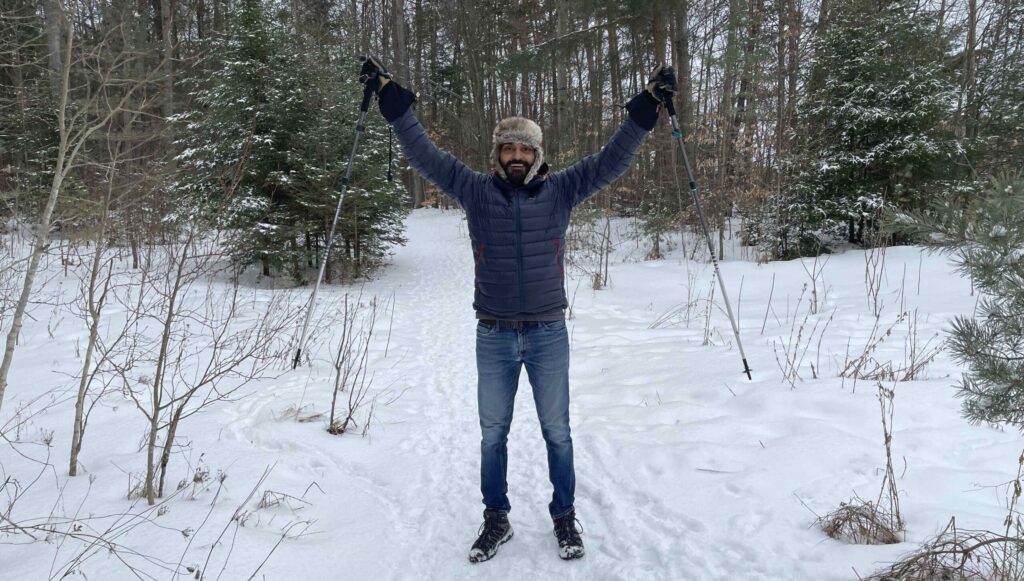
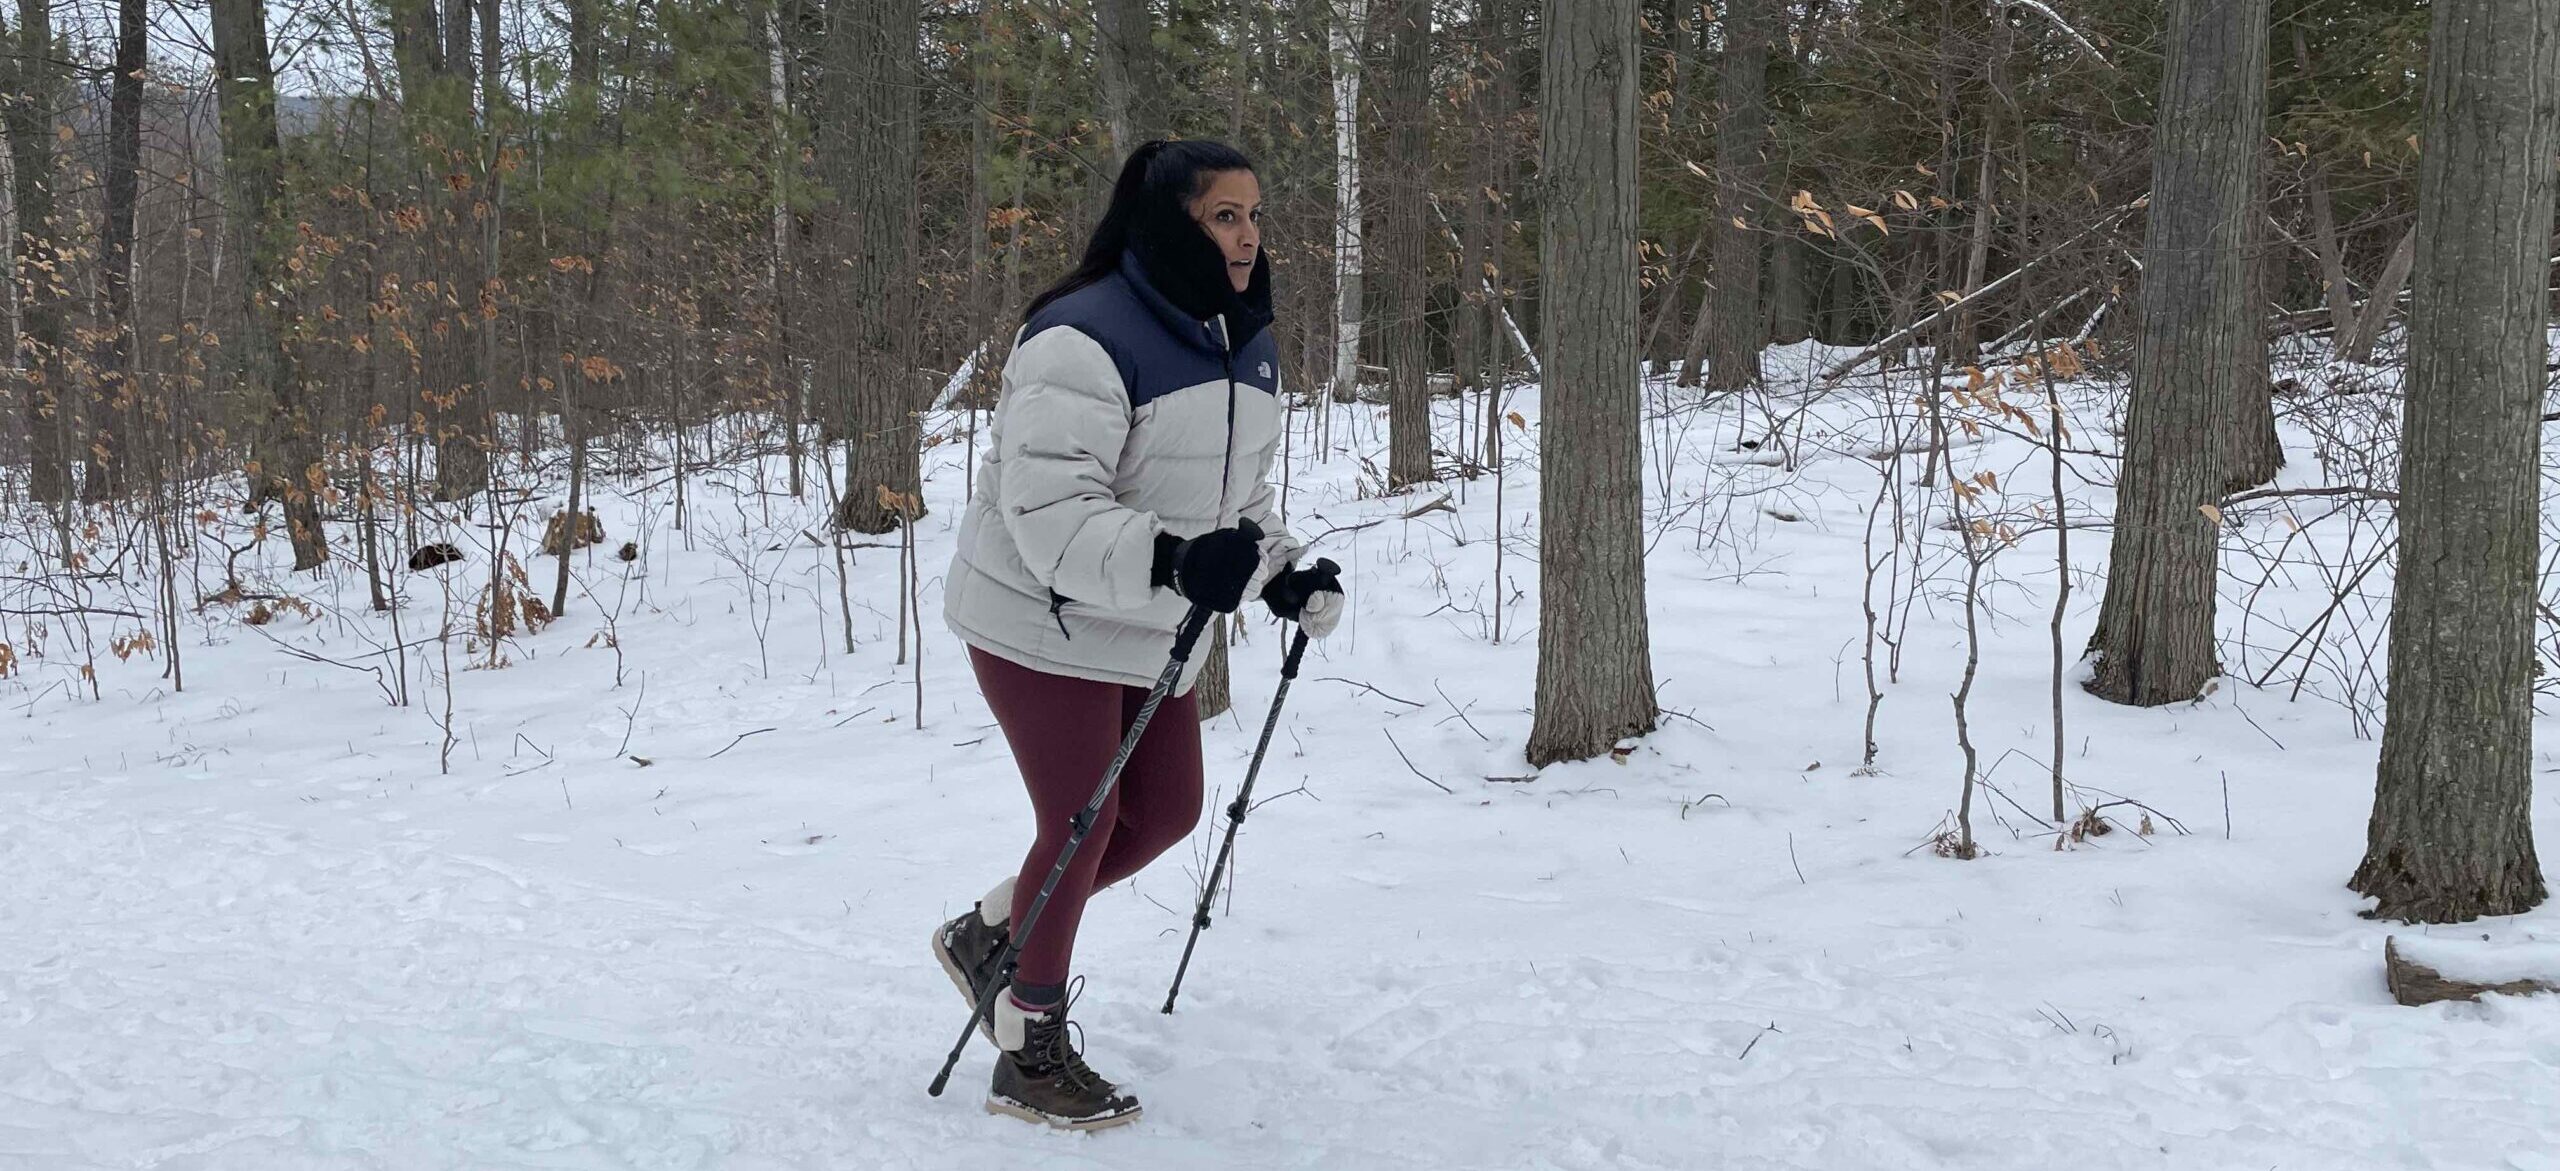
Slippery Conditions (Winter and Wet Weather)
Having additional points of contact with the ground in slippery or icy conditions is a lot safer while hiking. Hiking poles can reduce the risk of slipping and injuring yourself on the trail.
Uneven Ground
Similar to hiking on slippery conditions, uneven ground can be just as dangerous. Loose rocks, or densely rooted ground can easily cause a strained ankle. Having one or two extra points of contact can prevent you from rolling your ankle.
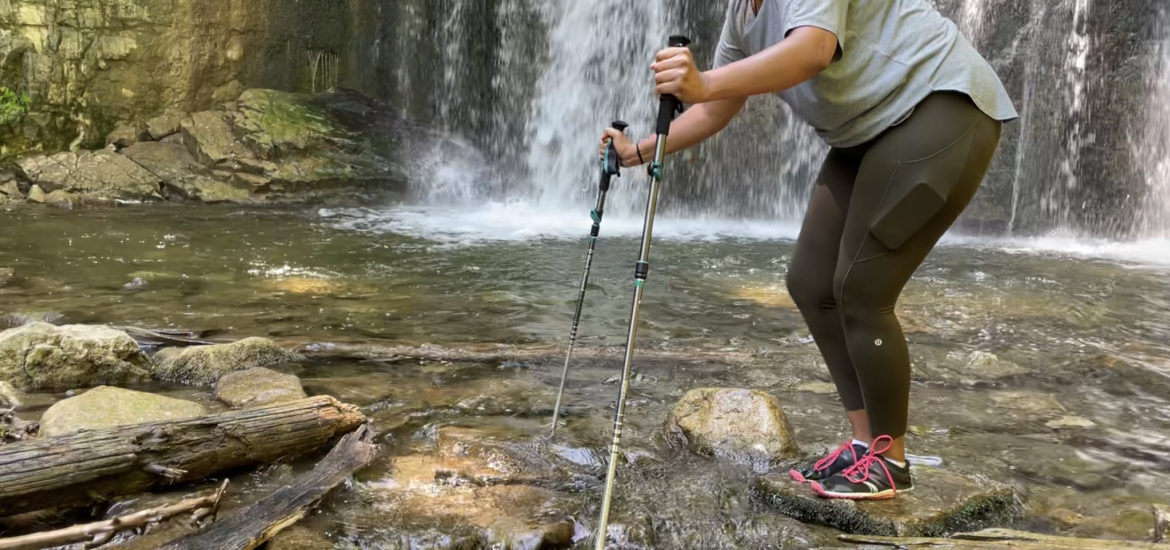
River or Stream Crossings
Crossing waterways is sometime necessary on backcountry trails. They can be extra dicey especially if you need to hop between large boulders or walk across a make-shift bridge.
Using hiking poles to anchor your body down to the ground with each step keeps you from falling into the water.
Struggling with Knee or Back Problems
Overall, if you have knee or back problems, hiking poles help keep your body in a more supported position throughout your hike.
You body should feel less fatigued, allowing you to continue to enjoy the great outdoors (relatively) pain free!
More Trekking Pole Related Info...
This article contains affiliate links, which help support this blog at no cost to you!

