Buying a used tent can seem like a great idea, at first. You end up paying far less than retail price and might be able to find a real gem.
But, before you lock-in that deal, make sure you do your due diligence. With this in mind, here are 7 things to look for when buying a used tent.
1. Smell for Mold

This may seem weird at first, but opening a used tent bag and smelling the tent itself will let you know immediately if something is wrong.
That’s because used tents that are stored wet or damp can develop mold or mildew on the fabric. The odor emitted by mold is very pungent and evident.
Even after it dries out completely, the tent will still wreak of mold. It’s very unpleasant, and individuals with a sensitive sense of smell won’t be able to stomach it for long.
Additionally, you don’t want to be inhaling mold spores all night long.
Consider this, a tent that has been packed and stored incorrectly might have other underlying issues, including rusted poles and seam damage…
Can a Smelly Tent Be Fixed?
Yes, it it possible to remove mold and the smell of mold from a tent. The solution, quite literally, can be found in your kitchen.
A mixture of 1 part white vinegar and 5 parts warm water in a spray bottle, along with some elbow grease can help to clean and disinfect stubborn mold on a tent.
The low concentration of acid in the vinegar breaks down mold bacteria structures. Vinegar is eco-friendly and safer to use than bleach for cleaning smelly tent.
Once you’ve made the mixture:
- Generously spray the solution all over the tent fabric and let it soak in for 10 minutes.
- For stubborn mold, use a soft bristle brush to scrub the fabric.
- Use warm water to rinse the fabric clean, wiping with a dry towel.
- Let the tent dry completely before packing.
2. Look for Fabric Holes and Tears
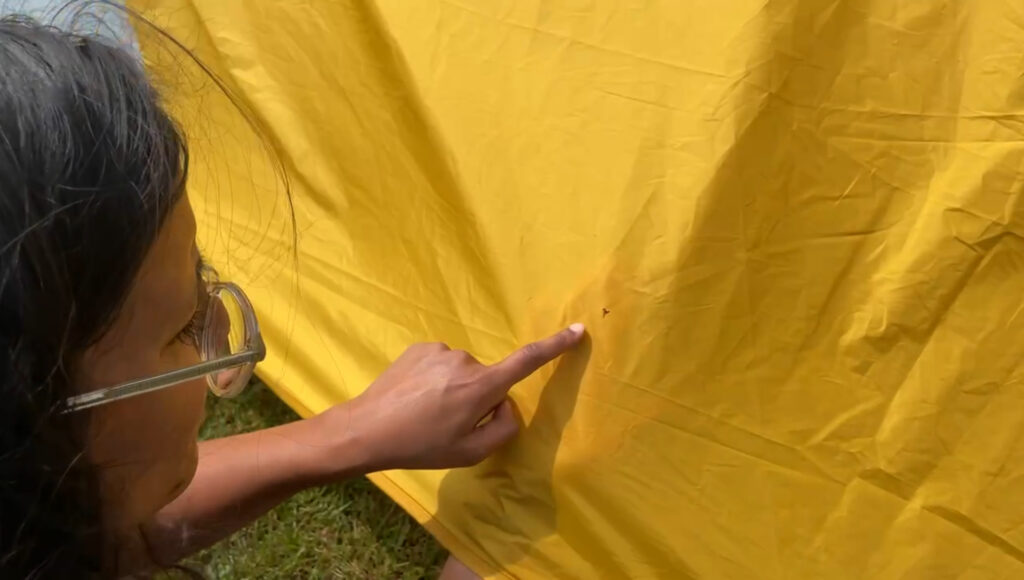
The next key thing to look out for when buying a used tent is checking for holes and tears. A tent with holes and tears, even pin-sized holes, will act like a sieve when it comes to protection from rain.
Tent holes and tears can be attributed to exposure to rough setup surfaces, sharp twigs and rocks, campfire sparks, excessive wind and/or improper tent packing.
Tips for Assessing Holes and Tears
- Set up the tent completely – first with the main body erected, then with the rain fly installed.
- To begin with, focus on the tent floor fabric since it would be exposed to the most amount of wear and tear. The corners would have large stress concentrations because of the poles, so it would likely show signs of tearing.
- Move on to the tent walls, assessing each side from the inside looking out. This would be the best way to see any pin-hole tears.
- Check the mesh fabric for holes or tears.
- Check the pole sleeves on the tent as they would be another area of high stress on the fabric.
- With the rain fly installed, check the fabric for holes. Sparks from campfires would be the most likely cause for damage to the rain fly.
How to Repair Tent Fabric Holes and Tears
Thankfully, most small tears and holes can be repaired relatively easily, even if you’re not at home.
I would recommend you purchase a universal tent patch and repair kit. They usually consist of nylon or polyester fabric patches with a strong and flexible adhesive backing.
To repair a hole/tear with a tent patch, follow these 5 steps:
- Clean the area around the hole with rubbing alcohol or soapy water to remove any dirt and debris. Let it dry completely.
- Remove any excess fabric or frayed threads with scissors.
- Lay the fabric on a flat surface.
- Cut the patch to cover the hole or tear with at least one inch of overlay on all sides.
- Peel the patch backing to expose the adhesive and press the patch onto the hole or tear. Rub it into place to create a permanent seal.
For large holes, you may want to apply a patch on both sides of the tent fabric (i.e., inside and outside).
Pro-tip: Check out How to Repair a Damaged Tent for a how-to guide on patching holes and tears.
3. Check the DWR Coating
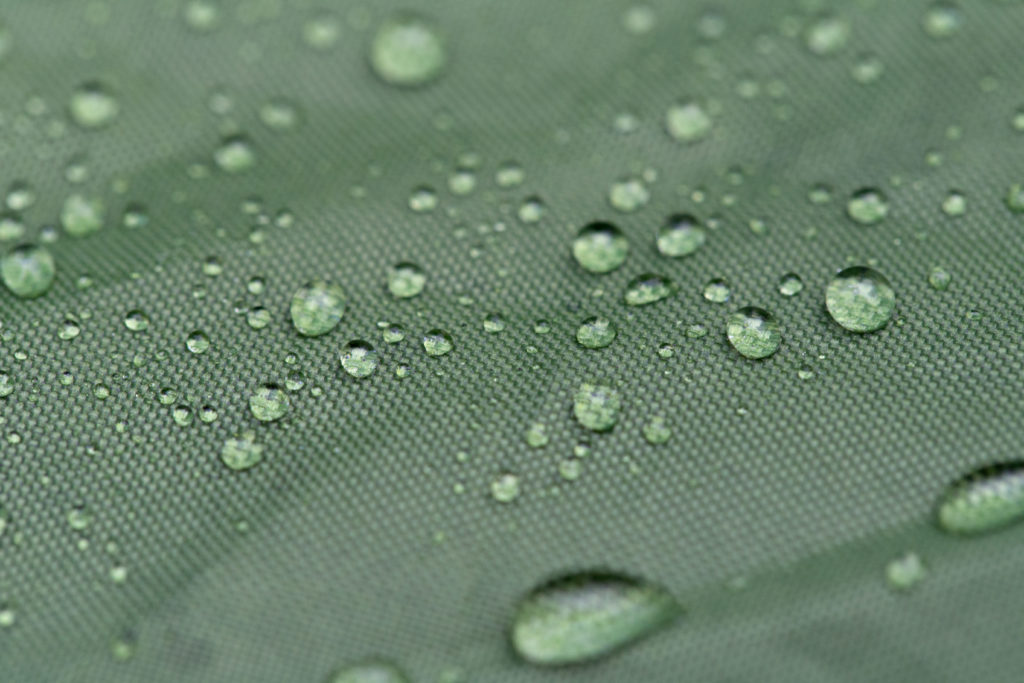
Brand new tents are inherently waterproof because a durable water repellent (DWR) coating has been applied to the fabric surface.
The coating is hydrophobic, which means it physically repels water molecules.
Unfortunately, a DWR surface coating isn’t permanent and is susceptible to wear and degradation. Overtime, the coating will be lost and so will the waterproof rating.
The easiest way to check if the DWR coating is still intact is to splash water onto the tent fabric.
- If the water beads off or droplets form on the surface, the coating is still good.
- If the water spreads and “wets” the fabric, the DWR coating needs to be re-applied.
How to Reapply a DWR Coating?
To re-waterproof your tent and apply a new DWR coating follow these 5 steps:
- On a sunny day, completely set up the tent, including the rain fly.
- Using a spray bottle or a garden hose, wash and clean the tent fabric with soapy water.
- Spray the DWR solution onto the tent. A second coating can be applied to problematic areas.
- Using a damp cloth, wipe off excess spray solution.
- Allow the tent to dry off completely in the sun.
4. Are the Tent Poles Bent or Broken?
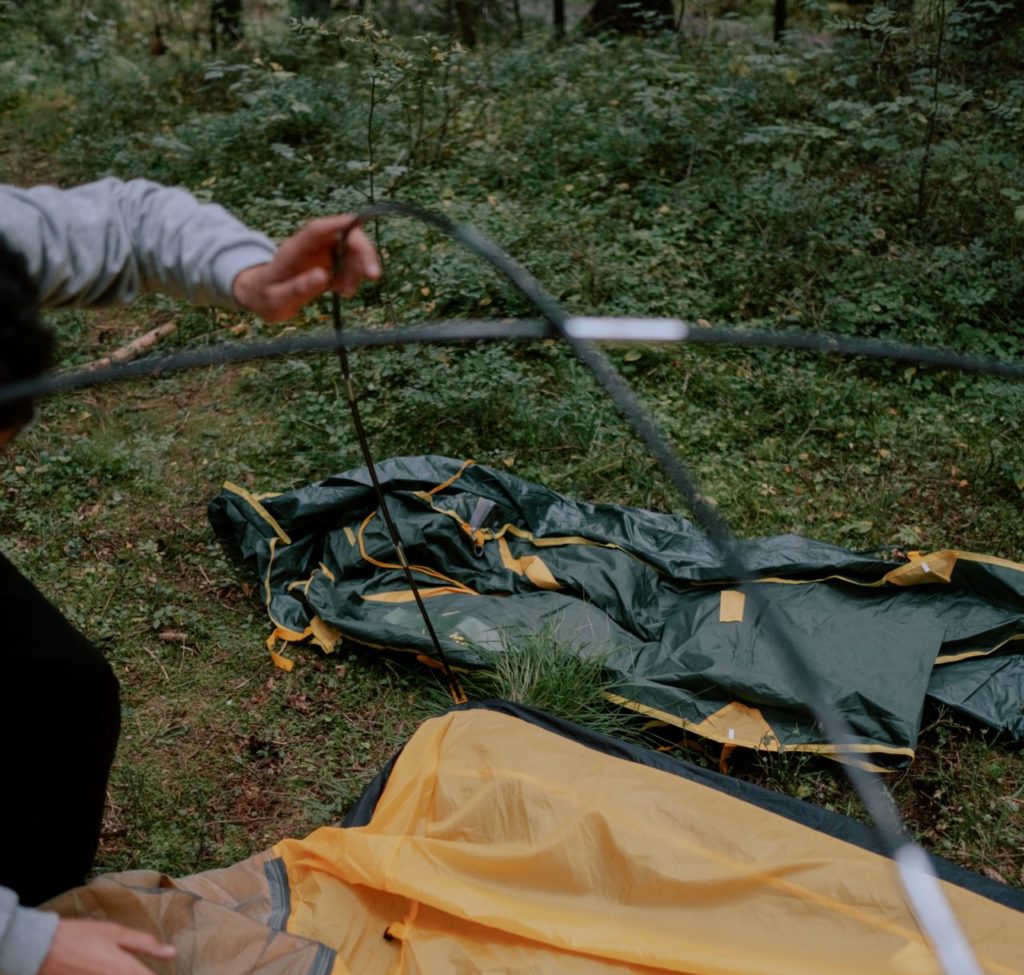
Tent poles provide the back-bone to support a tent body. Without them, it won’t be able to keep its shape.
- Make sure the tent contains all poles, including the poles used for propping up windows and doors.
Most tent poles are connected to one another via an internal bungee cord. If that bungee cord is missing or frayed, but the pole end caps are still intact, you can easily replace it.
Another thing to look for are bent metal poles. Bent or deformed poles have, at some point, been flexed beyond their limit, which may have compromised their strength and integrity.
Hence, its best to fully erect the used tent and assess each set of poles:
- See if there are any cracks or signs of wear on the individual pole sections.
- Look for rust or corrosion on the pole ends.
- Check if poles are bent or dented and if the amount seems to compromise its rigidity.
5. Is There Seam Damage?
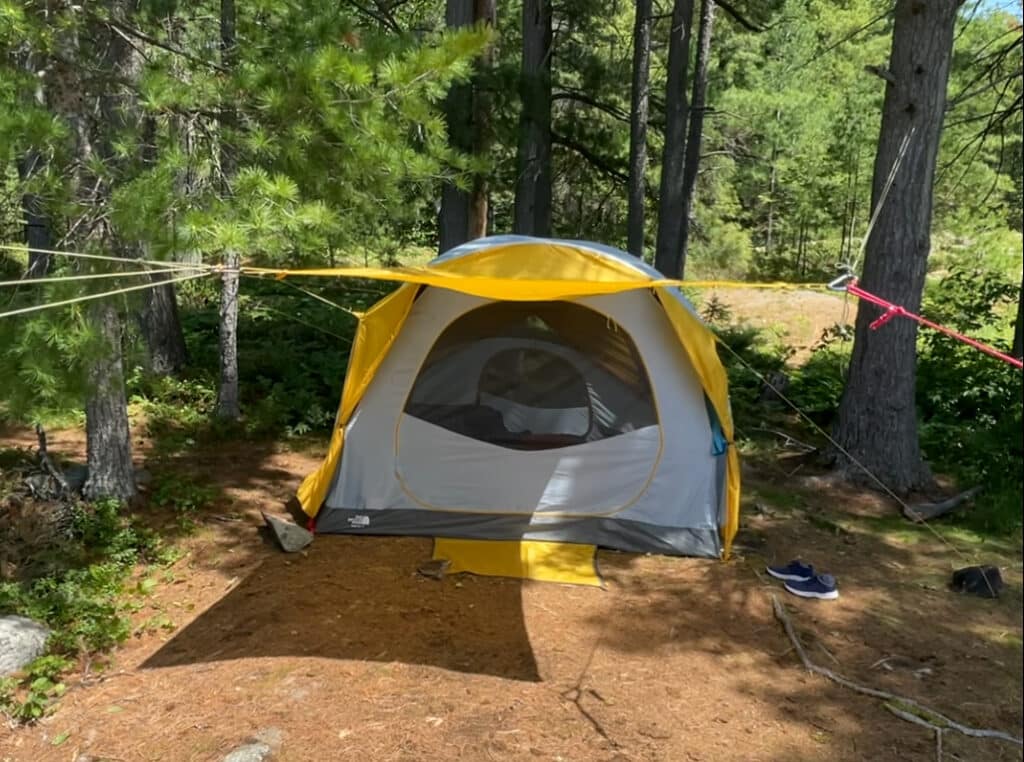
Another important area to focus on when buying a used tent are the tent seams. Faulty seams can be the location of water leaks.
Tent seams are usually locations of high stress concentrations. Naturally over time, seam performance can start to degrade.
Manufacturers employ two specific techniques to increase strength and water resistance at the seam – double-fold joining and stitching, and seam sealant or waterproof taping.
After repeated use or poor storage, seams can loosen or the sealant can start to peel off. Once that happens, a seam can loose its water repelling capability and be the cause of leaks.
How to Repair a Damaged or Leaky Tent Seam?
The quickest and easiest way to reseal a leaky seam is to use seam sealant. Once dry, it creates a water-tight barrier.
To re-seal a tent seam, follow these steps:
- Clean the seam with soapy water to remove dirt, debris and oils.
- Rinse the area with clean water and allow to fully dry.
- Apply sealant to the seam using the included application brush.
- Allow seam to fully dry.
6. Check for UV Light Damage

Typically, tents are constructed of a synthetic polymer material, either nylon or polyester fabric, because they are lightweight, strong and durable.
Unfortunately, most synthetic polymers are susceptible to ultraviolet (UV) and visible light degradation from the sun.
Extended exposure to UV can and will degrade the properties of a tent fabric, both mechanically and cosmetically. The fabric will weaken and its color will fade [Reference].
How Does UV Light Damage a Tent?
On a molecular level, UV light causes “photo-oxidative degradation”.
Simply put, UV light is powerful enough to break polymer chains, produce free radicals, and lower the overall molecular weight [Reference].
This irreversibly weakens the fabric and renders it useless. To combat UV damage and prolong the life of tents, manufacturers ensure nylon and polyester fabrics are produced with built-in chemical “stabilizers”.
How to Check for UV Damage?
The best way to check if a used tent suffers from UV damage is by sight and feel.
Open the tent bag and lay out the tent body and rain fly. Touch, move, and look at the fabric closely:
- Faded coloring can be an initial indication of UV damage. If colors aren’t vivid or seem washed out, it’s probably seen a lot of sun and therefore UV light.
- A UV damaged tent will feel far less pliable meaning that it won’t bend and flex. This indicates its molecular structure has been compromised.
Unfortunately, once a tent has been damaged by UV exposure, it can’t be undone. Even if you find a free used tent, I suggest passing.
7. Is There Any Equipment Missing (Stakes, Guy Lines, Footprint, Storage Bags)?
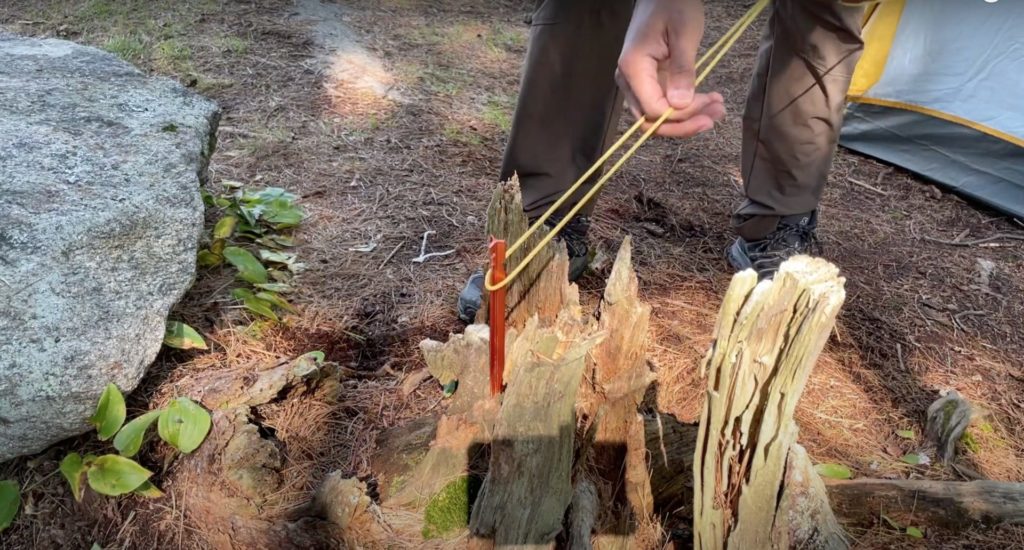
The last thing to check when buying a used tent is whether any of the ancillary equipment is missing.
I would look out for ground stakes, guy lines and the storage bag(s). Some tents might also include a repair kit and footprint, but most likely won’t.
These missing items aren’t necessarily deal breakers because you can easily replace them, but you should factor this it into the price you’re paying.
Here are links to my recommended steel ground stakes, reflective guy lines and tent repair kit.
Pro-tip: You can use a Tarp as a Tent Footprint or make your own footprint! Check out my Guide on Tent Footprints.
This article contains affiliate links, which help support this blog at no cost to you!
