Wherever I go, I take video. Lots of video. And, although it takes hours, days or even weeks to sift through the countless clips, I find solace in making travel videos that highlight my truest emotions and experiences.
It helps me reminisce about where I’ve been, what I did, and hopefully inspires others to explore the world themselves!
Over the last few years, the quality of my videos have increased exponentially. Below are 4 travel video tips that you can use to make your next video truly epic!

Tip #1: Tell a Visual Story
We’ve all grown up to love and appreciate a good story. Story that are captivating, with dynamic characters, a unique plot and a surreal setting leaves a lasting impression on our hearts and minds.
Take that concept and translate it into your next travel video.
Remember, traveling is all about the journey, not necessarily the destination:
- What moments stuck with you?
- How did you grow personally along the way?
- What would YOU like share about what you’ve learned?
The characters include yourself, your friends, locals, strangers, even animals. Highlight your journey together or, if you travel solo, highlight your perspective on how you’ve grown.
Showcase the landscape, the sights and sounds, the atmosphere and nature.
When you’re filming, remember to shoot with the intent to bring the audience with you, so they feel as though they are as part of the journey as you are. All these questions and concepts are good to think about when you’re creating your video.
If you’re just starting out, maybe a simple chronological story is best – showcasing your trip day-by-day. For more advanced videographers/editors, edit your clips so that the video climaxes during a high point of your trip.
One video storytelling technique I’ve started experimenting with, is telling a story within a story (cue Inception soundtrack). Let me explain…
While traveling through Vancouver Island, I regularly filmed my fiancée trying different foods. Once at dinner, while I was filming her cutting into her dinner, she said “are you going to take a photo every time I eat?”. Perfect! I had an audio clip to cue the start of an eating montage.
Just like this example, experiment with how you can use your clips creatively to tell stories within stories.
Just like any good book or movie, a good story will influence how you think and act. Use visual storytelling to leave a lasting impression on your audience.

Tip #2: Pick the Right Music
It goes without saying that the music you choose to play over your video creates the tone, tempo and establishes the overall feeling of your trip.
Personally, I’ve spent countless hours listening to playlists in order to find the right song.
Pro-tip: If you are planning on uploading your videos to YouTube, first check to see if any songs have copyright restrictions. YouTube’s music policy directory can be found here: https://www.youtube.com/music_policies?nv=1
Once you’ve selected your song(s), be sure to add it to your video editing software first. Then start adding clips, keeping note of the beat, climax and chorus of the song(s).
If someone is speaking in a video clip, consider ‘ducking’ the music (lowering the song volume during the video clip) or adding the video clip during a part of the song with less vocals. If you don’t have many clips, use only part of a song to condense your video.
Here are some examples of song use in videos I’ve made that truly elevate every moment captured:
I tend to watch other people’s travel videos and listen closely to how they’ve utilized music. A great song can be immersive and add another dimension to the audience’s viewing experience.

Tip #3: Use a Phone Stabilizer
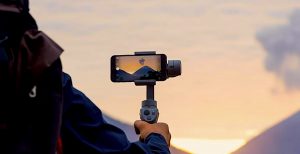
I tend to keep a minimalistic approach to camera gear when travelling. And, if you’re like me, you also capture a large majority of video with your smartphone.
When we talk about smartphone cameras, most flagship phones have built-in stabilization. But, even built-in stabilization won’t be able capture smooth video if you are running or even walking while shooting.
That’s why an external, handheld phone stabilizer can come in super handy. Using a stabilizer, coupled with cinematic camera movements, will greatly enhance your video quality.
Although there are many companies that manufacture phone stabilizers, I highly recommend the DJI Osmo Mobile 3. The ergonomic design, quick setup time and DJI Mimo app work together to allow you to focus on the shots you want. The foldable design also means you can take it with you virtually everywhere.
Another great feature is the versatile clamping mechanism, which is compatible with many smartphones, should you choose to upgrade.
If you’re like me and shoot over 99% of your videos on your phone, this investment will surely pay off.
Tip #4: Consider Getting a Drone

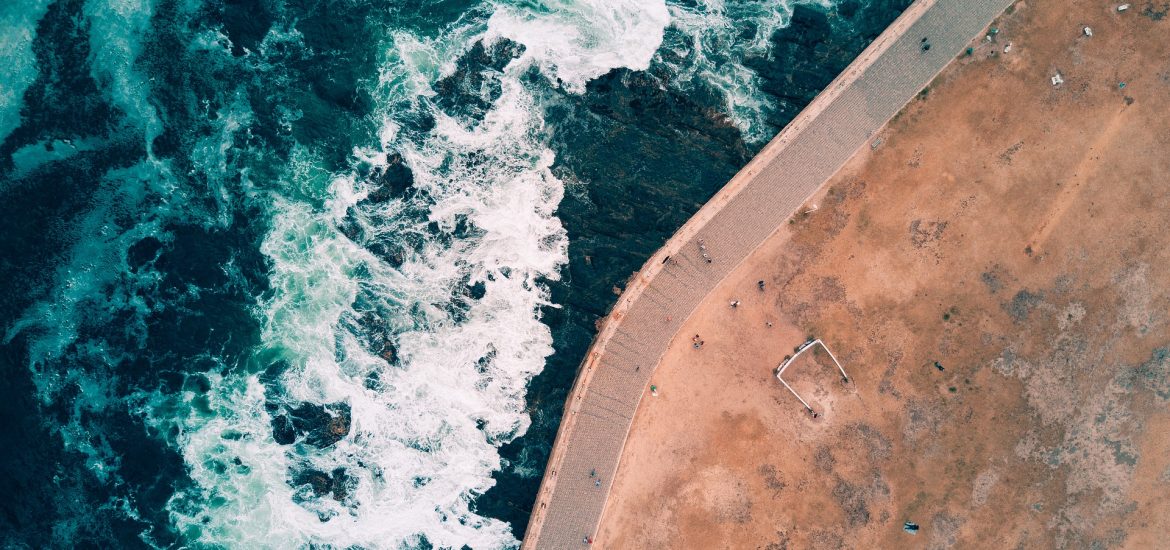
It’s remarkable how an aerial shot can change the perspective of a scene. A drone can add that cinematic flare to take your videos to the next level.
Drones are becoming smaller, more powerful, and less expensive every year. I purchased the DJI Mavic Air and it is truly a traveler’s wish come true.
When folded, the drone itself is only slightly larger than a can of pop and weighs just as much. It’s capable of recording stabilized 4K video, shooting 12 megapixel photos and it can stay in the air for 20 minutes per battery. I love it because I can toss the drone, controller and extra batteries in a small back pack without having to worry about weight or space.
There are a variety of drones on the market geared towards different niches. Find the right drone that matches your interests and needs, whether it’s price, portability, fly time, and/or image quality.
Pro-tip: Be sure to check if there are any drone restrictions in the country or area you are planning on visiting. Follow the rules of the air and always fly safely.
I hope these travel video tips will make your next video montage more epic than eve! And, hopefully, it will lead to many more adventures for you and your followers.
Happy travels!
This article contains affiliate links, which help support this blog at no cost to you!

so can i do this on a iPhone?
Yes, absolutely! The camera quality on an iPhone is fantastic. No need to buy a stand-alone DSLR or point-and-shot camera. Your cell phone can do it all AND it’s always with you!